New Nails, Who Dis?

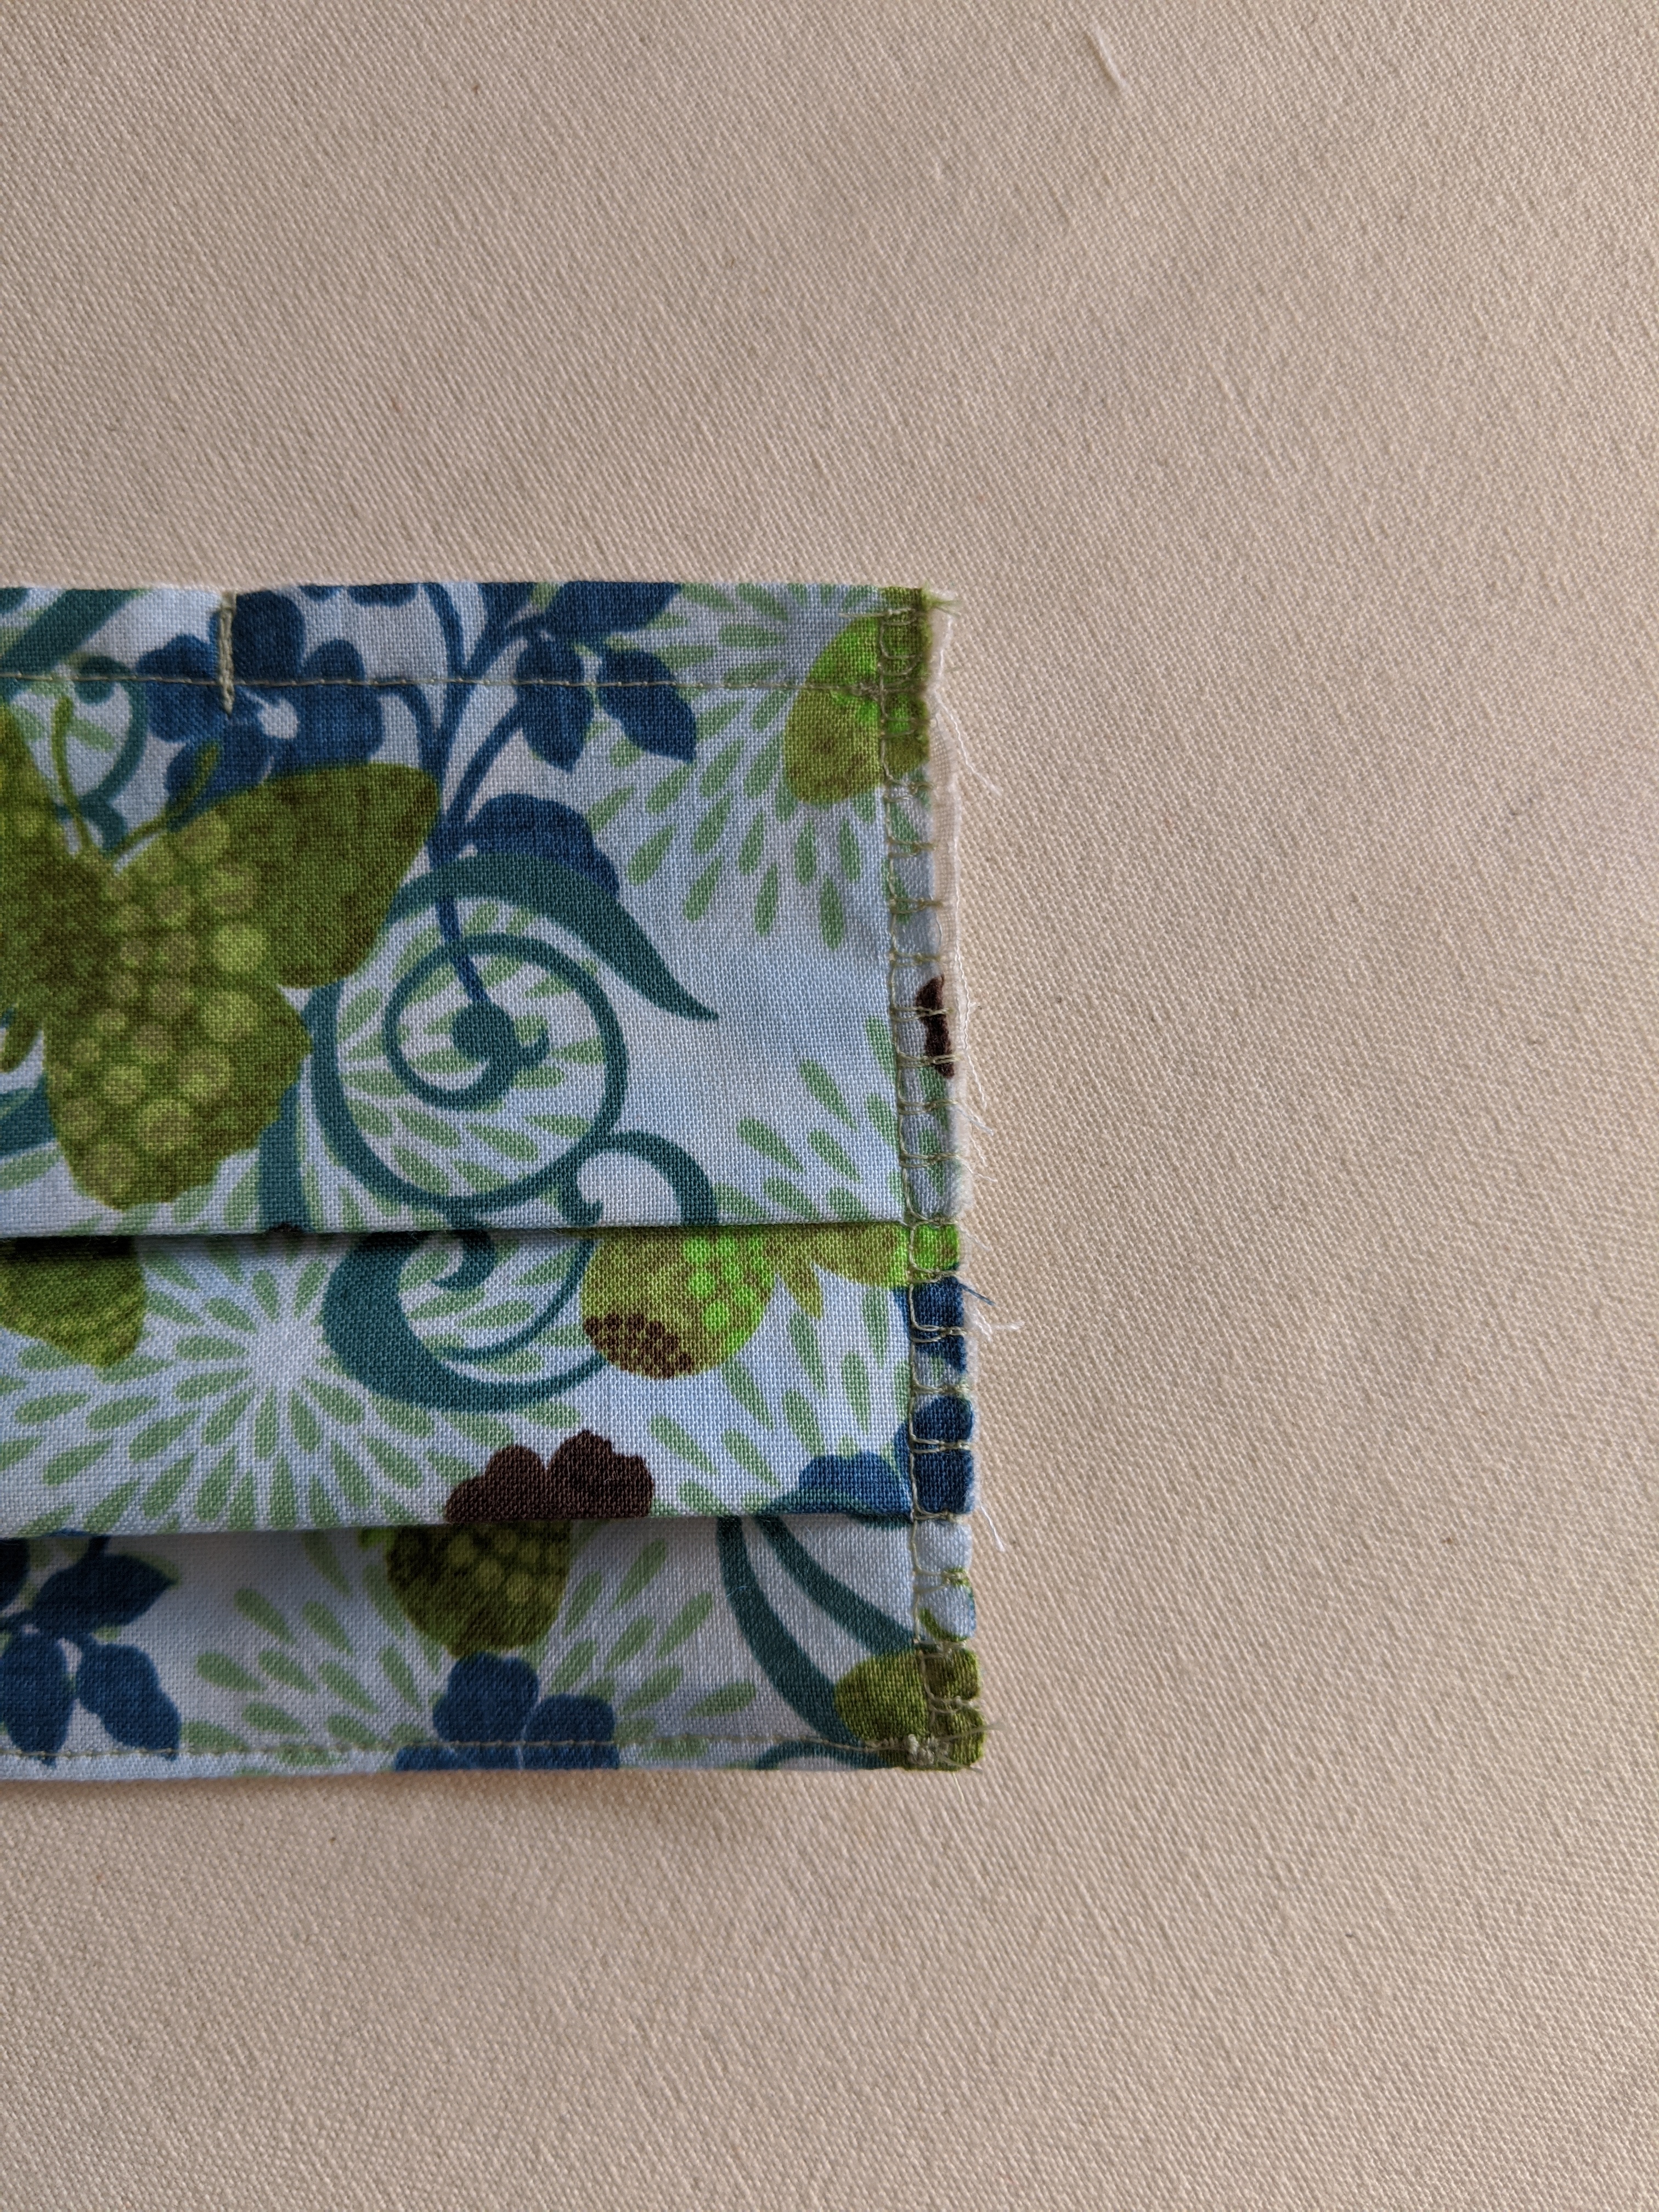
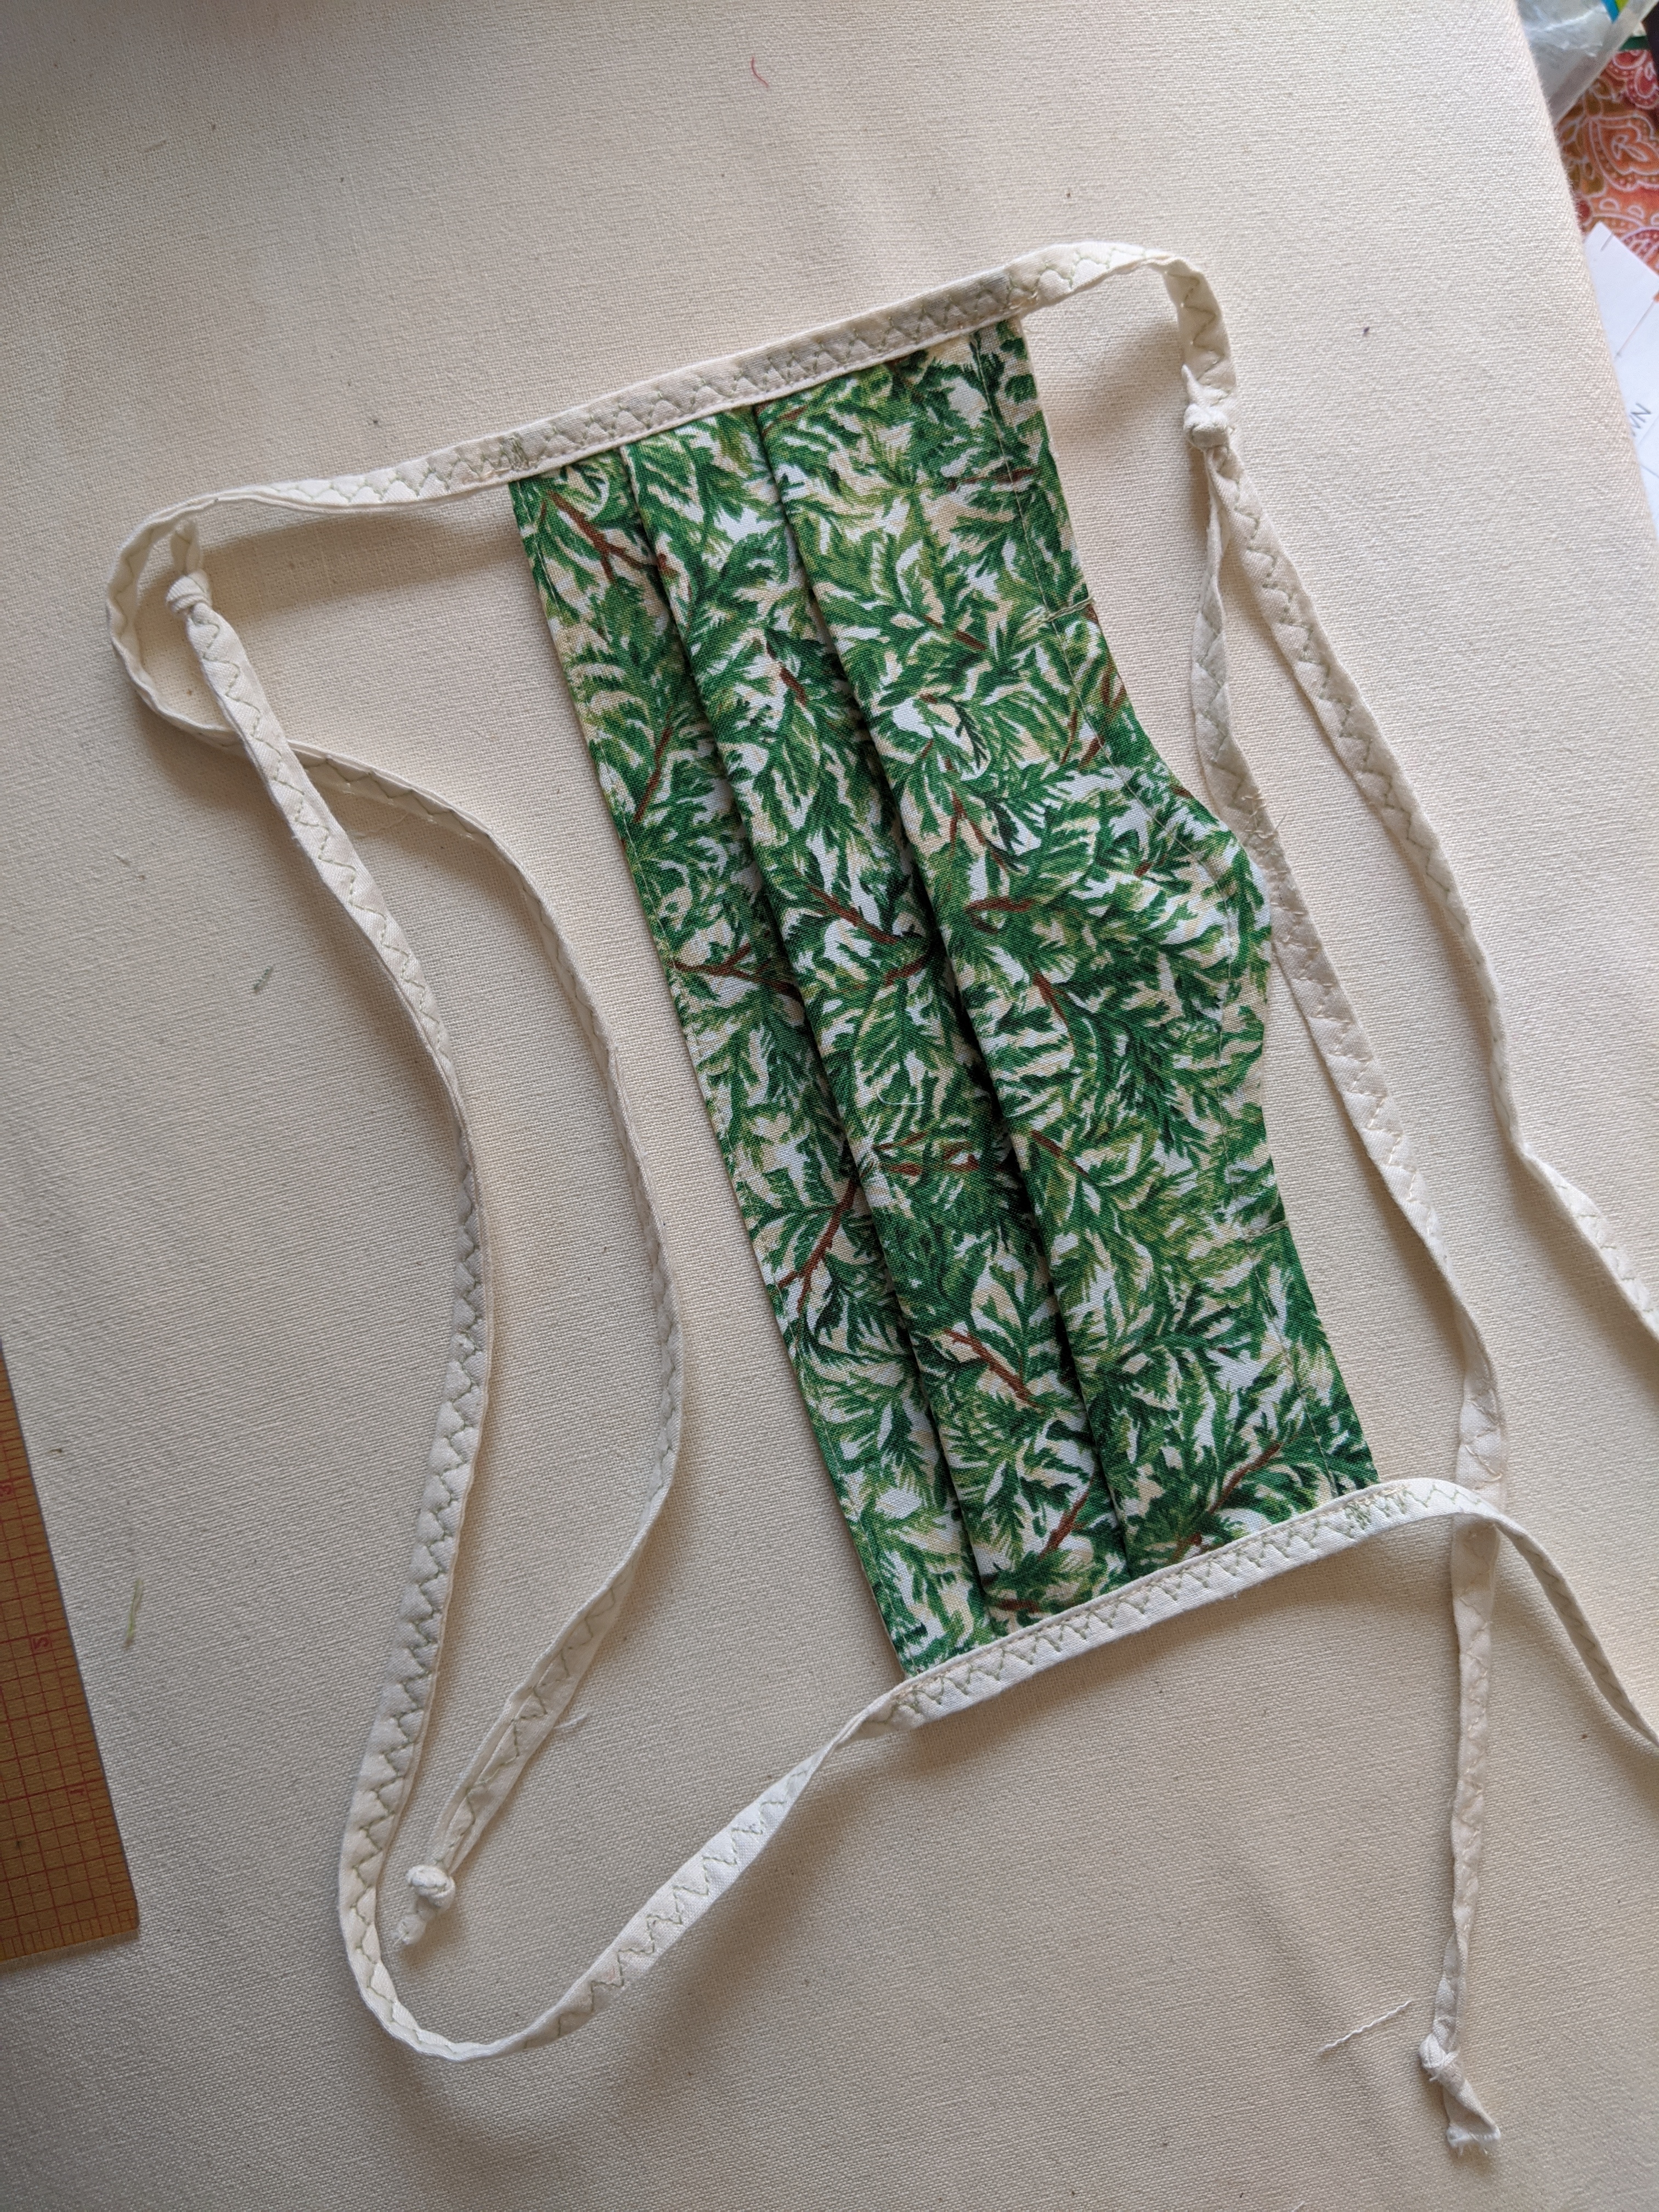
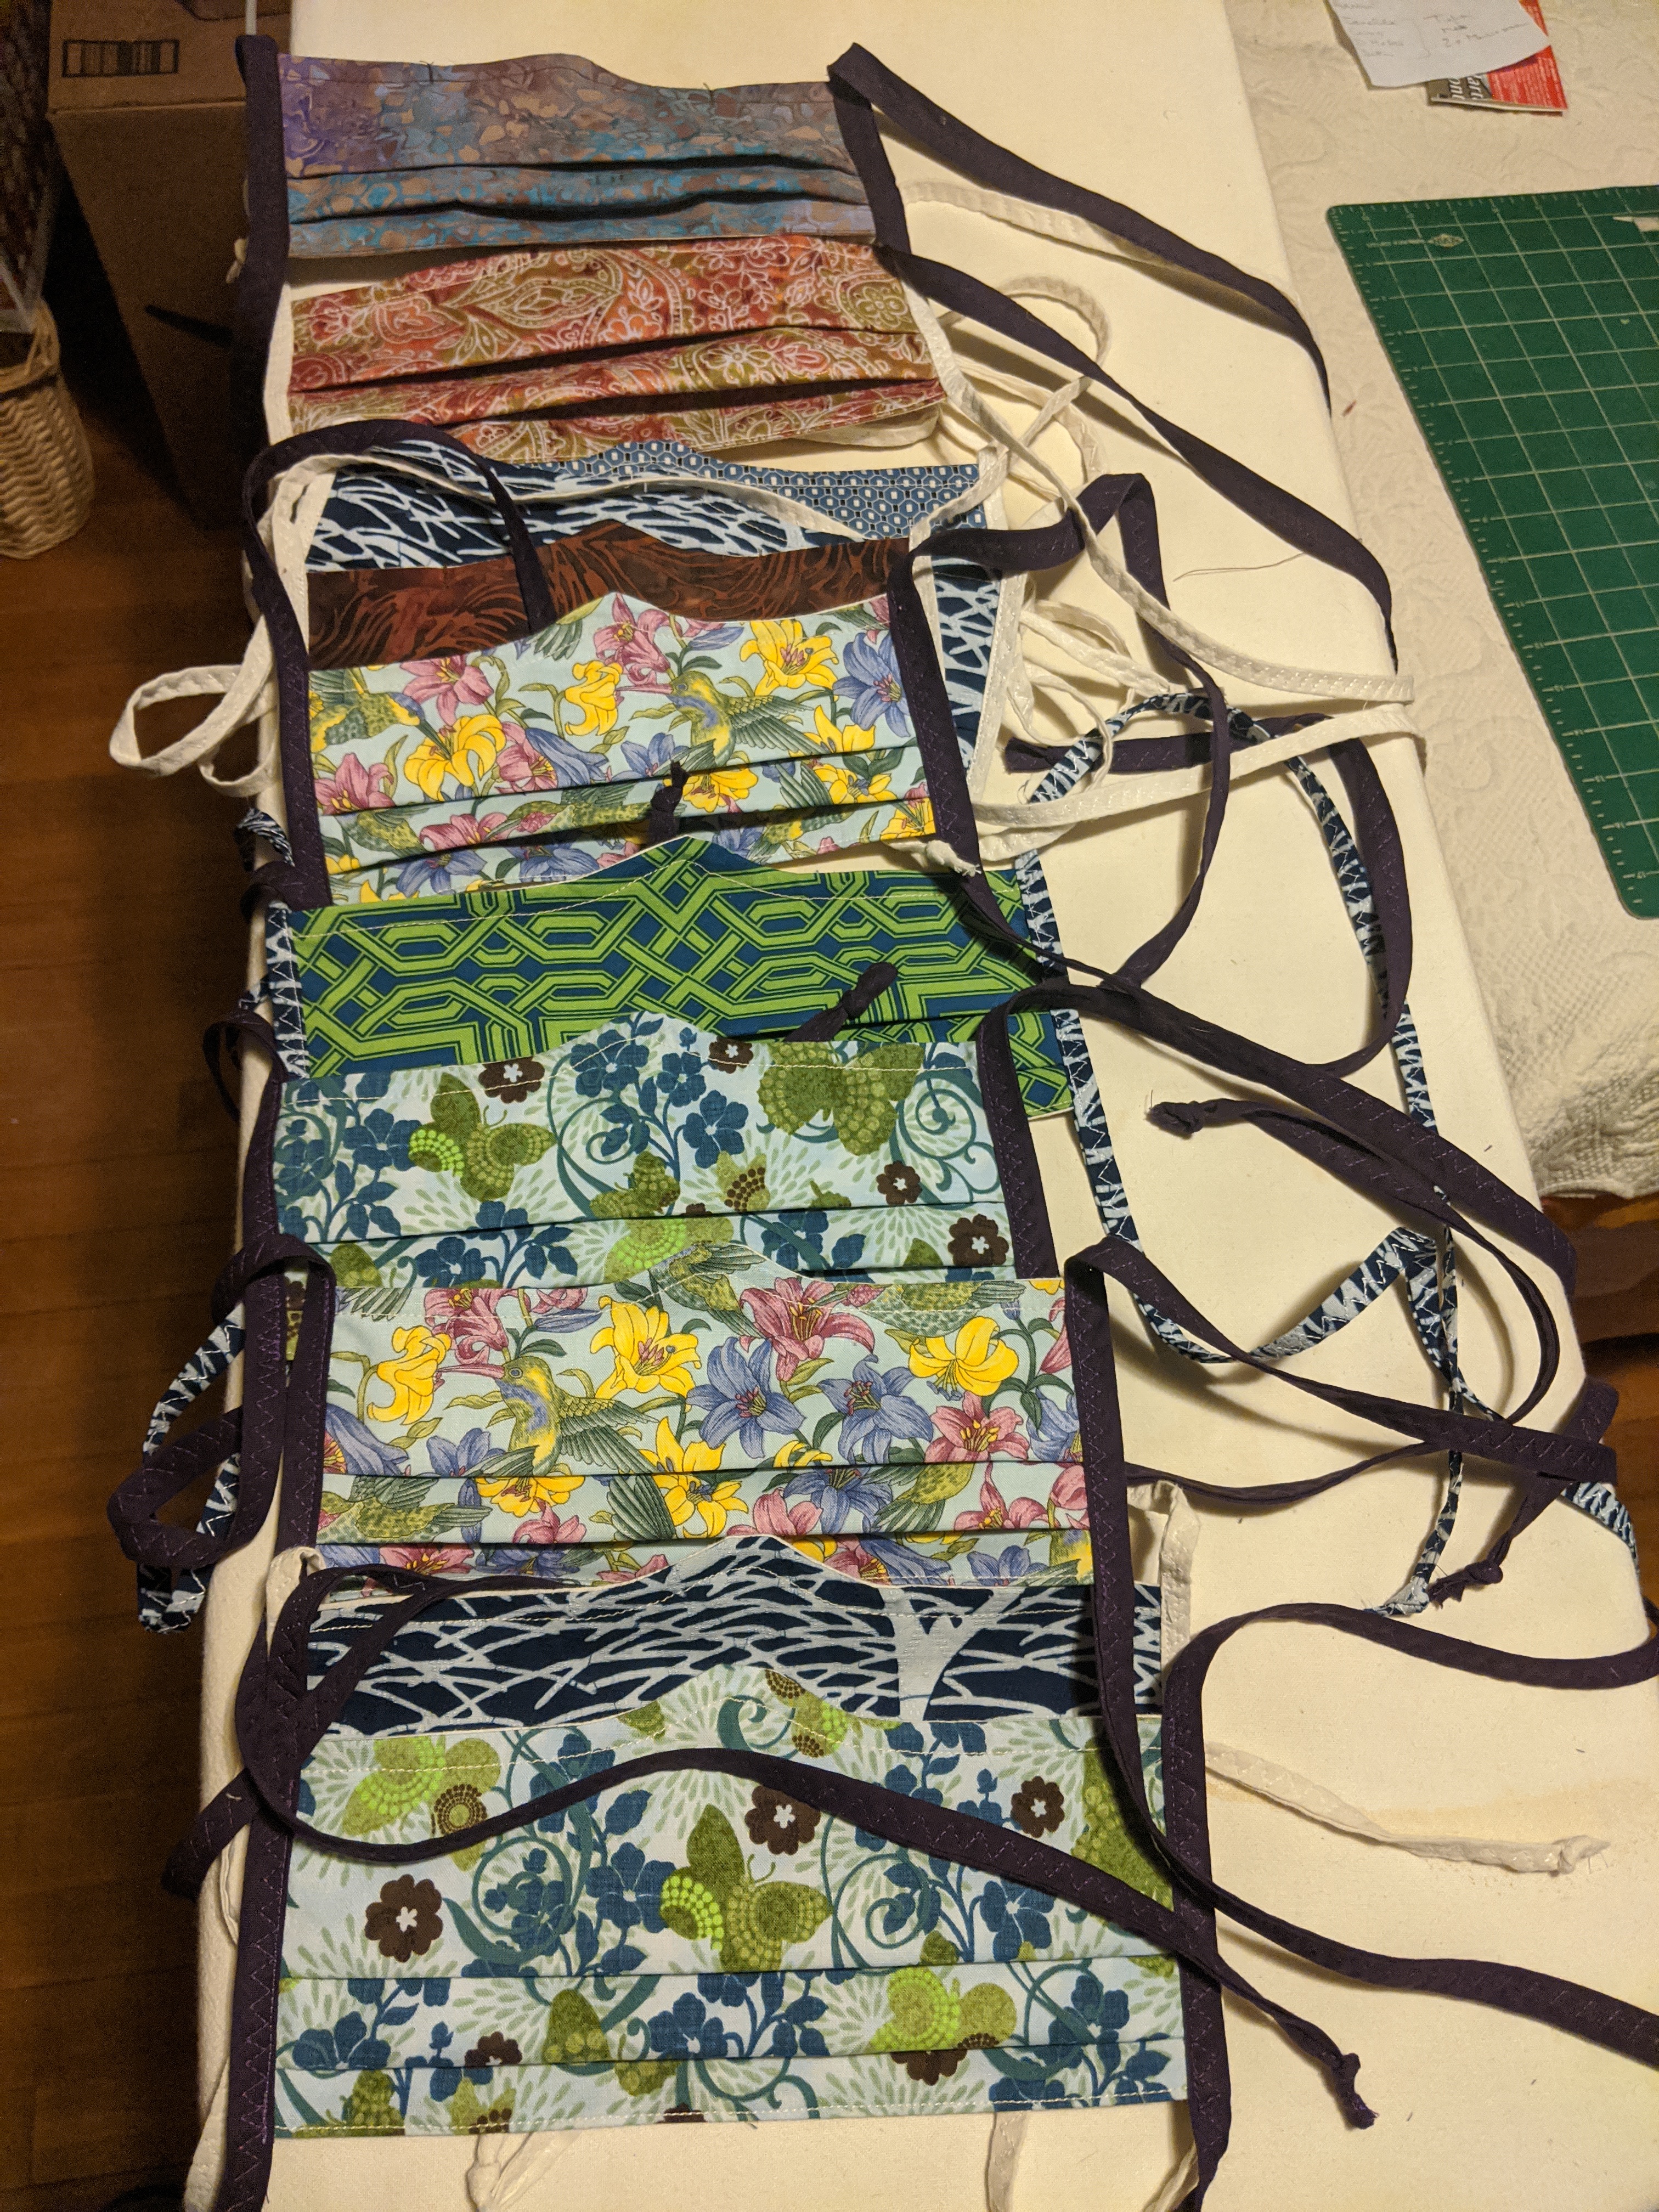
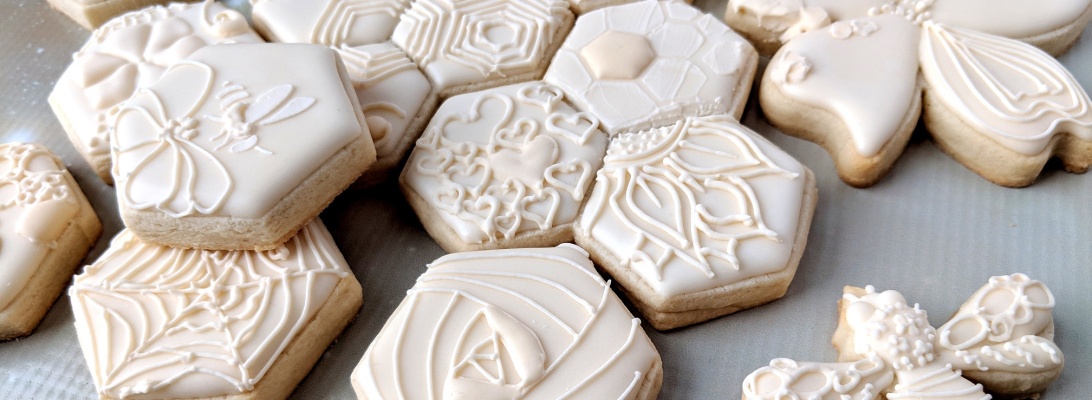
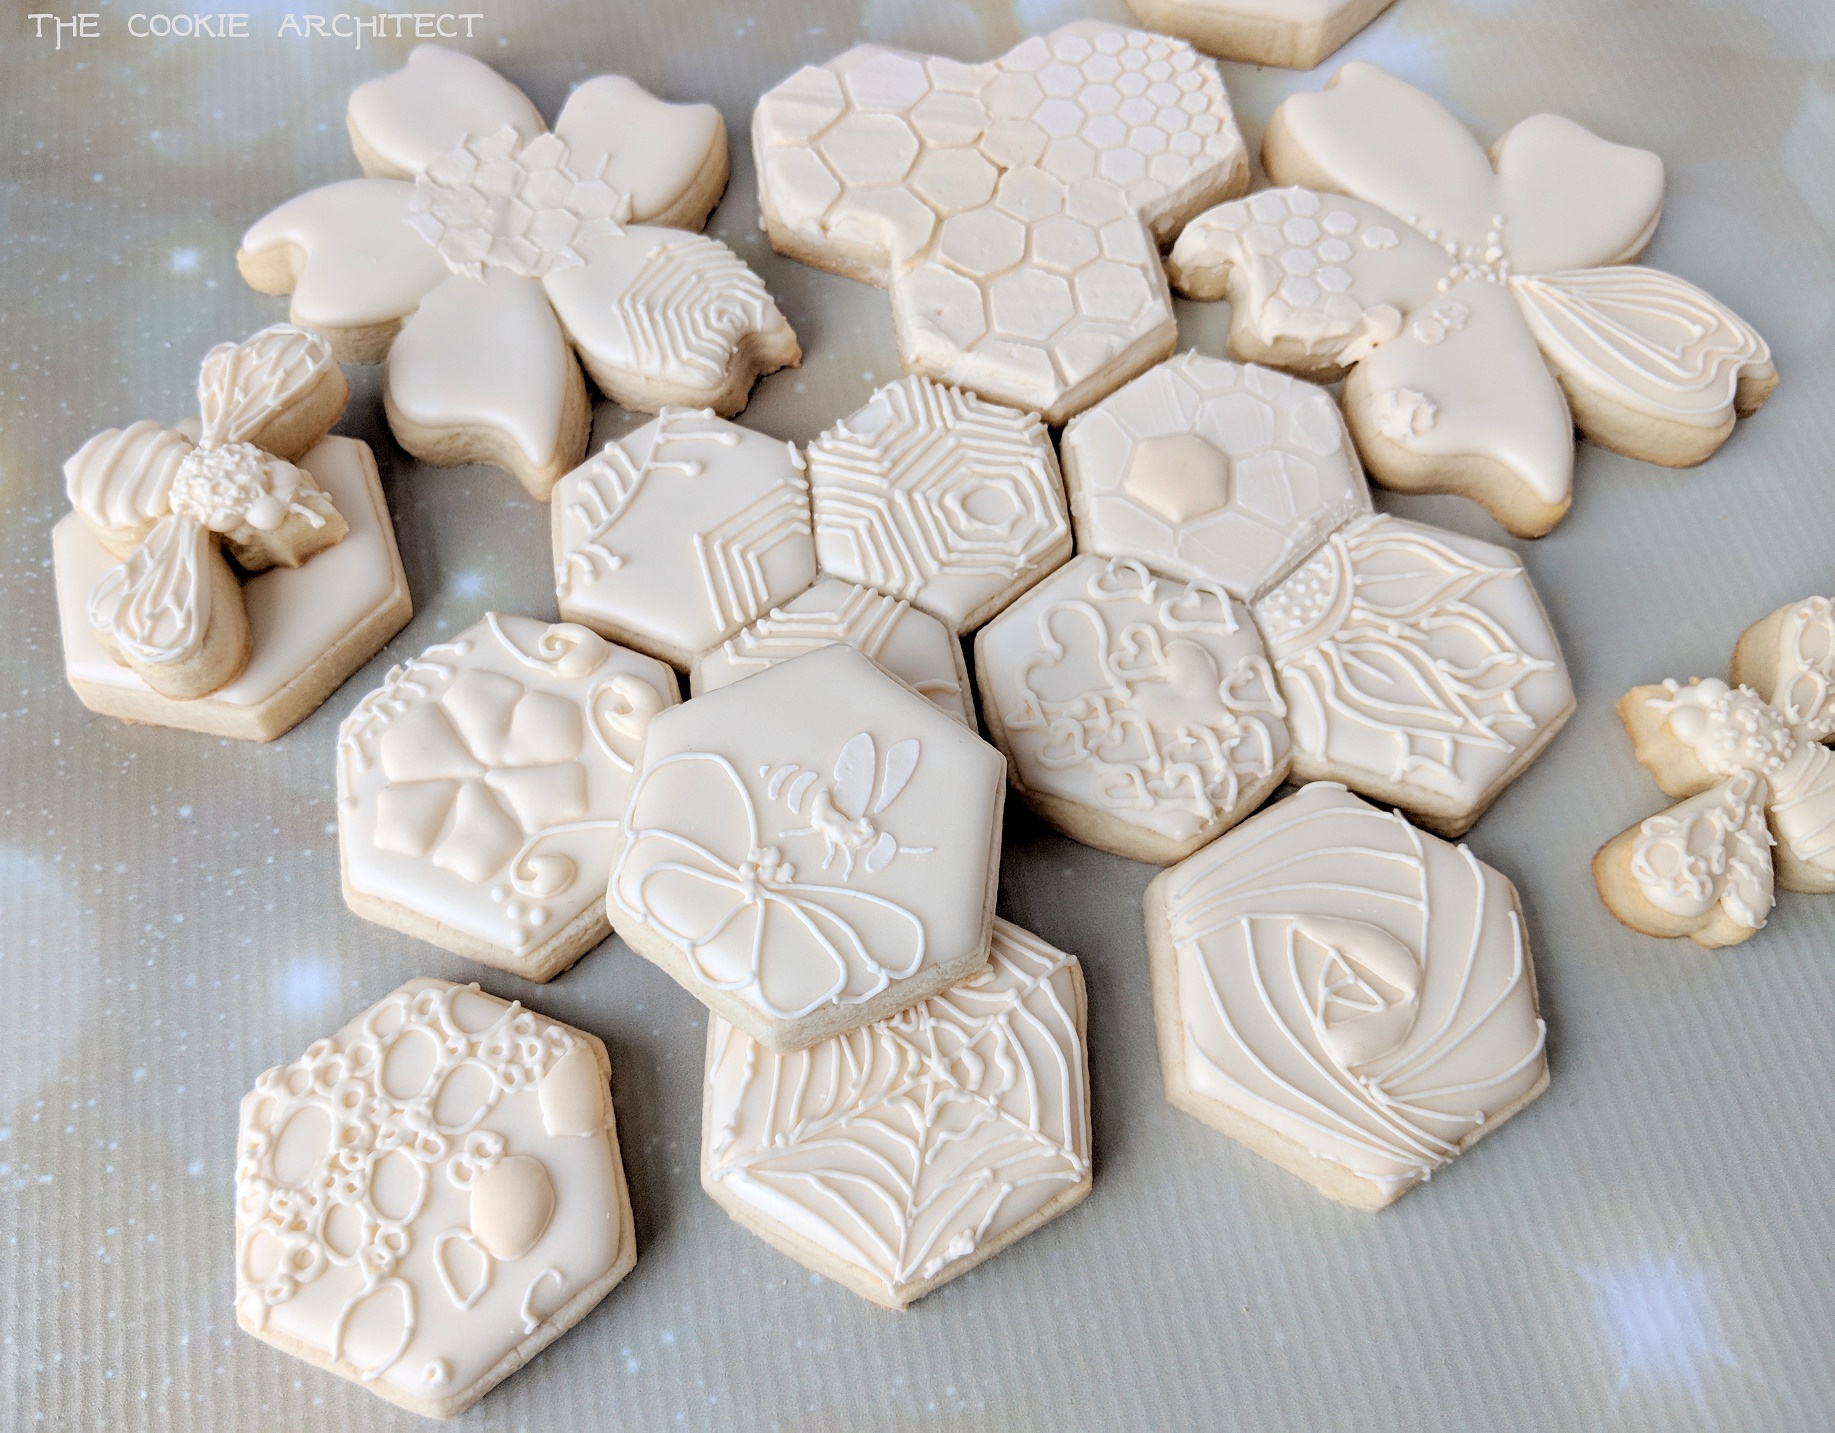
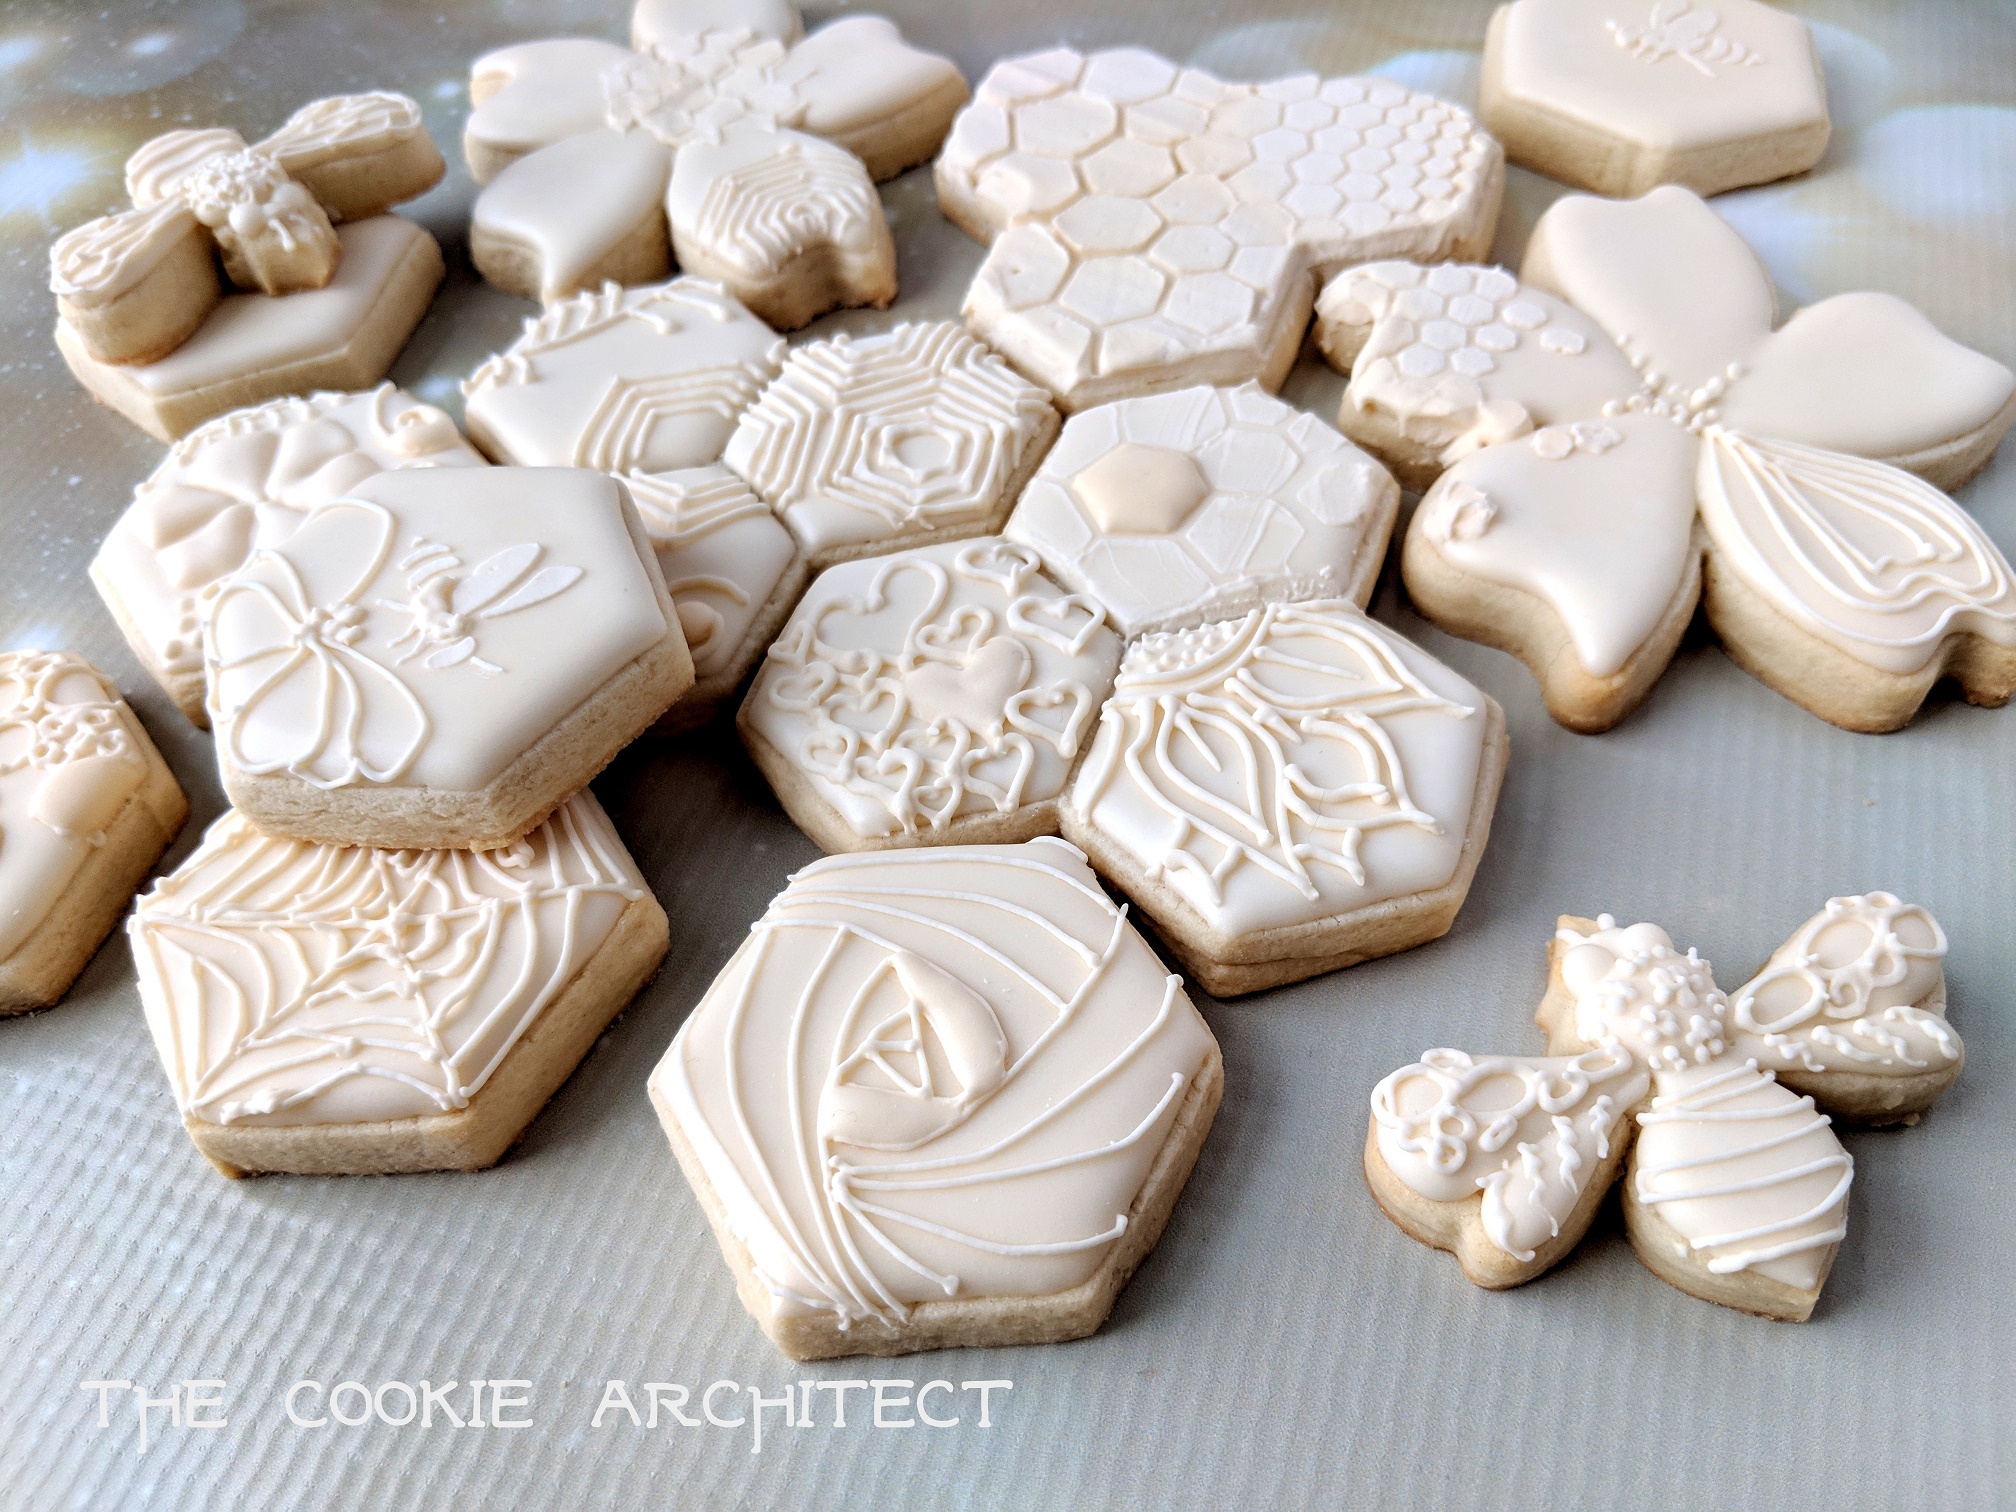
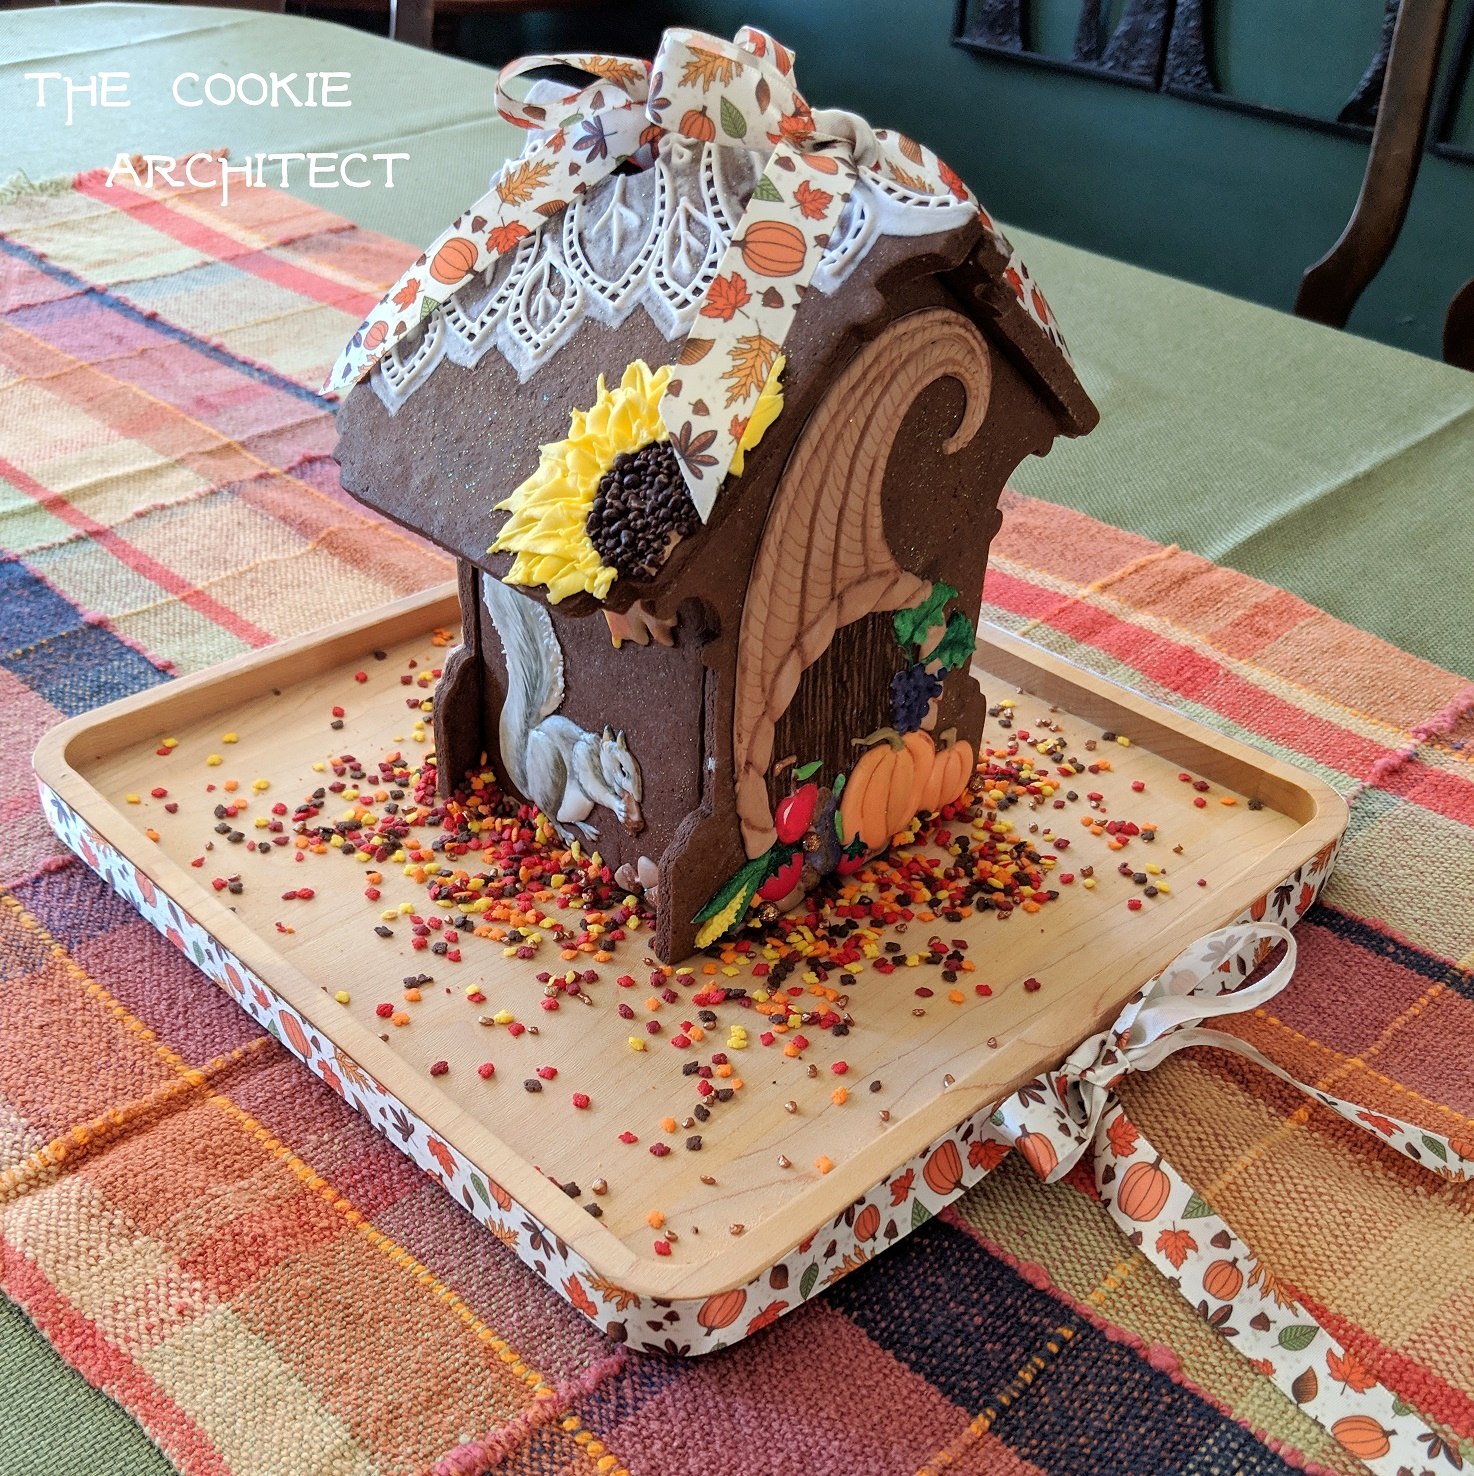
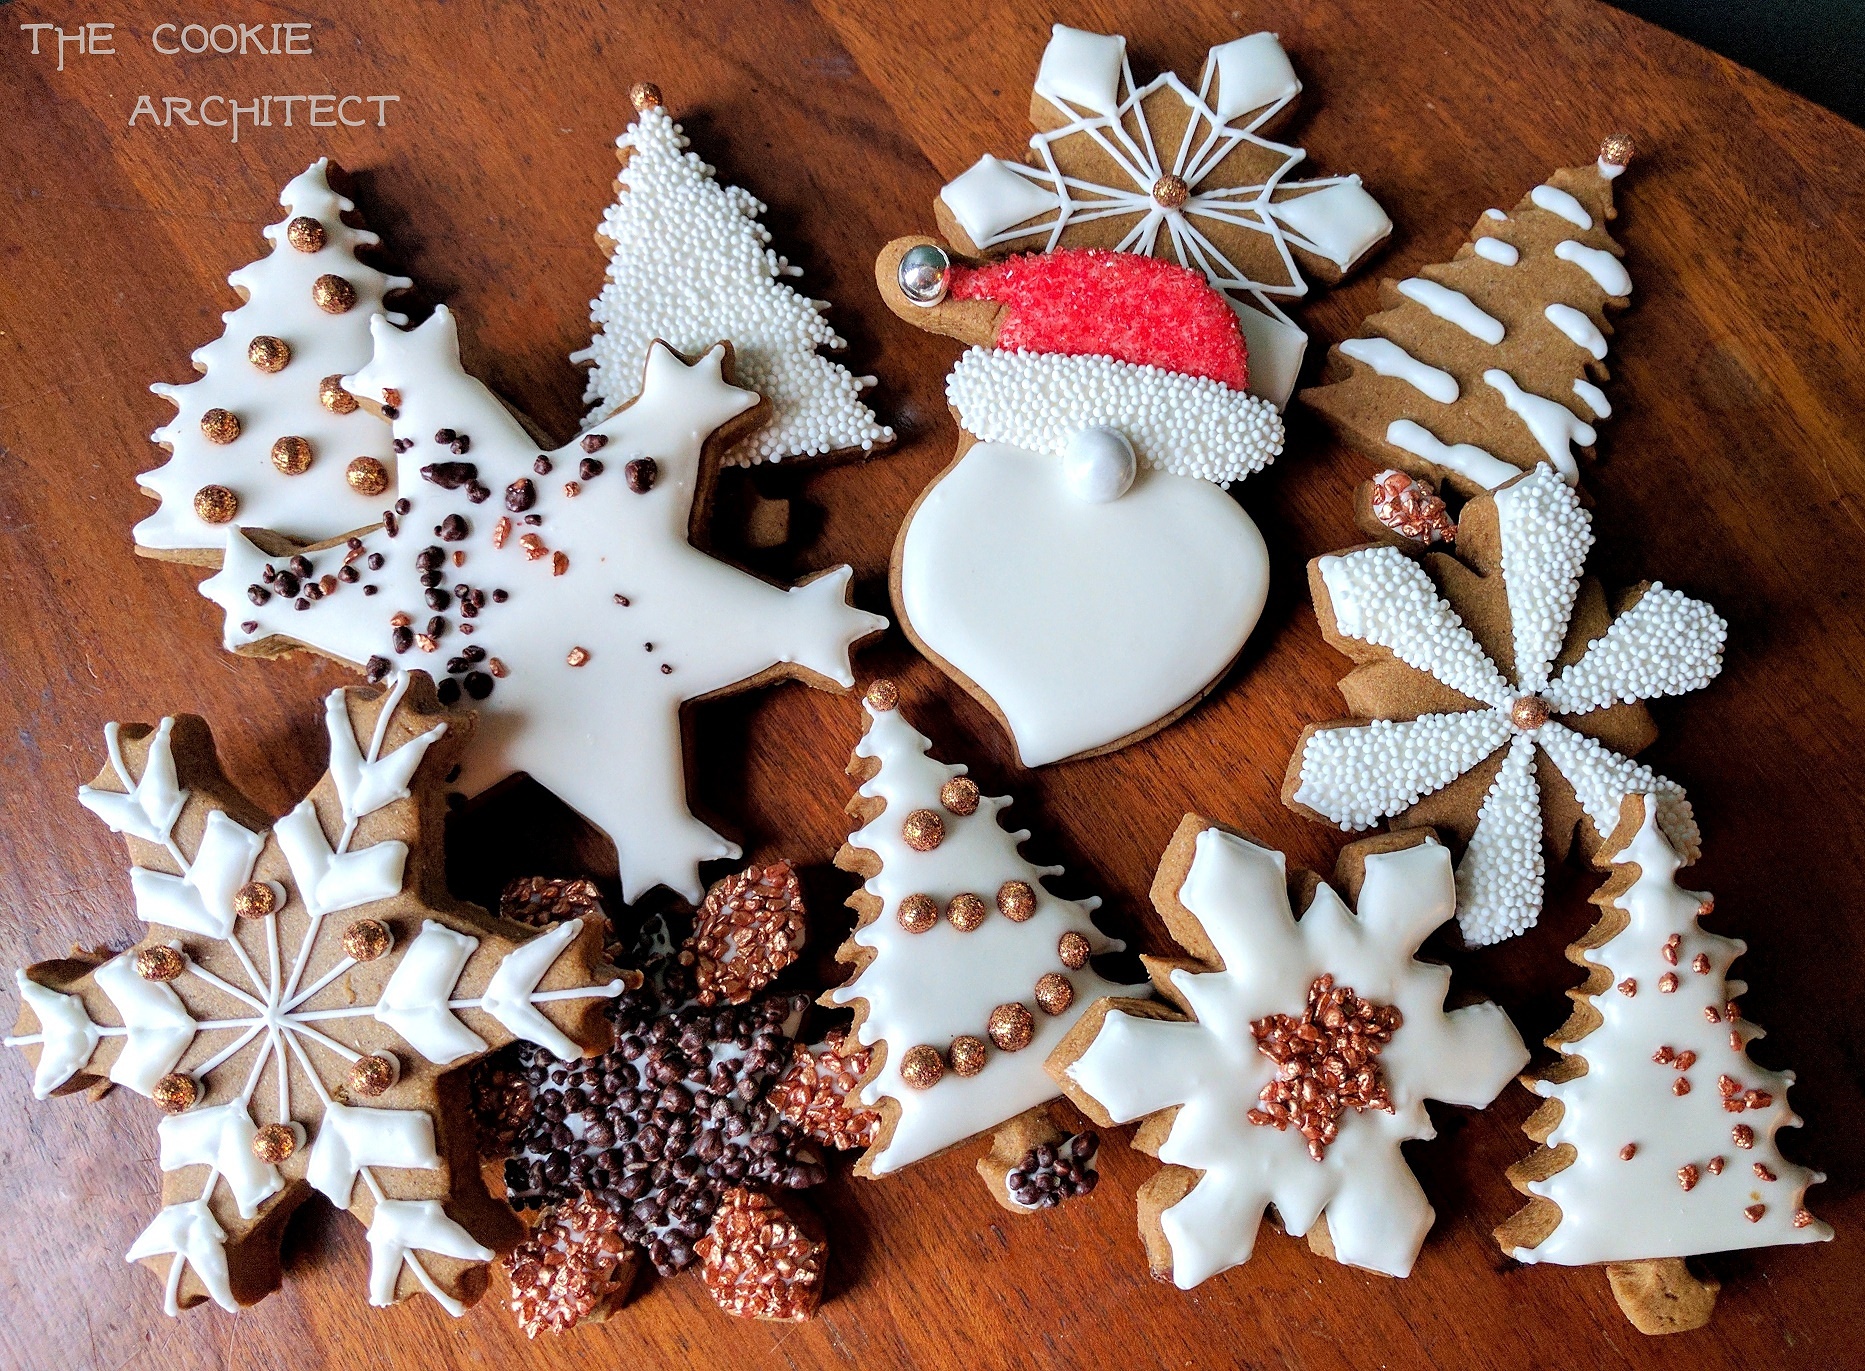
This is a story about the “other thing” I’ve been doing with my time (besides making masks) that isn’t making cookies. But don’t worry, I figured out a way to work in some cookies for you.  Keep reading and you’ll see!

Sometime this summer, I found a new obsession.  It was mid-pandemic, cases were down, but our kids are high risk so we weren’t going out on vacation, or to the water park or even to TJ Maxx. Also, work is and has been crazy.  Feels like for well over a year, but honestly, more like a decade. I was feeling a little….restless.

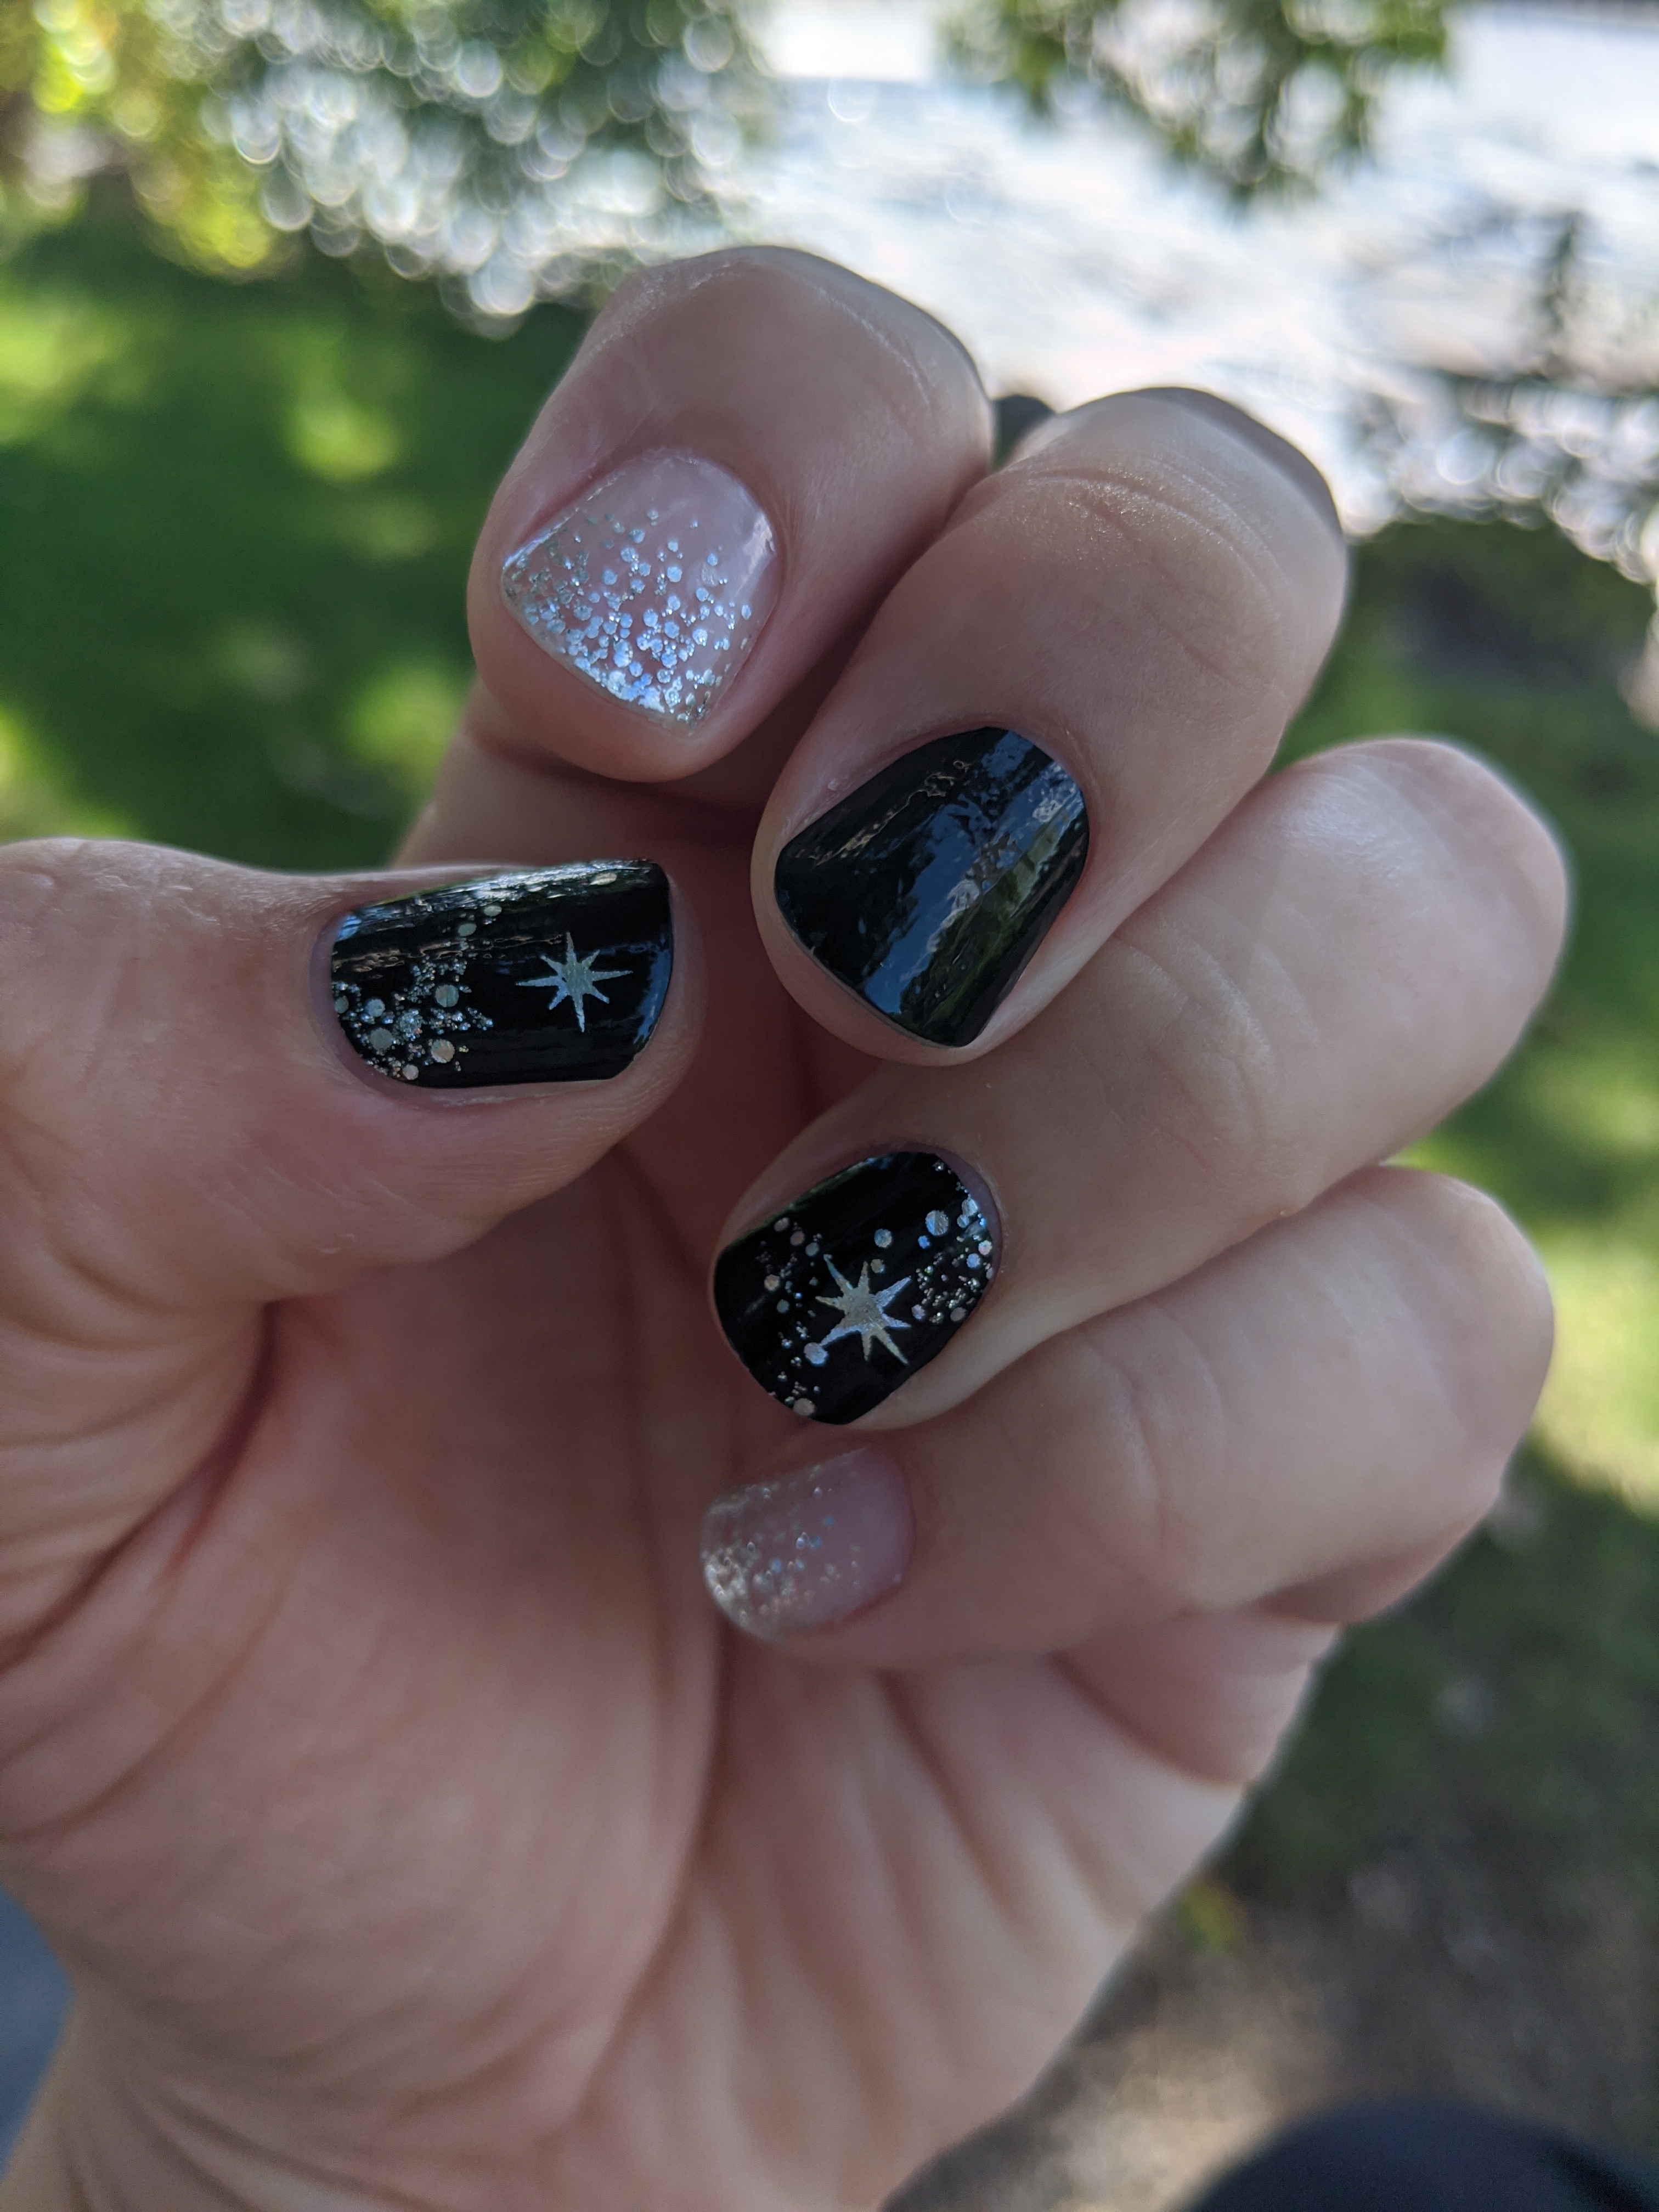
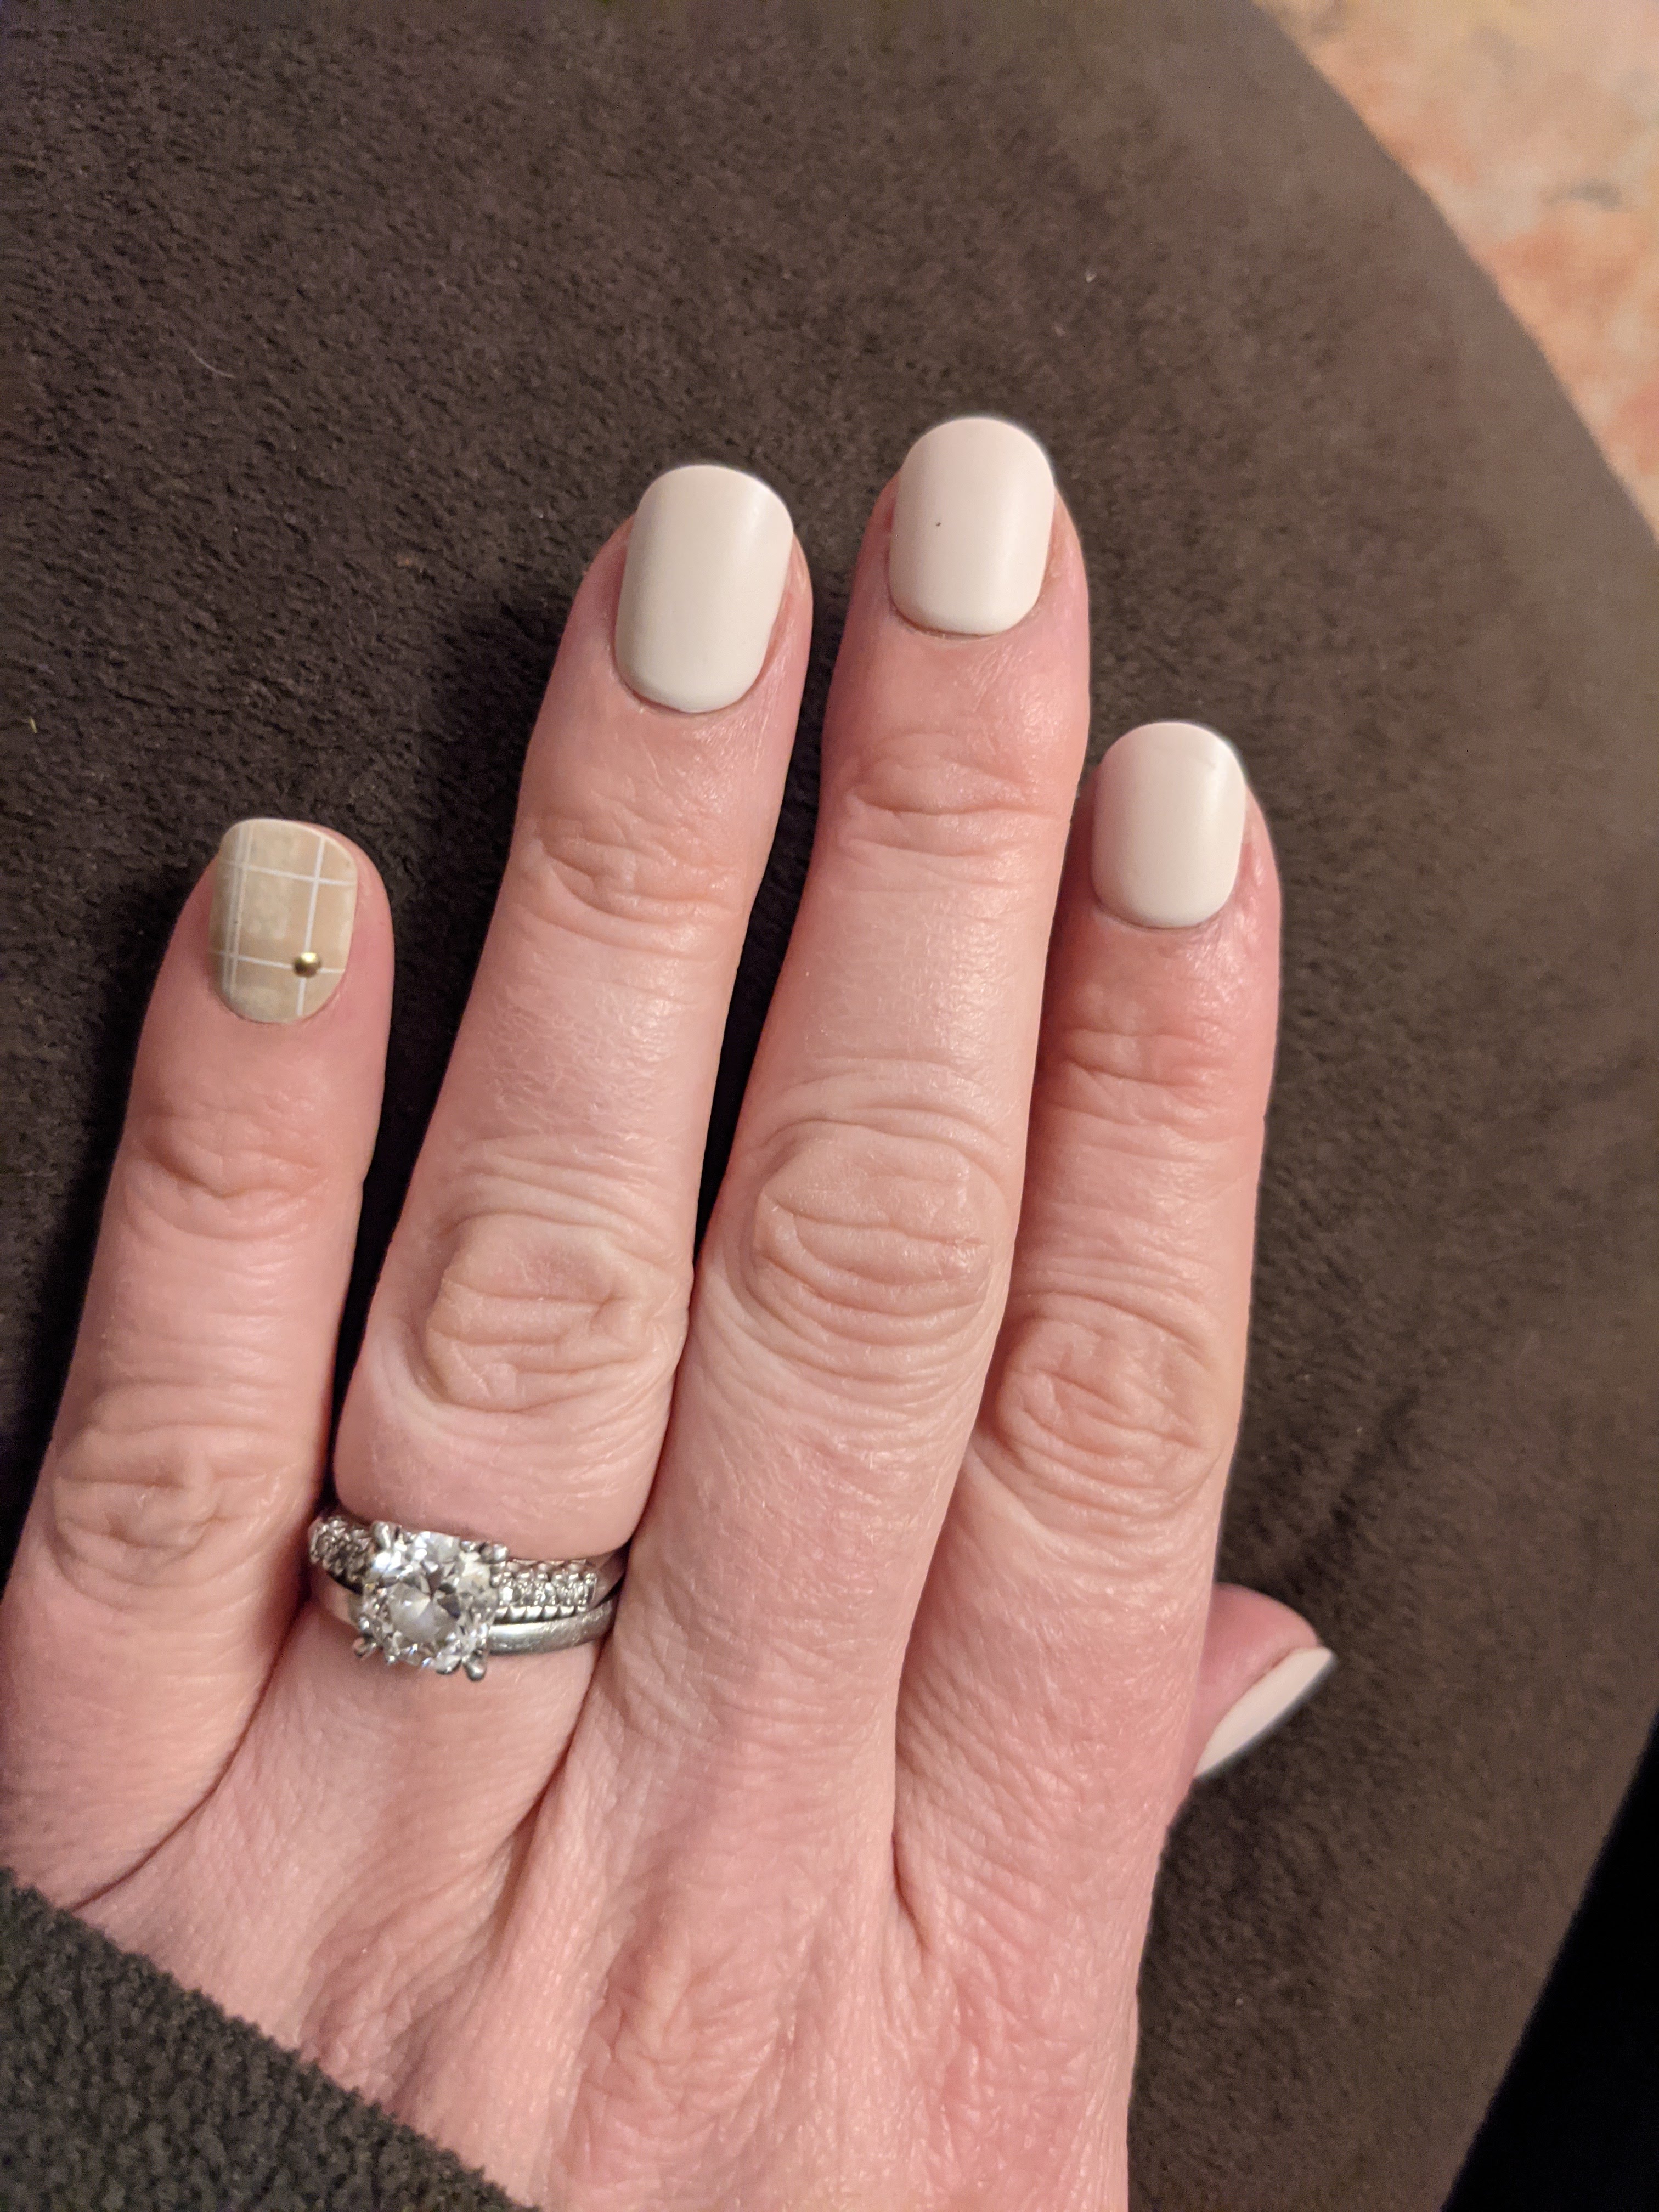
Anyhoo, somehow I stumbled onto the idea of nail wraps- basically stickers for your nails.  Now I can’t remember how I found out about them or why exactly they caught my eye. Certainly I missed the whole Jamberry craze back in the day.  But they caught my eye in a big way. and when they did, I remembered admiring a client’s nails in a meeting, and thinking my nails could never look that cool, because I’m hopeless with polish.  And every time I got gel nails for Cookie Cons, they would look great for a few weeks, then my nails would get shredded when the polish was removed.  And time for the salon was nil, even before the pandemic. So was there really something that would give little ol’ me cool nails? It turns out that indeed there was.

Nail Art Cookies!

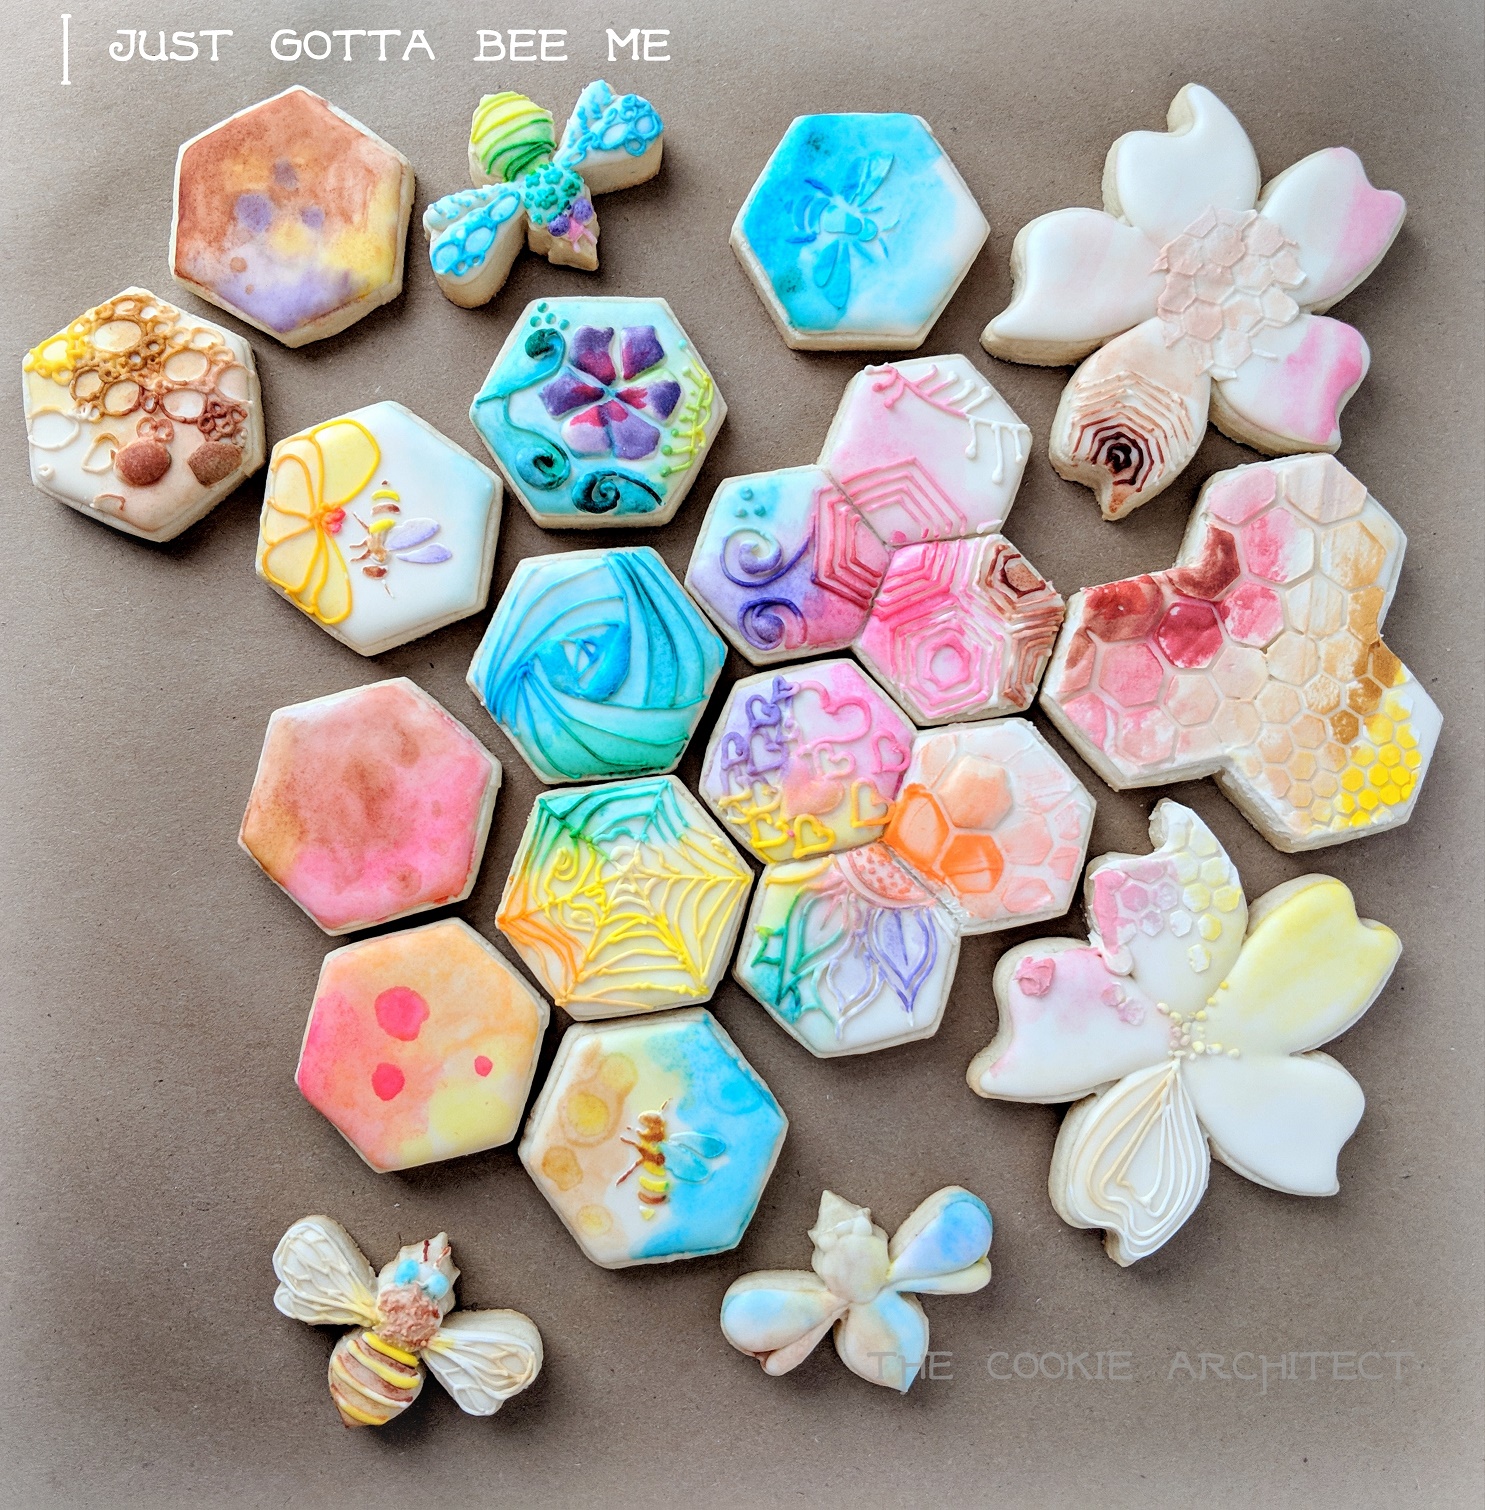
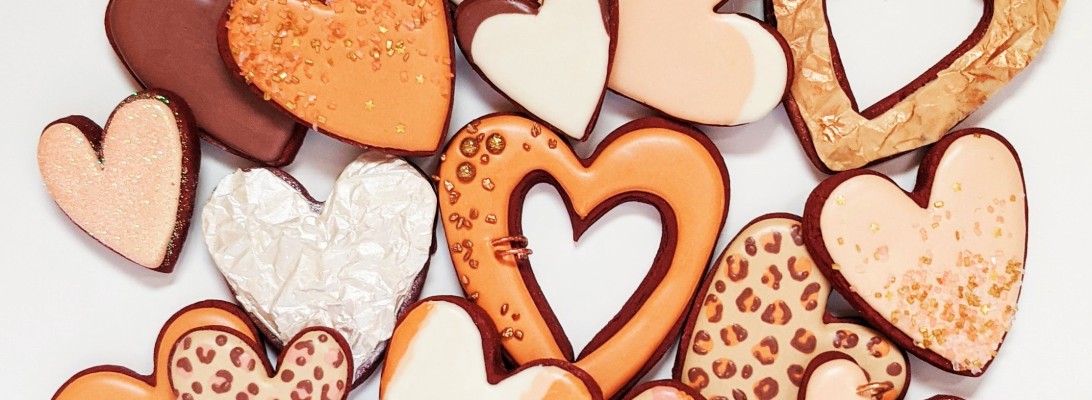
I joined an Instagram collaboration called #SweetNailsCollab that went live February 20th, hosted by @burntcookiesbymurrah, and decided to make cookies that reflect not just the one set of nails I wore for the photo shoot, but all sorts of nails that I have or want. It was the perfect opportunity to share my journey while also sharing some cookies! The sweet colors, cool patterns and textures that we put on cookies are getting put on nails as well. In fact, I remember a cookier saying that she looked at nail art for inspiration, and at the time I wondered what she was talking about! Now I know, because I’m living in both worlds too!

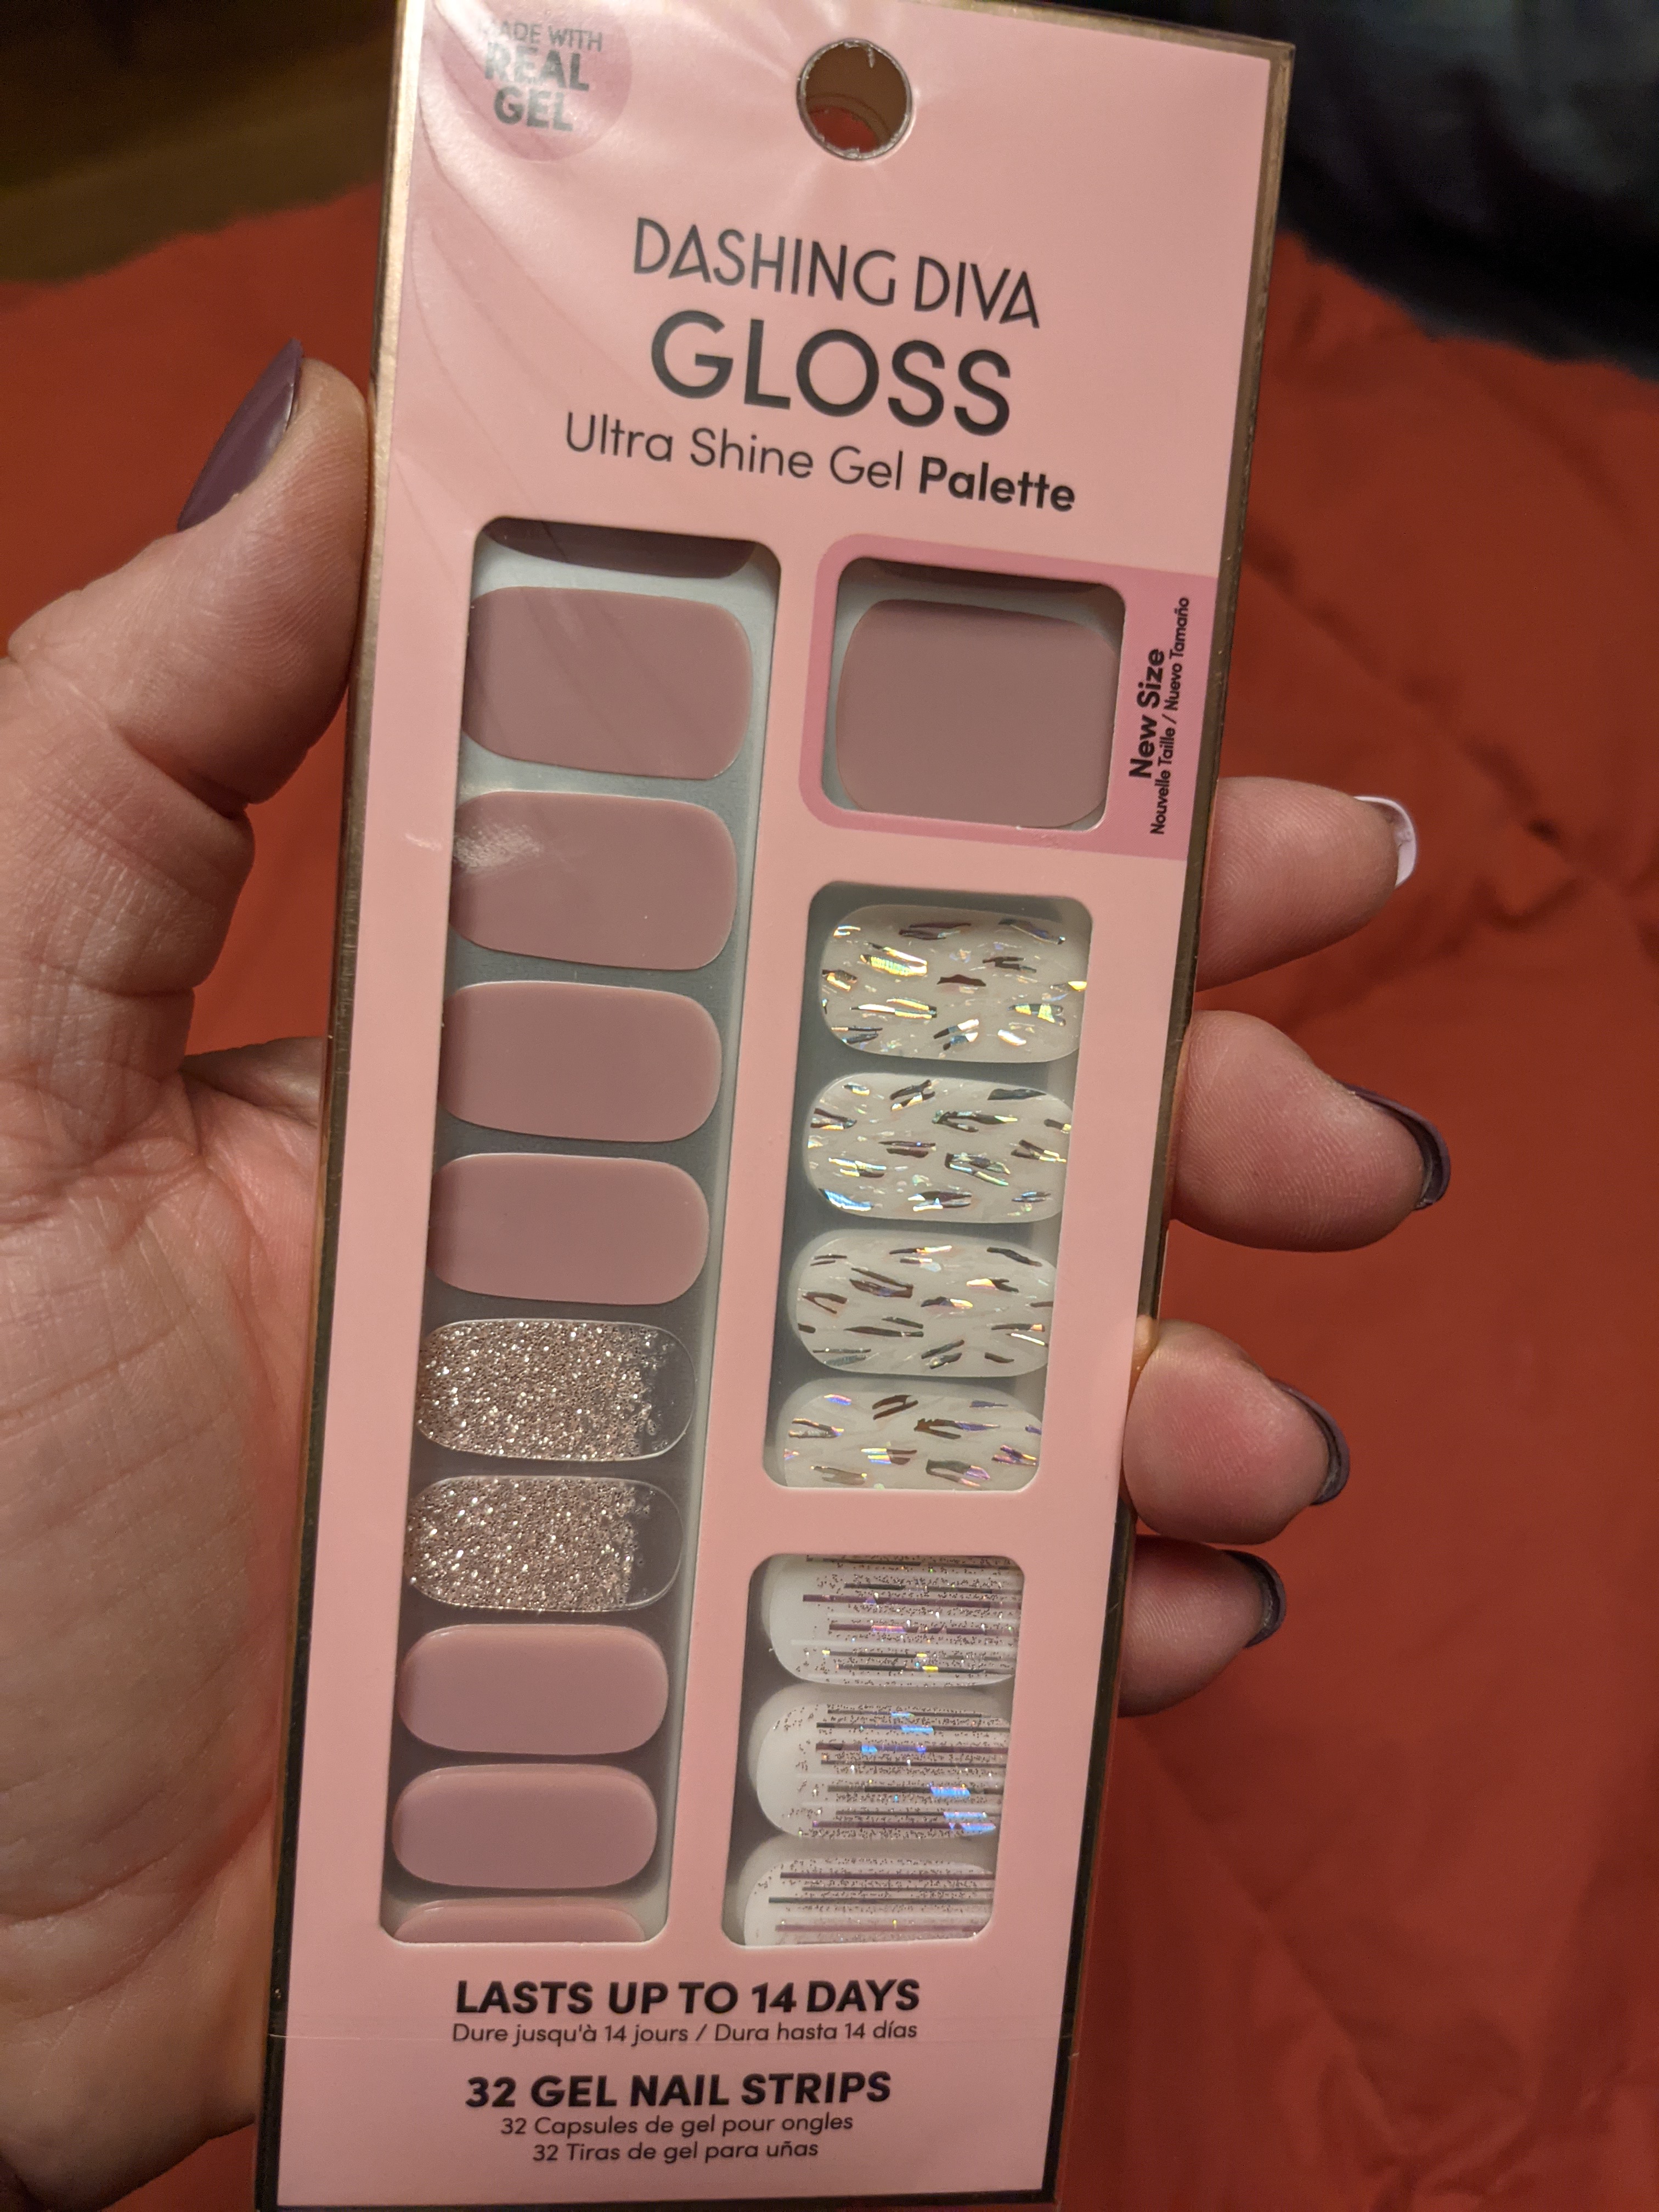
Back to the beginning, I got online, looking for tips and brands of nail wraps, and found a blog that said that Dashing Diva wraps were pretty great. So I tried them first.

My first set of nail wraps, Dashing Diva Gloss. Note that I have unphotogenic hands throughout this post, but at least my nails are nice?

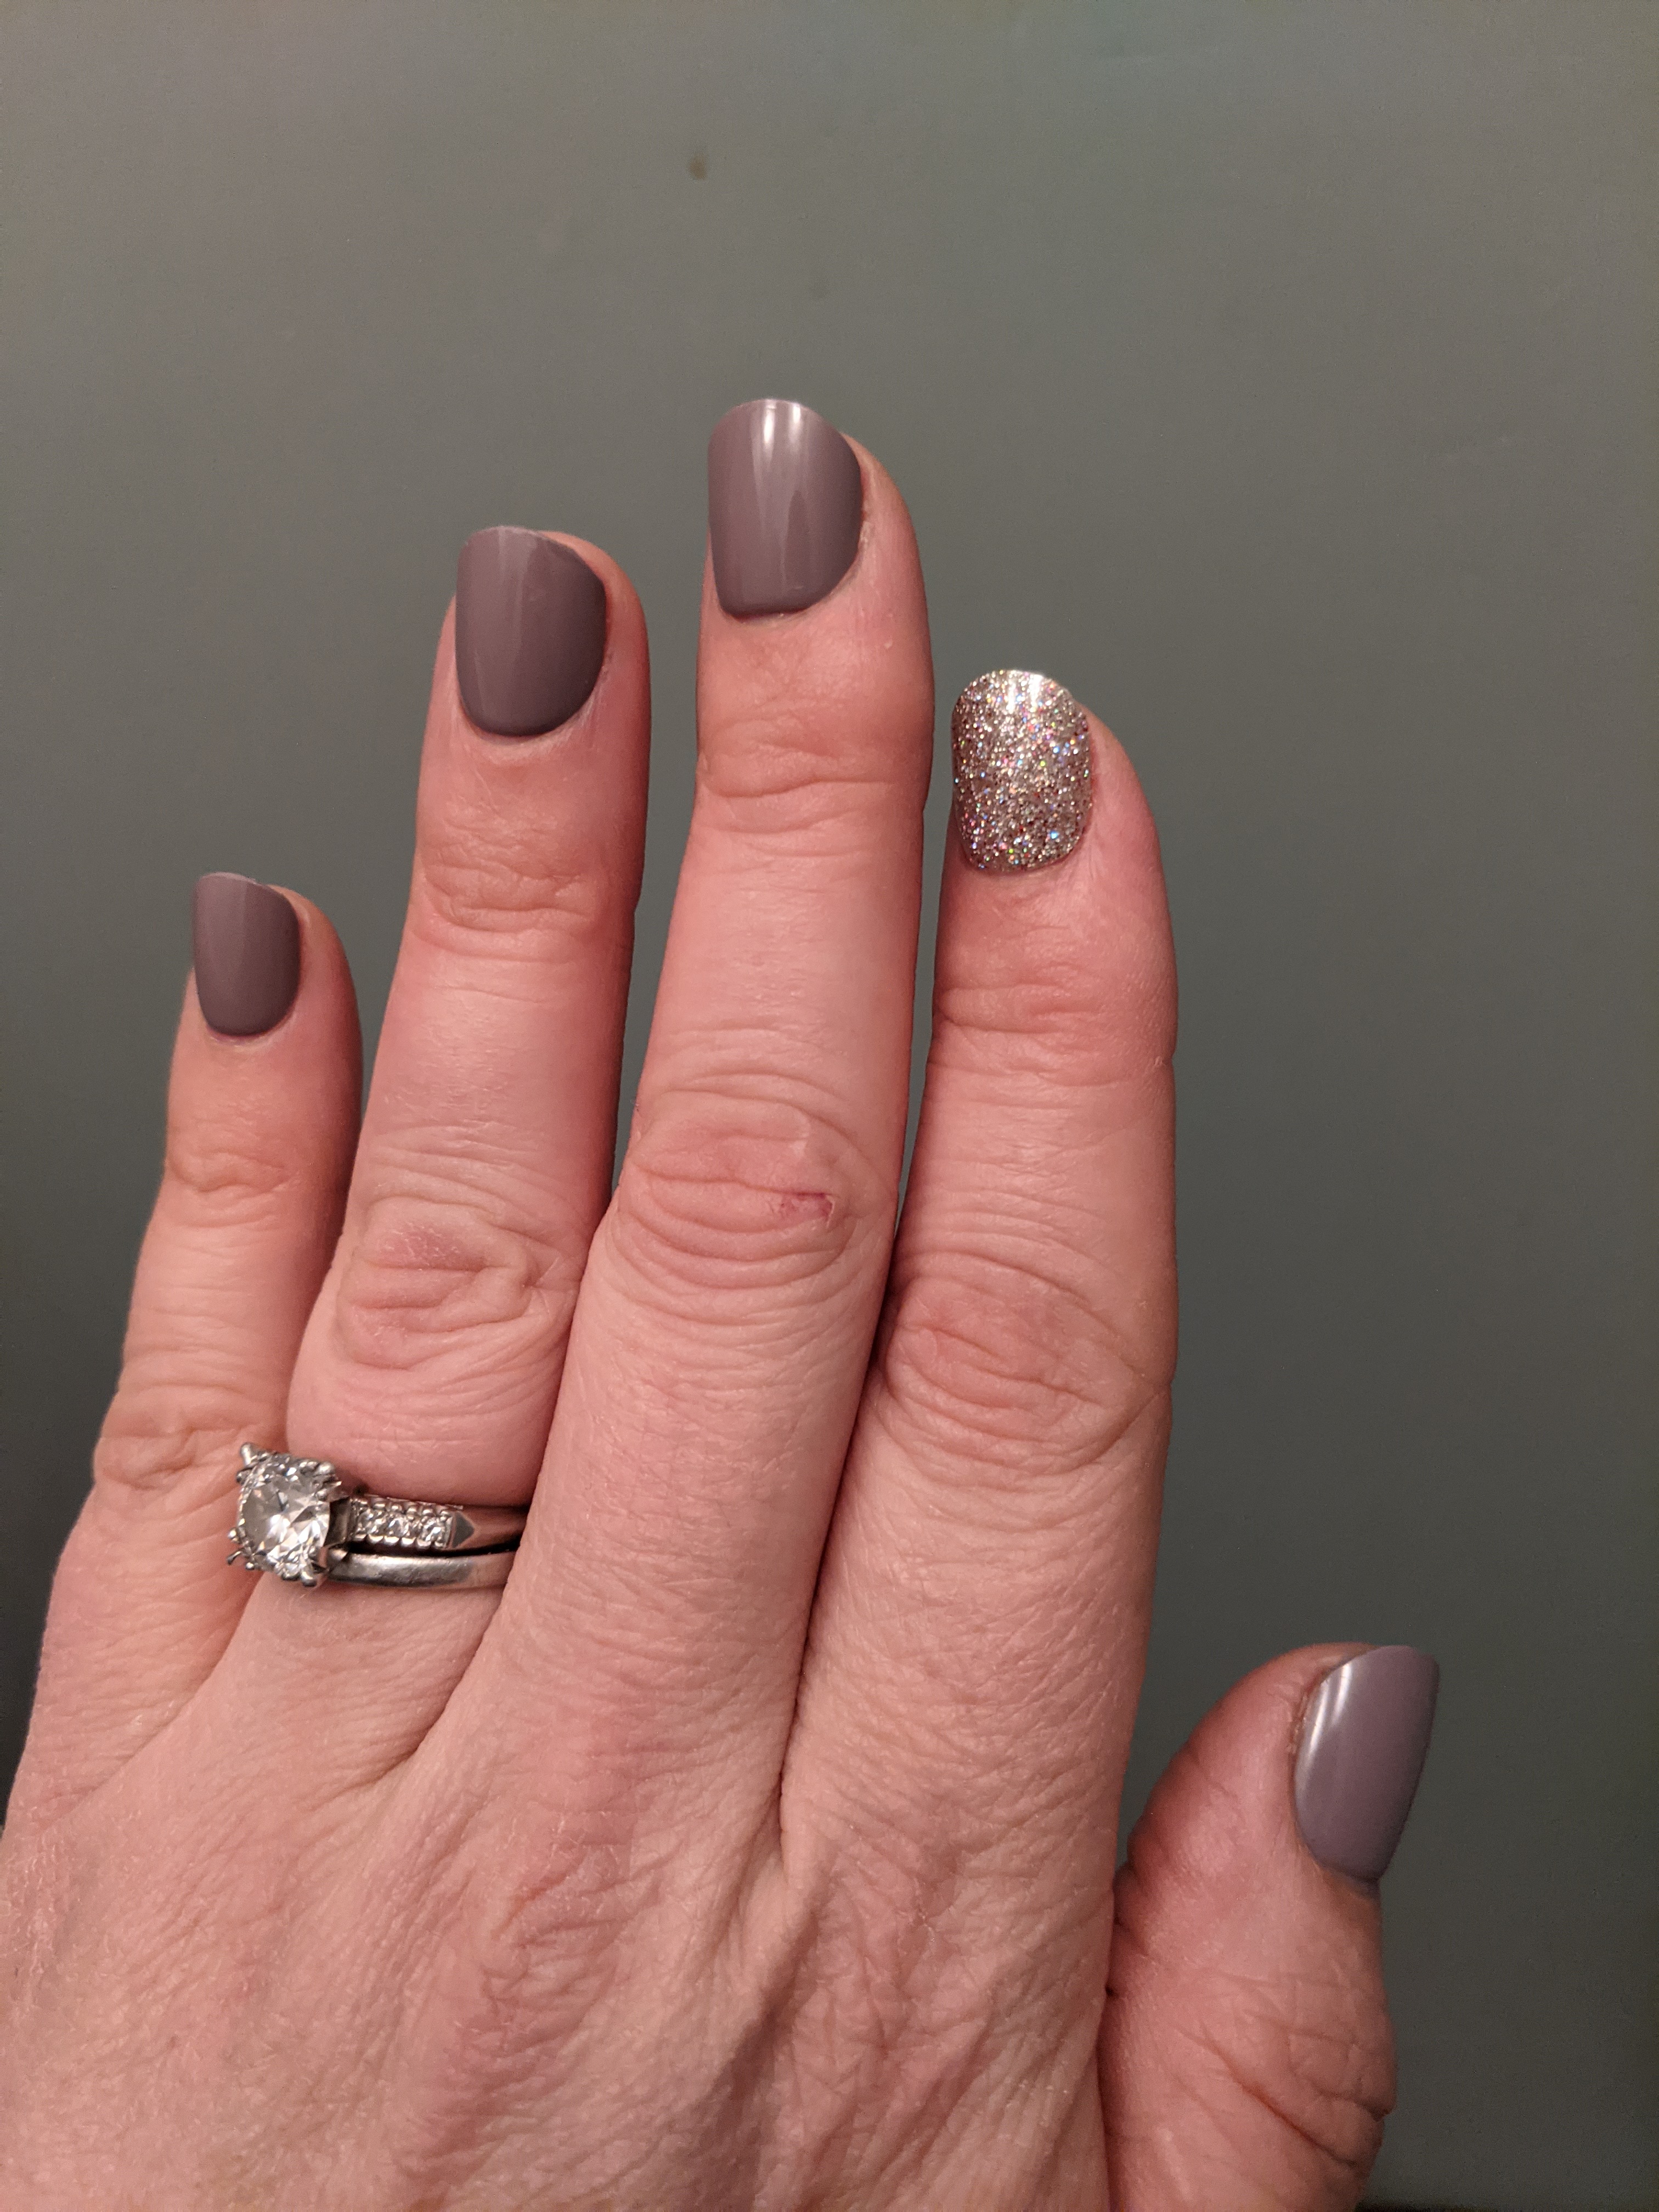
Dashing Diva are pretty great!  They lasted a week looking good, and I was hooked!  I quickly discovered that if you used a coat of their base coat, they last for almost 2 weeks, and your nails are protected when you take the stickers off.

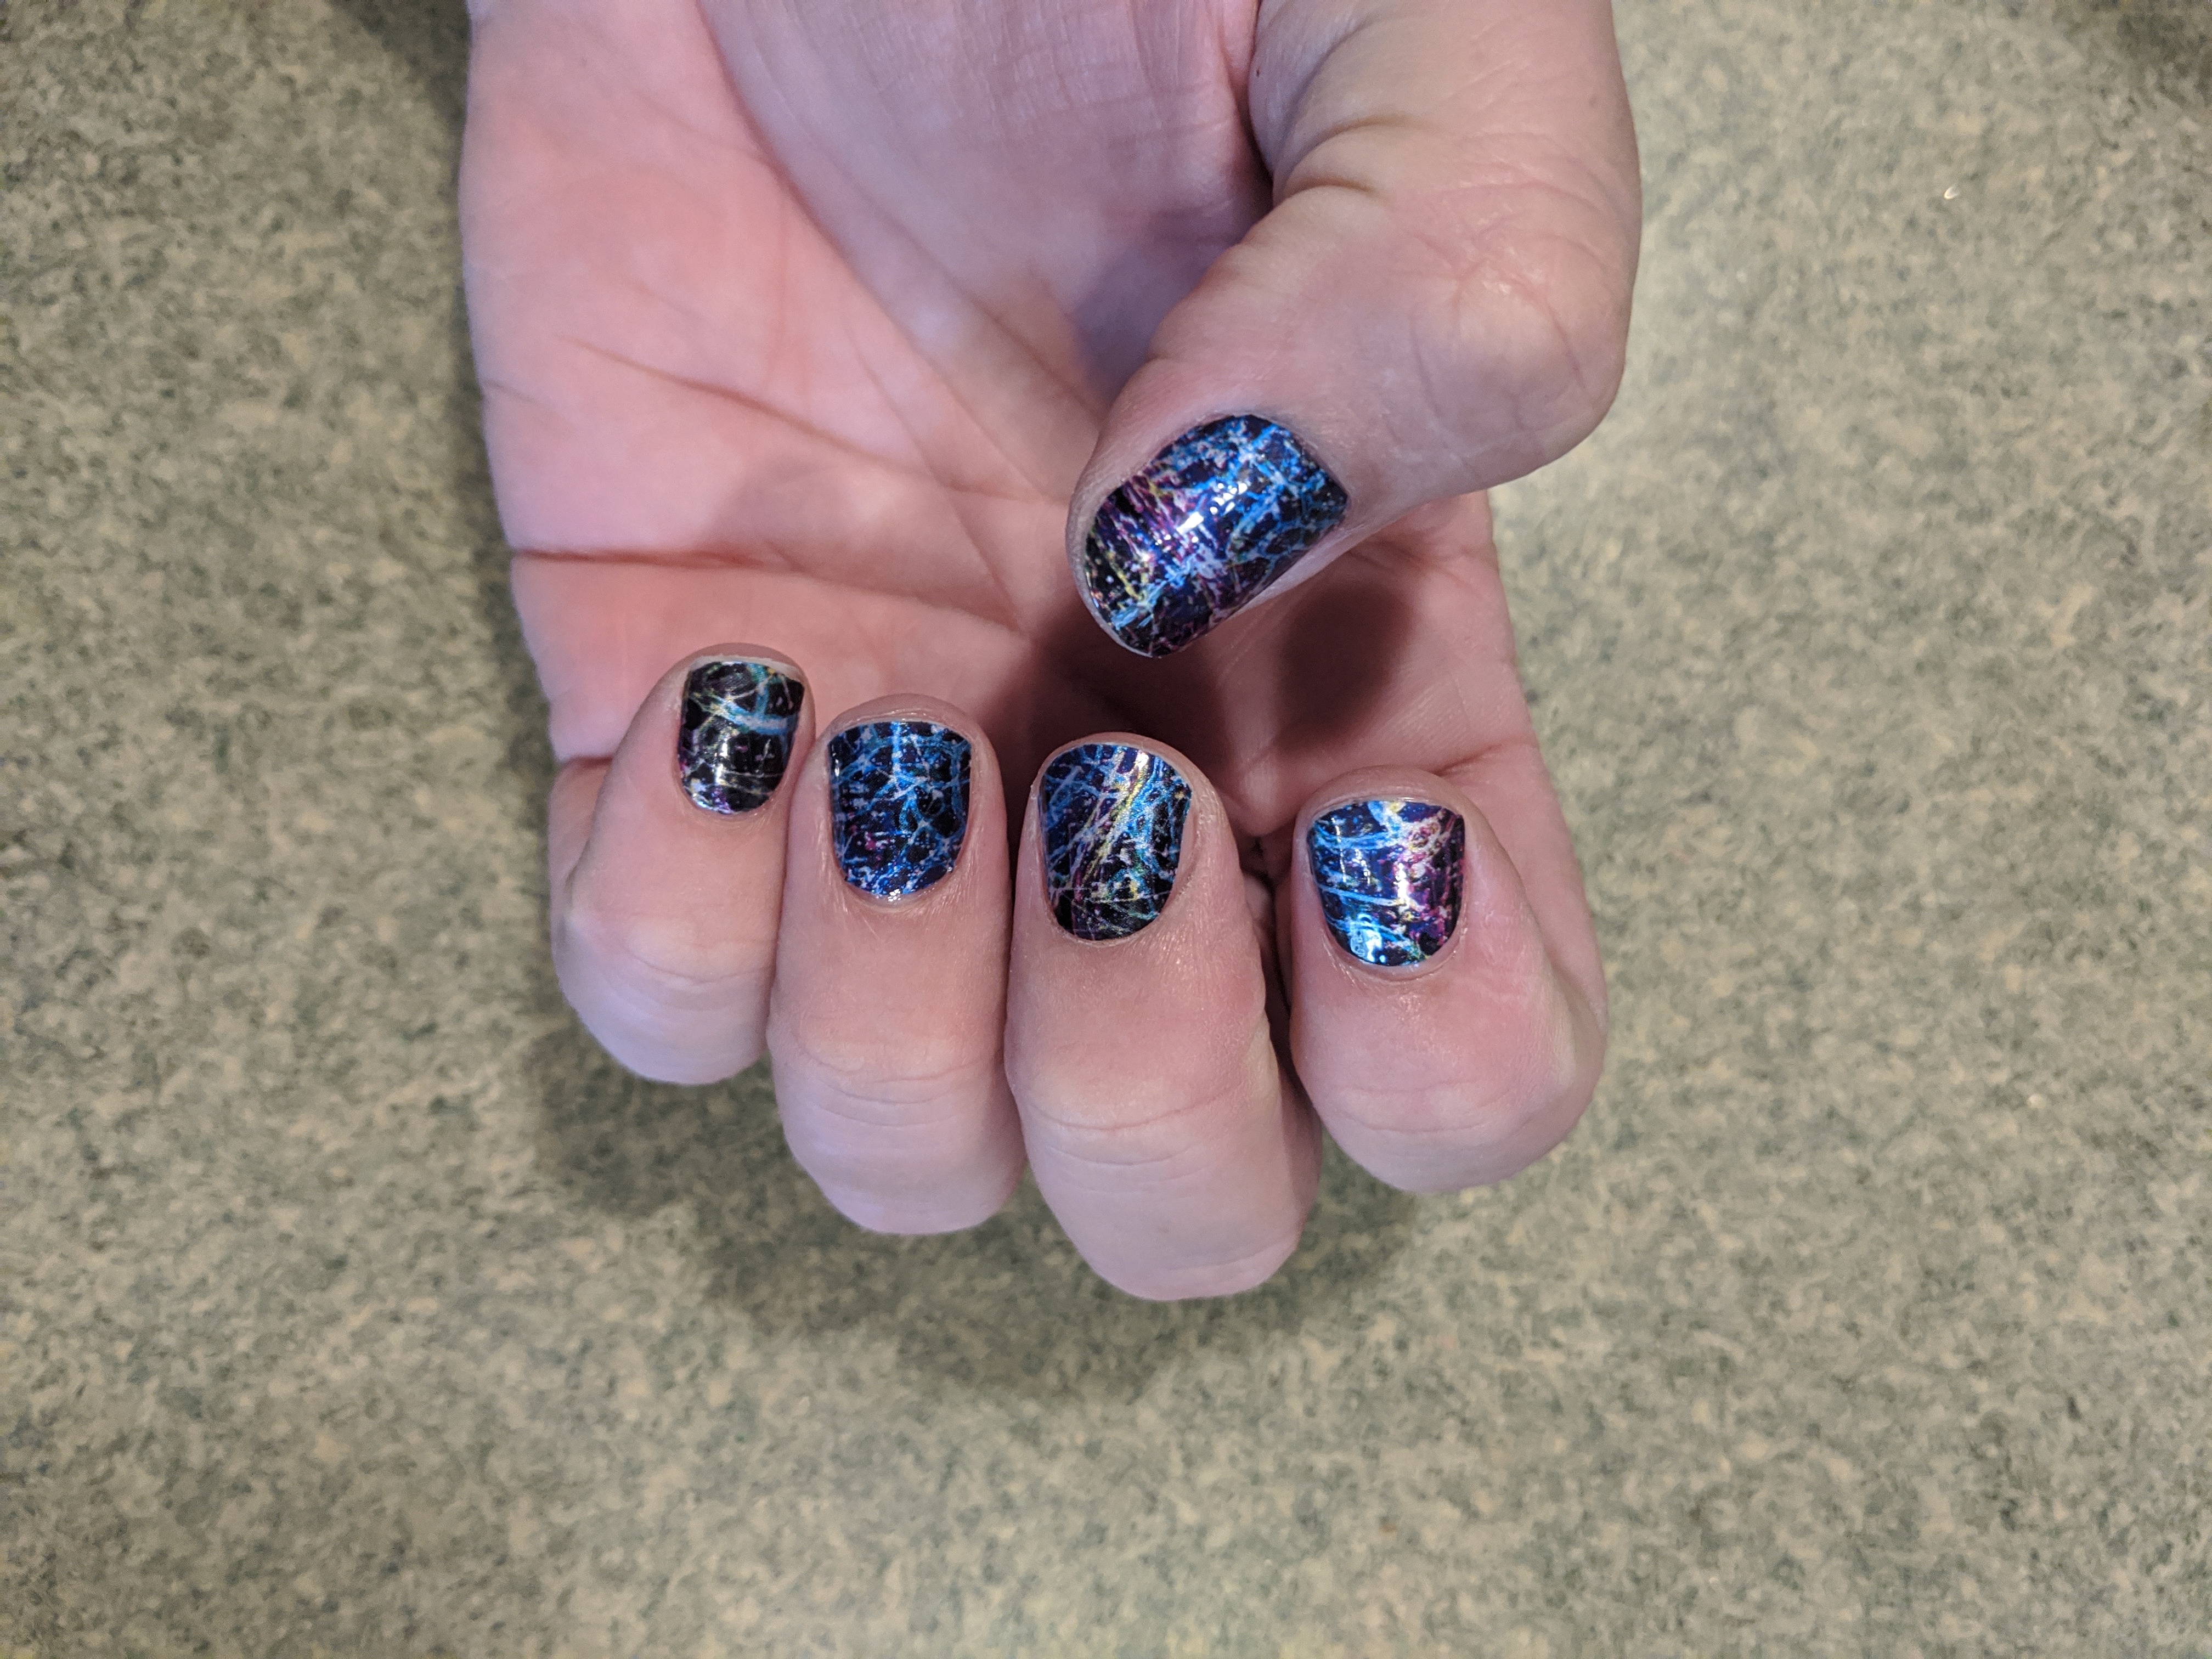
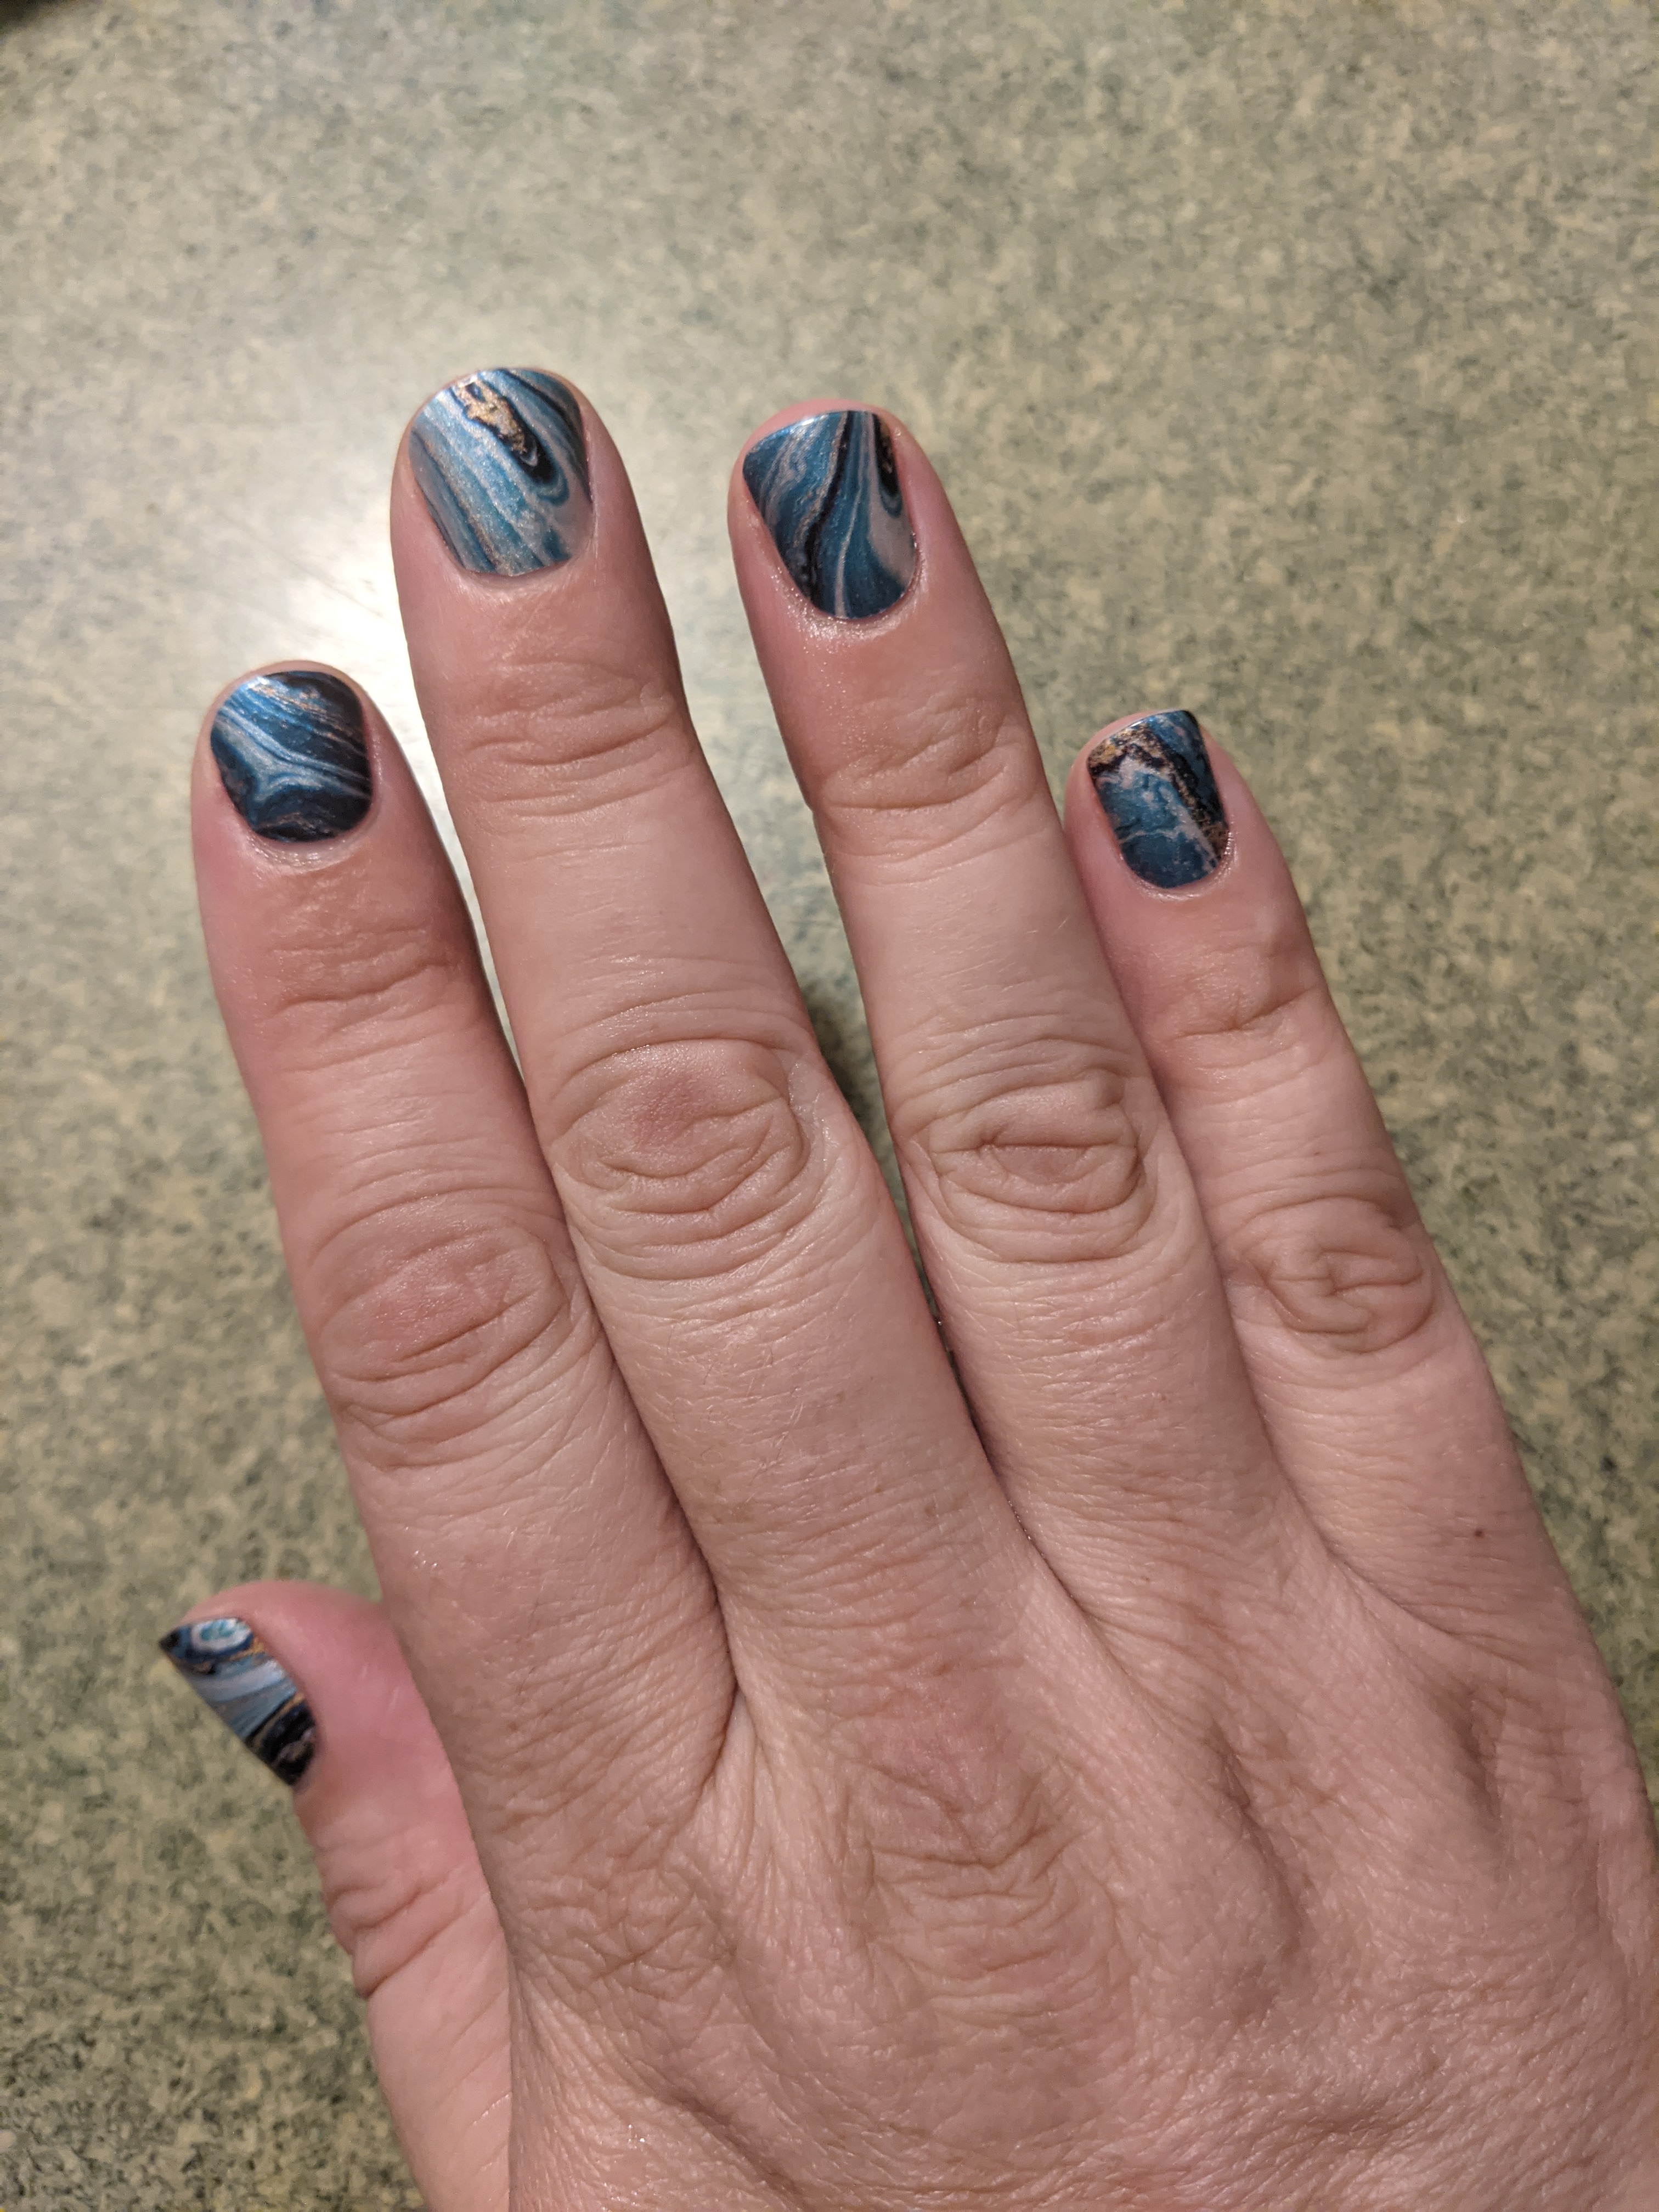
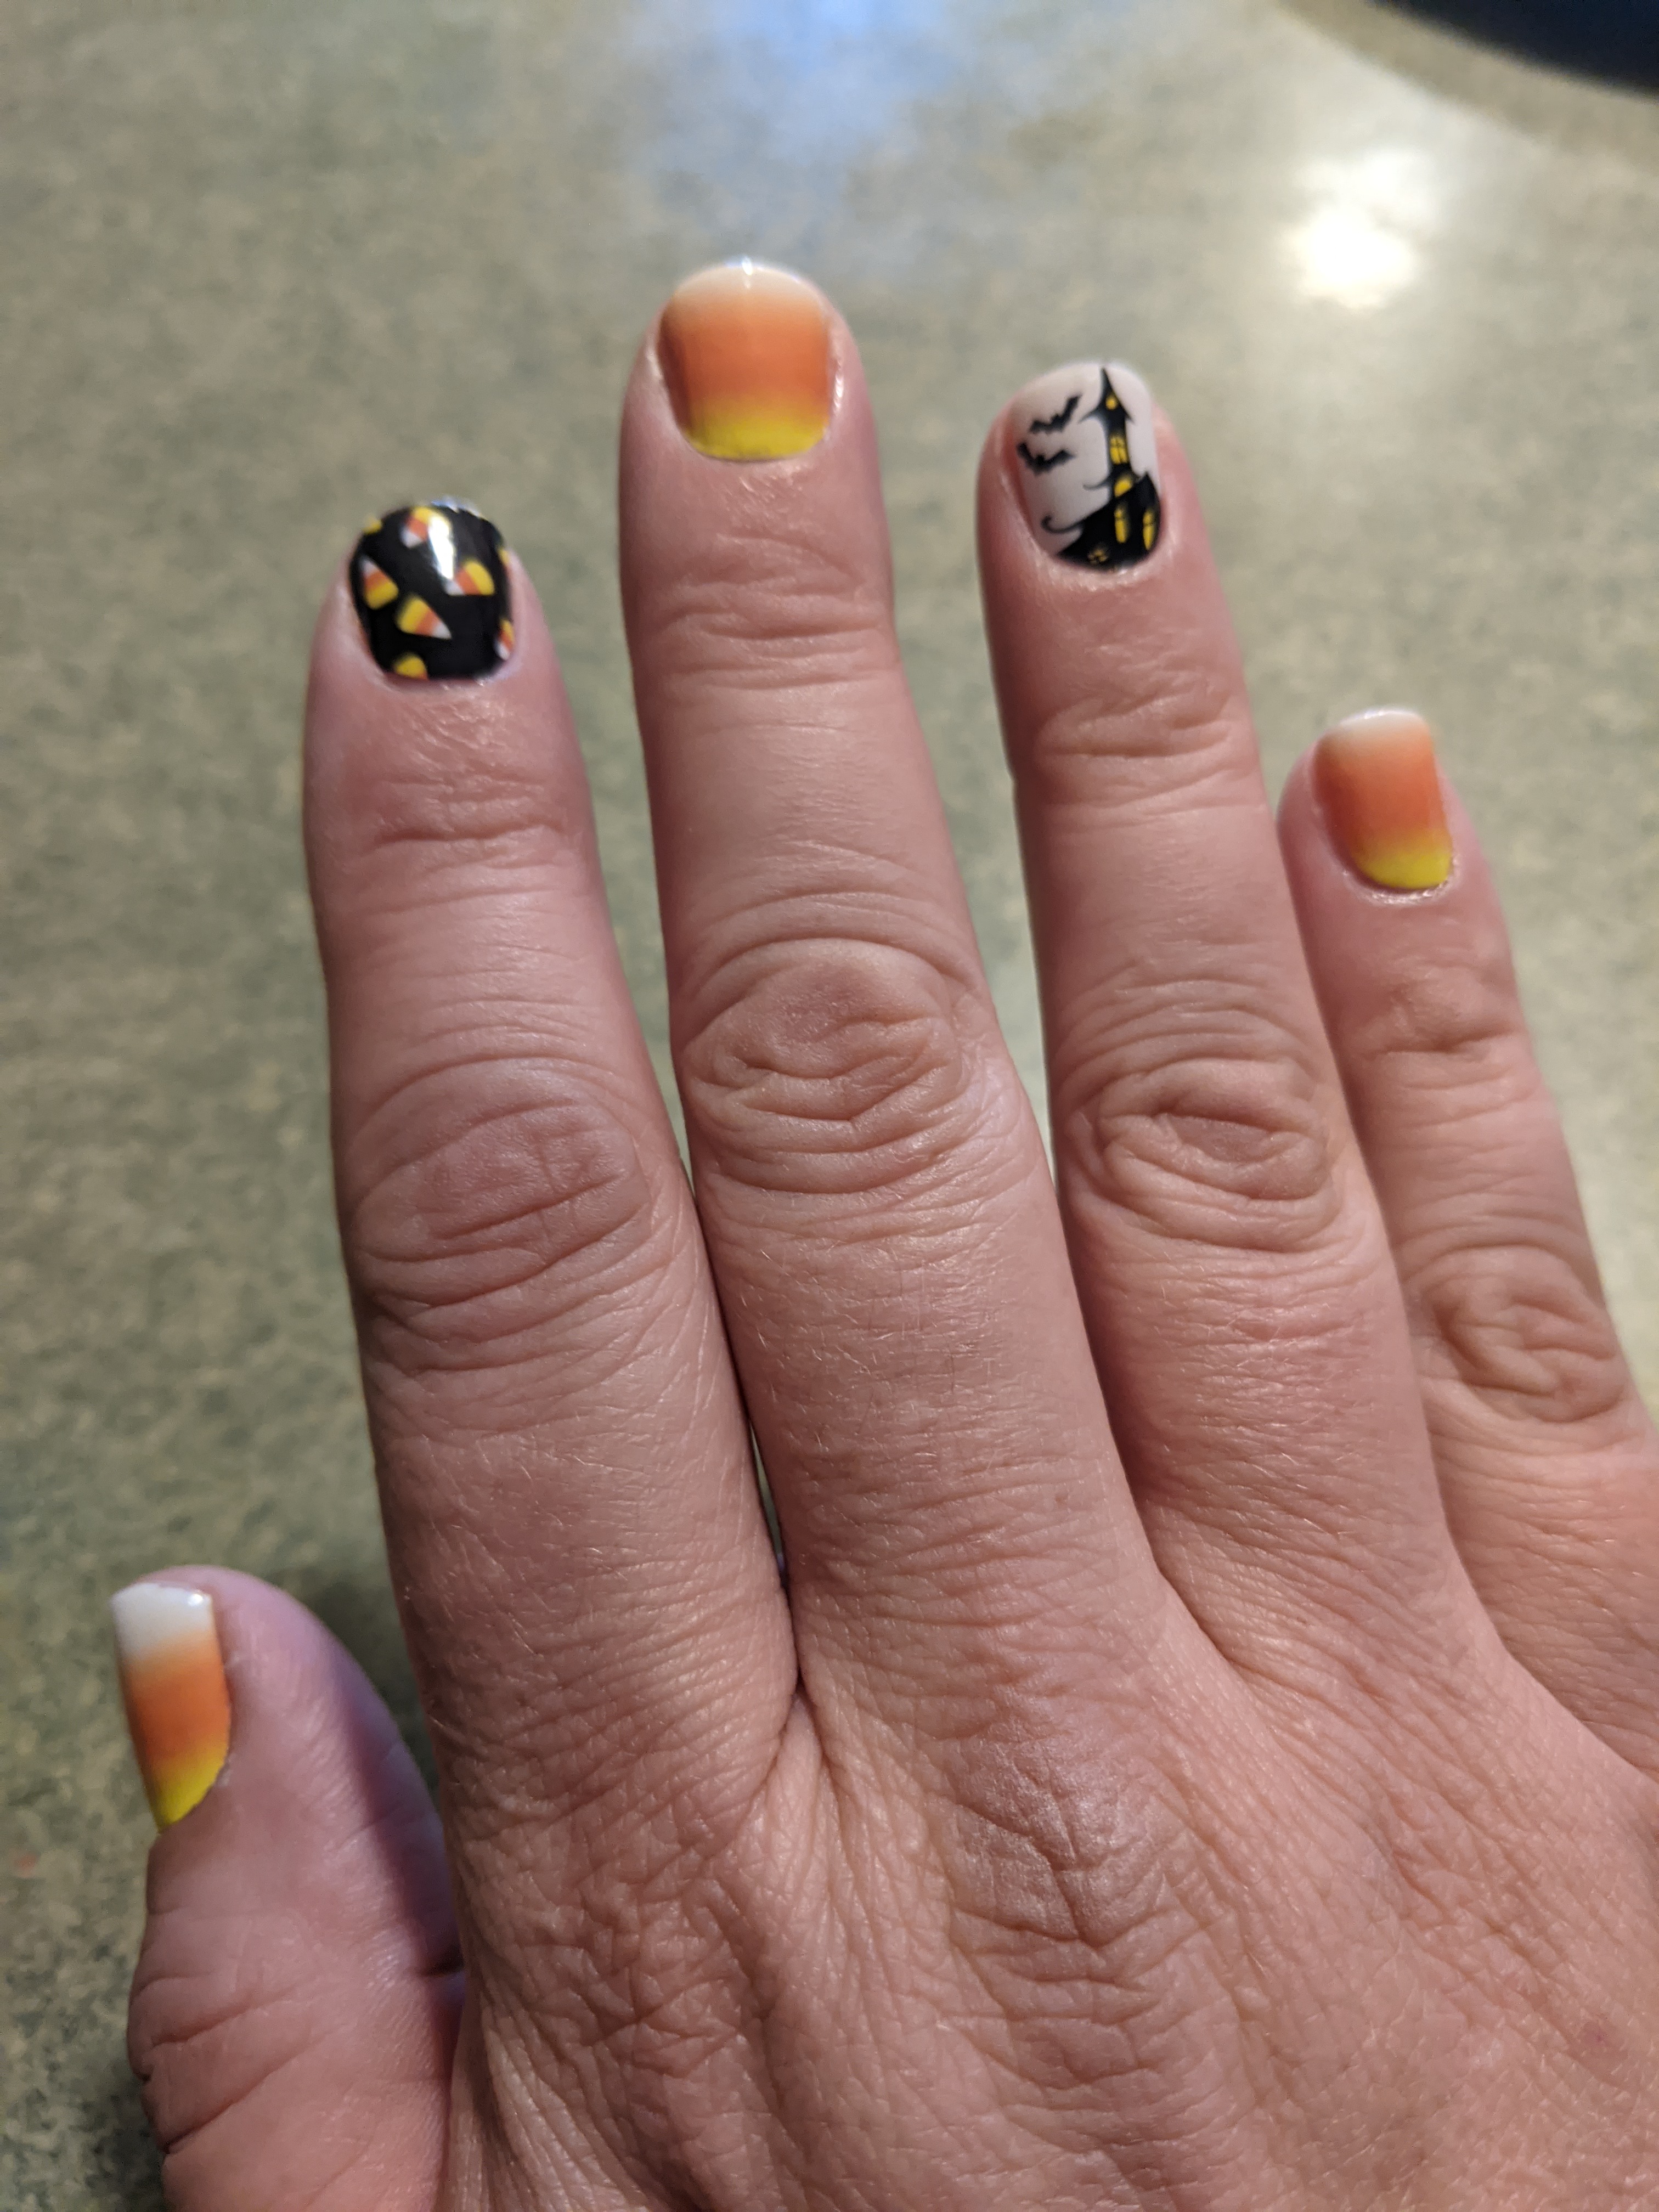
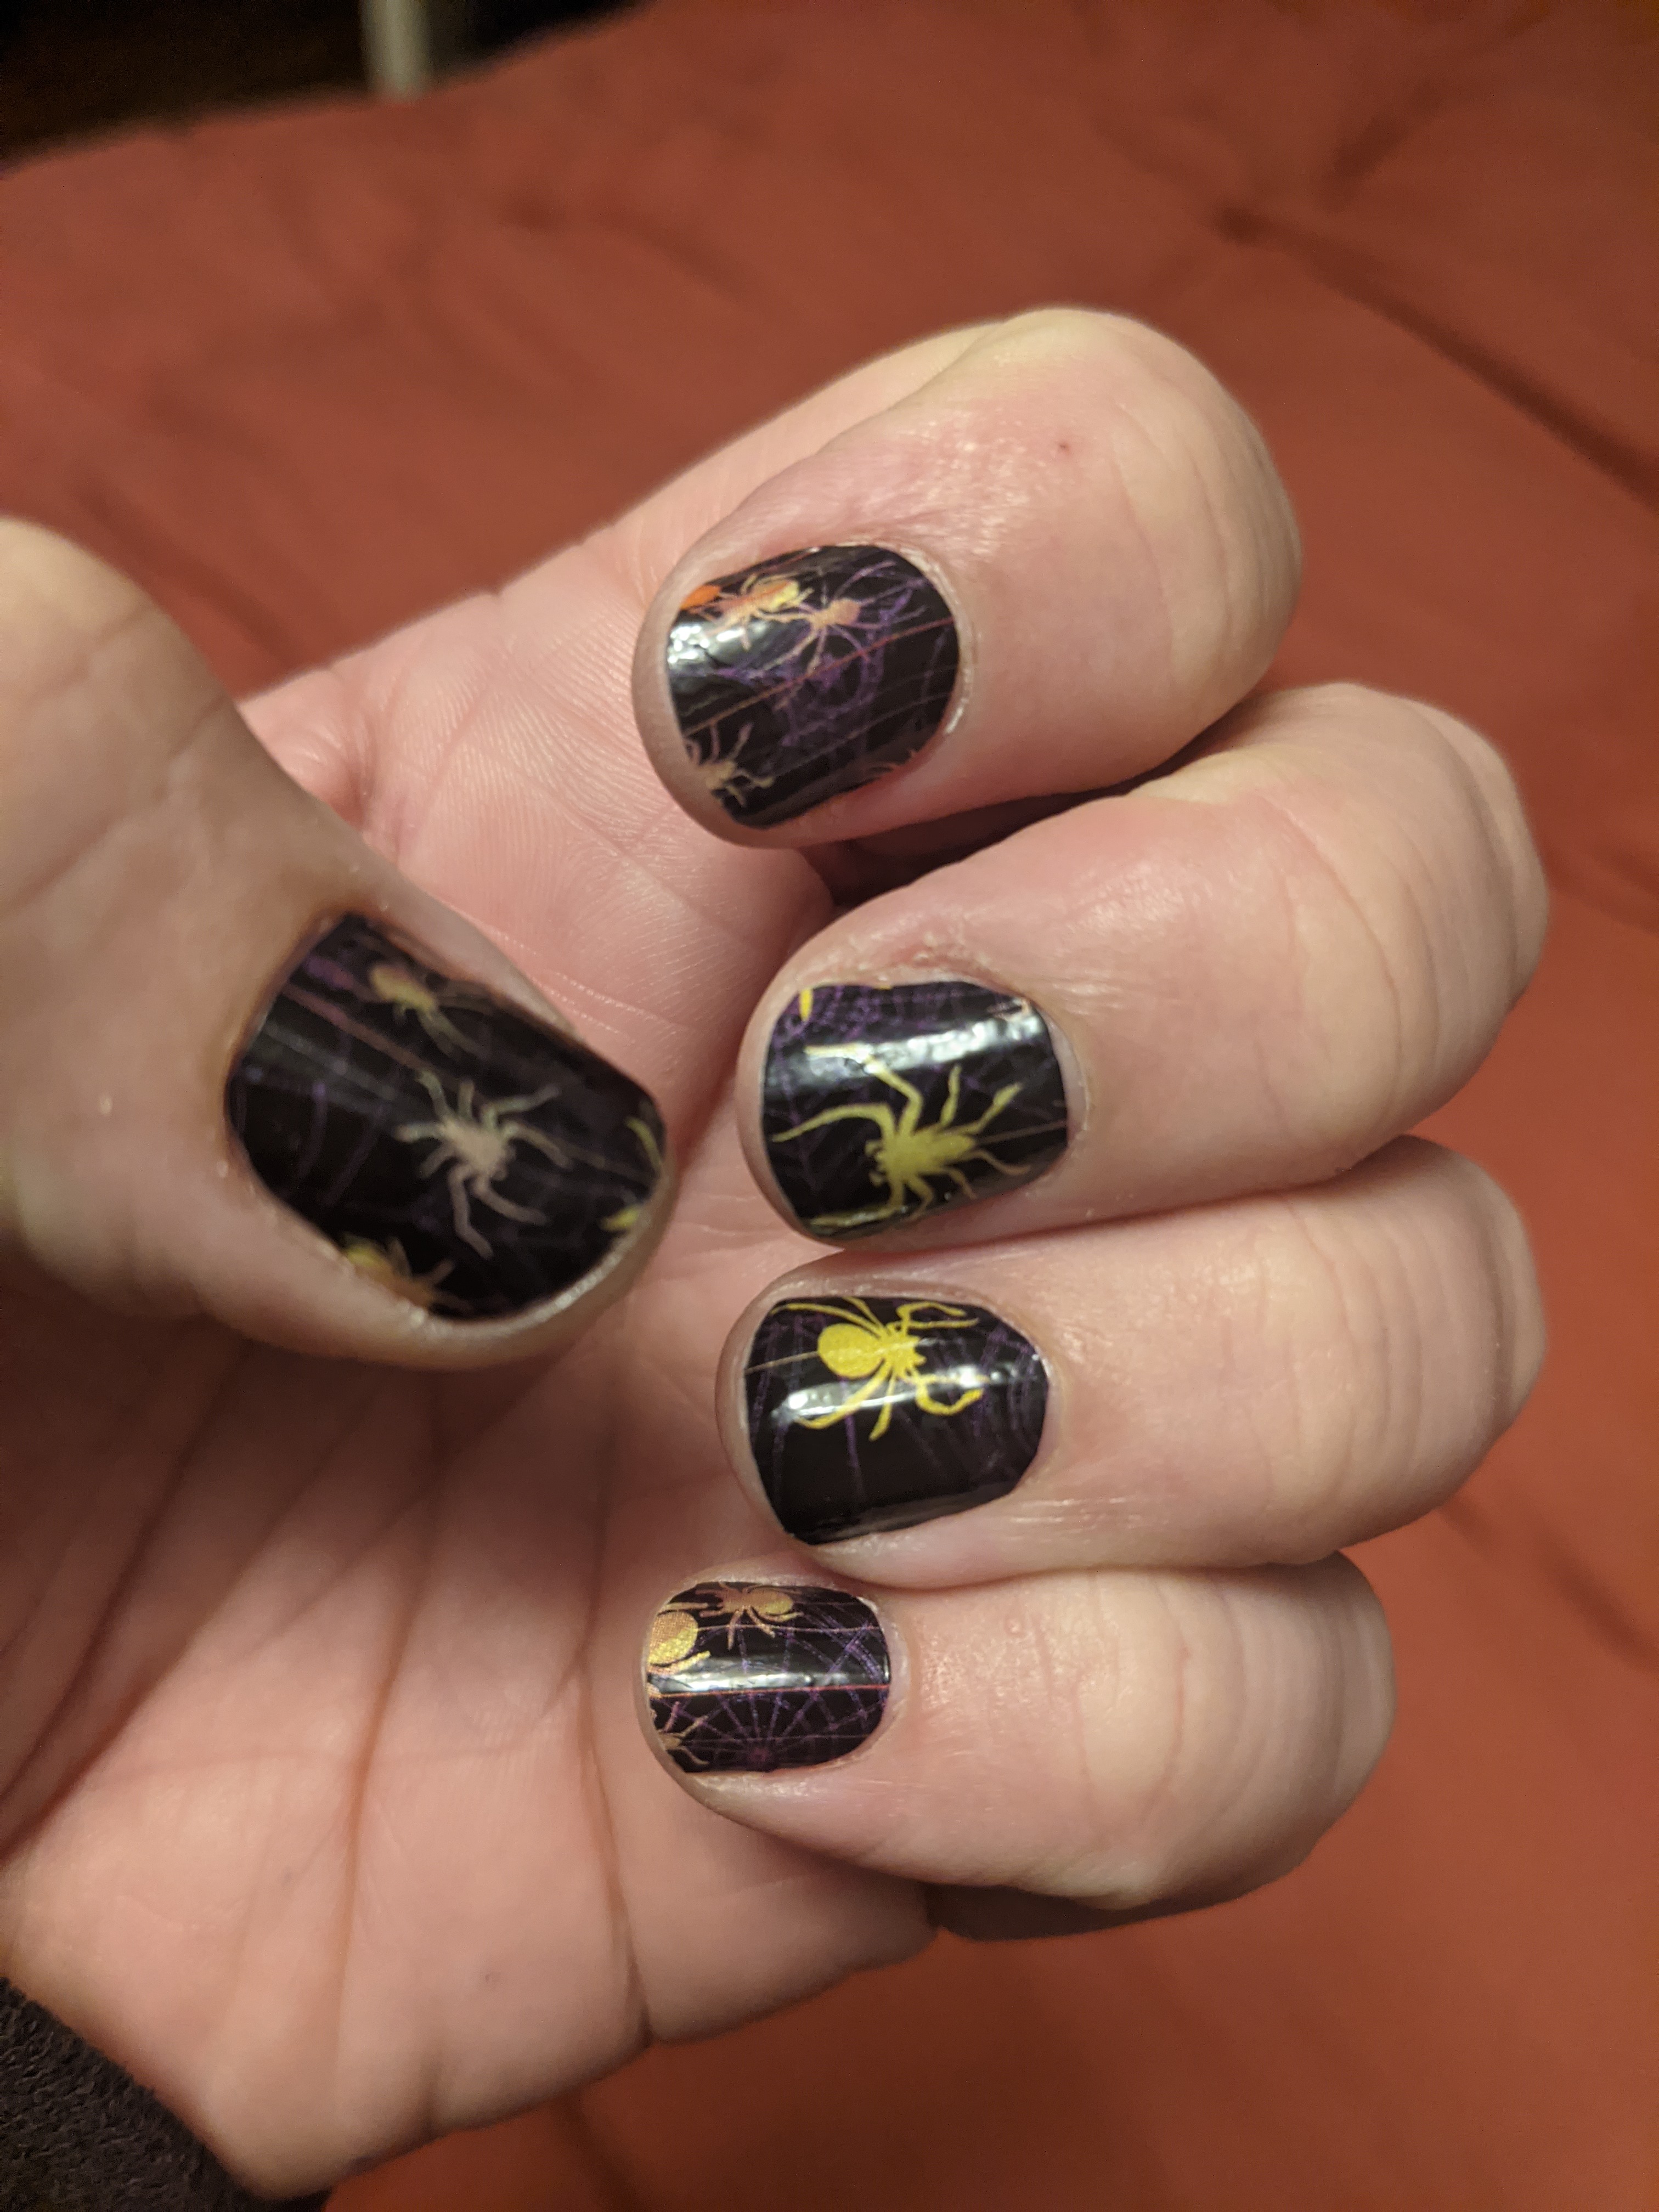
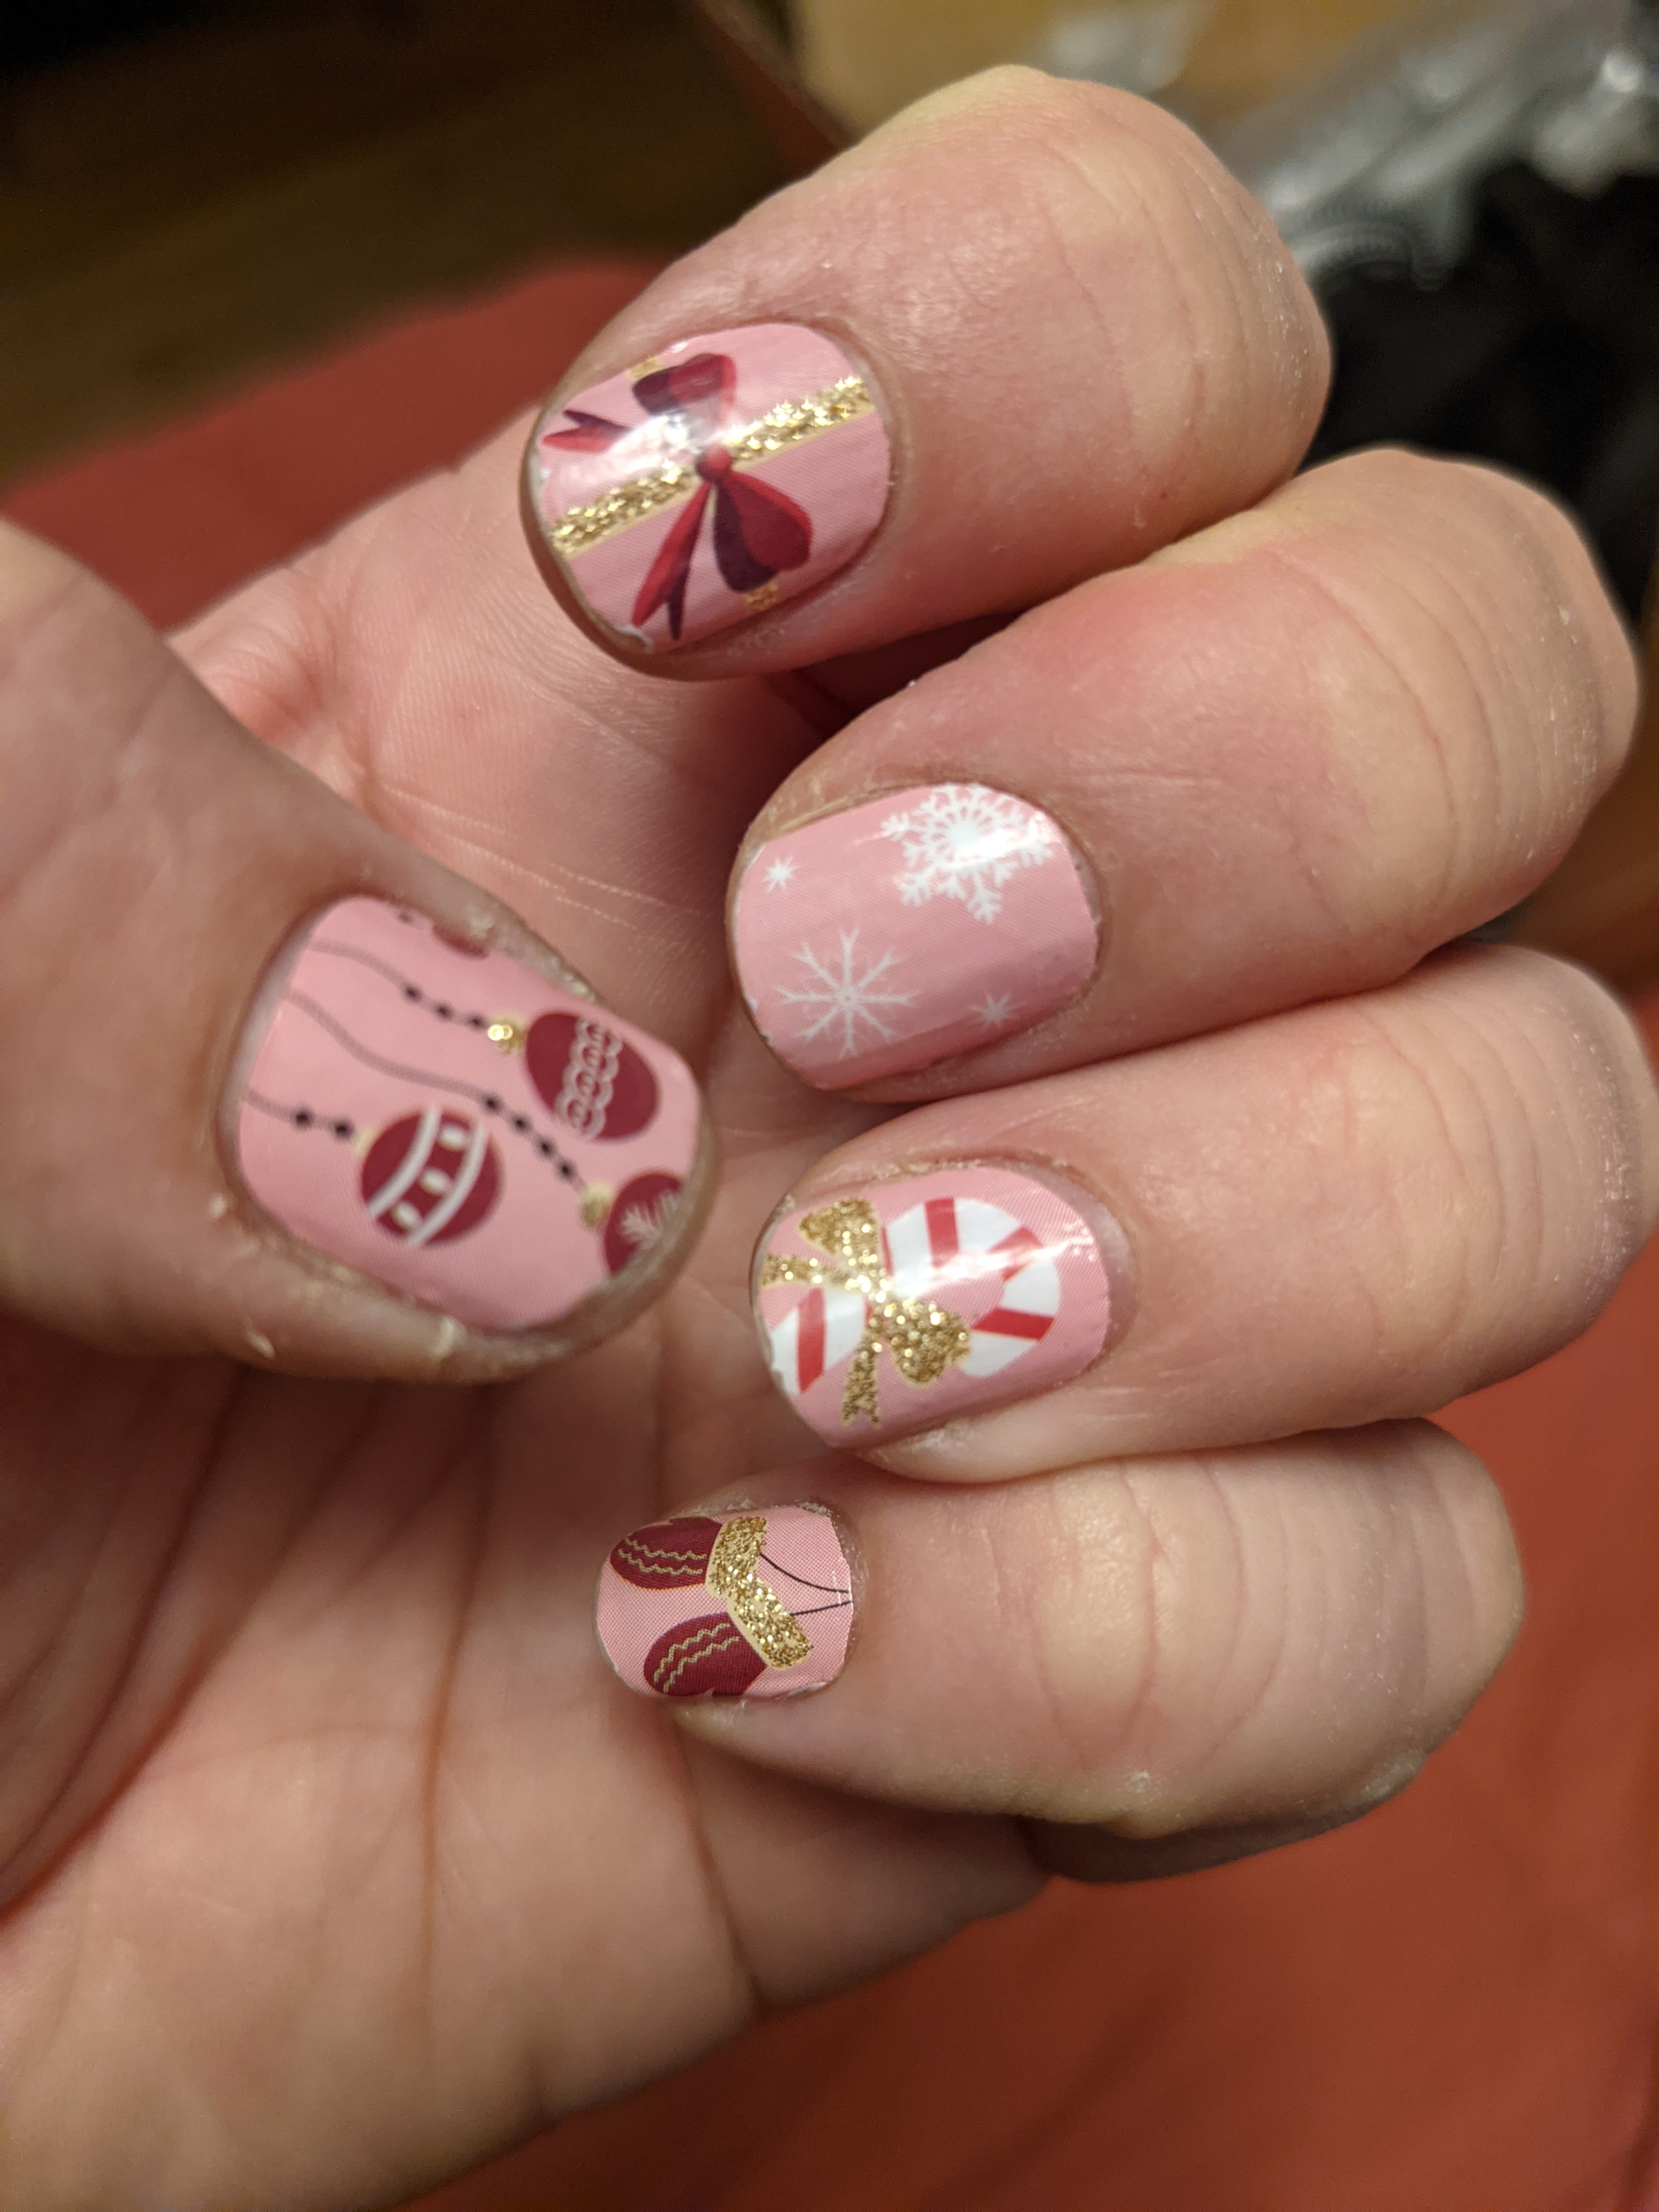
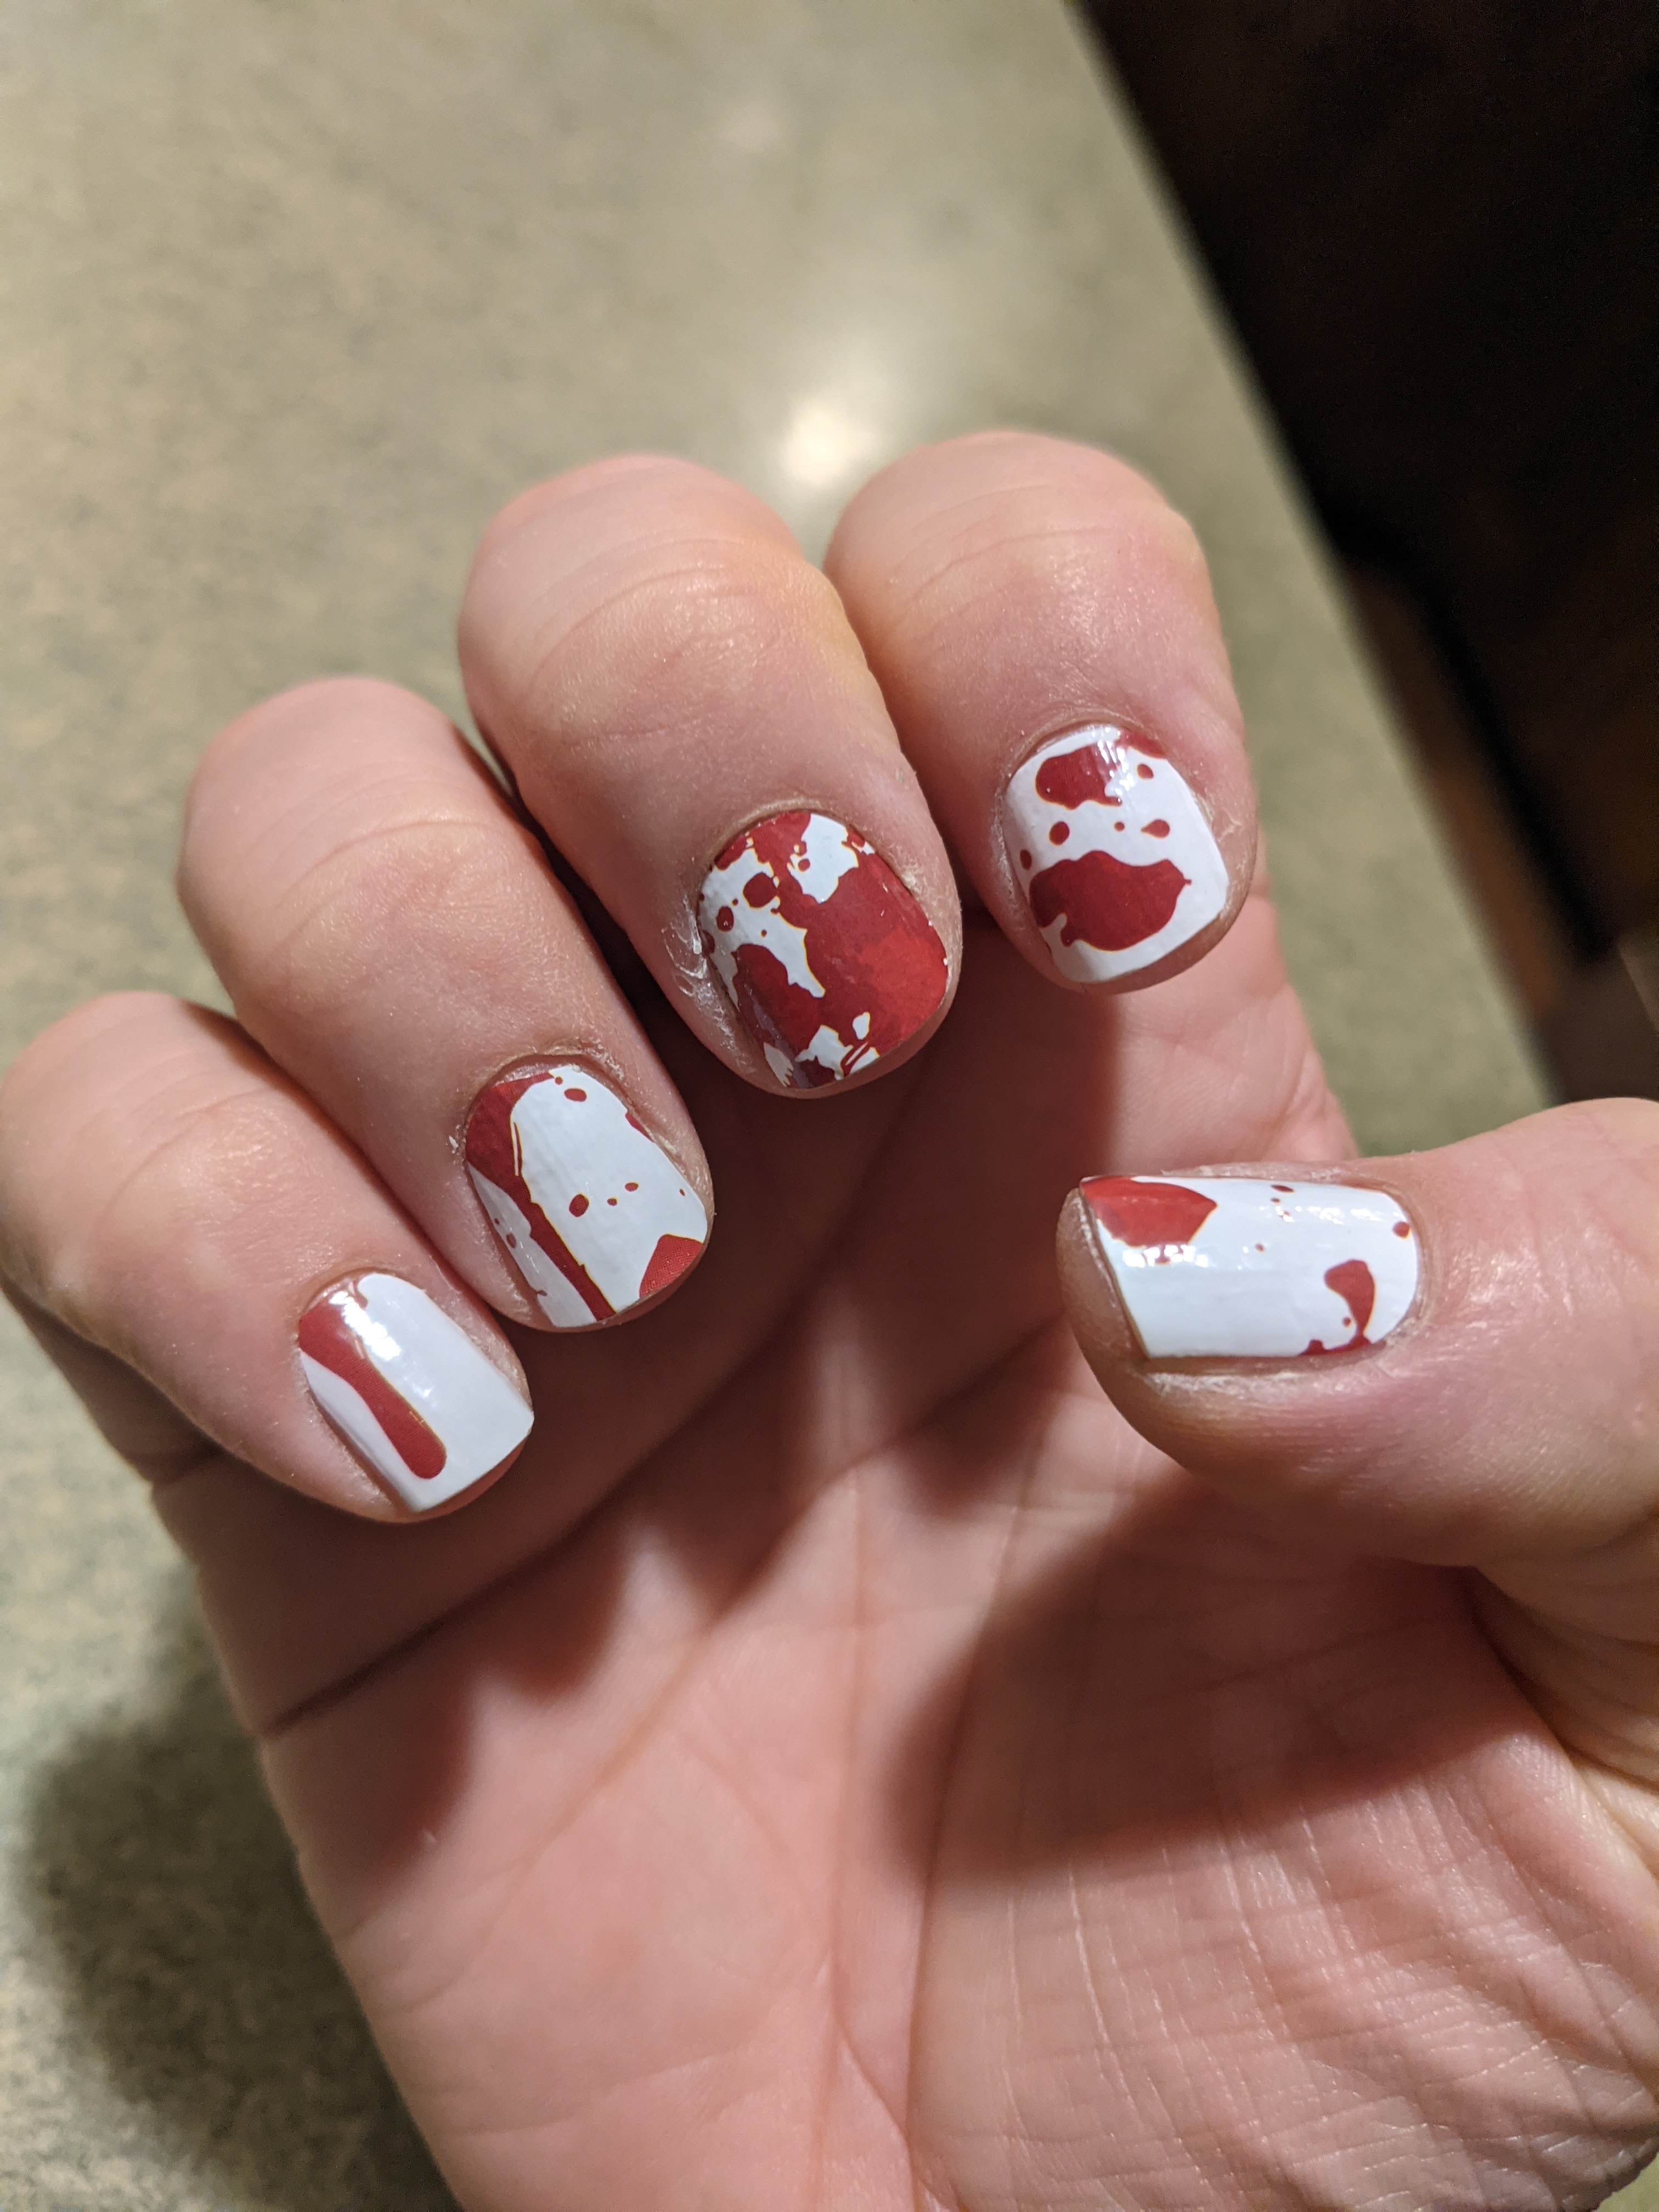
There was only one problem with Dashing Diva wraps- they were lasting too long!  Okay, so not really a problem problem.  But I was having so much fun, and I didn’t want nails that lasted two whole weeks!  Just like with cookies, I like my art impermanent and I wanted more and new.  Soon I was trying all kinds of nail wraps! OhoraEvil Nails, Sawyer and Scout, and one of my favorites for regular (cheap but work great with a top coat!) wraps, Lovely Hello.  And diving off the deep end into….holiday nails?!?! I mean, I don’t even recognize myself anymore.

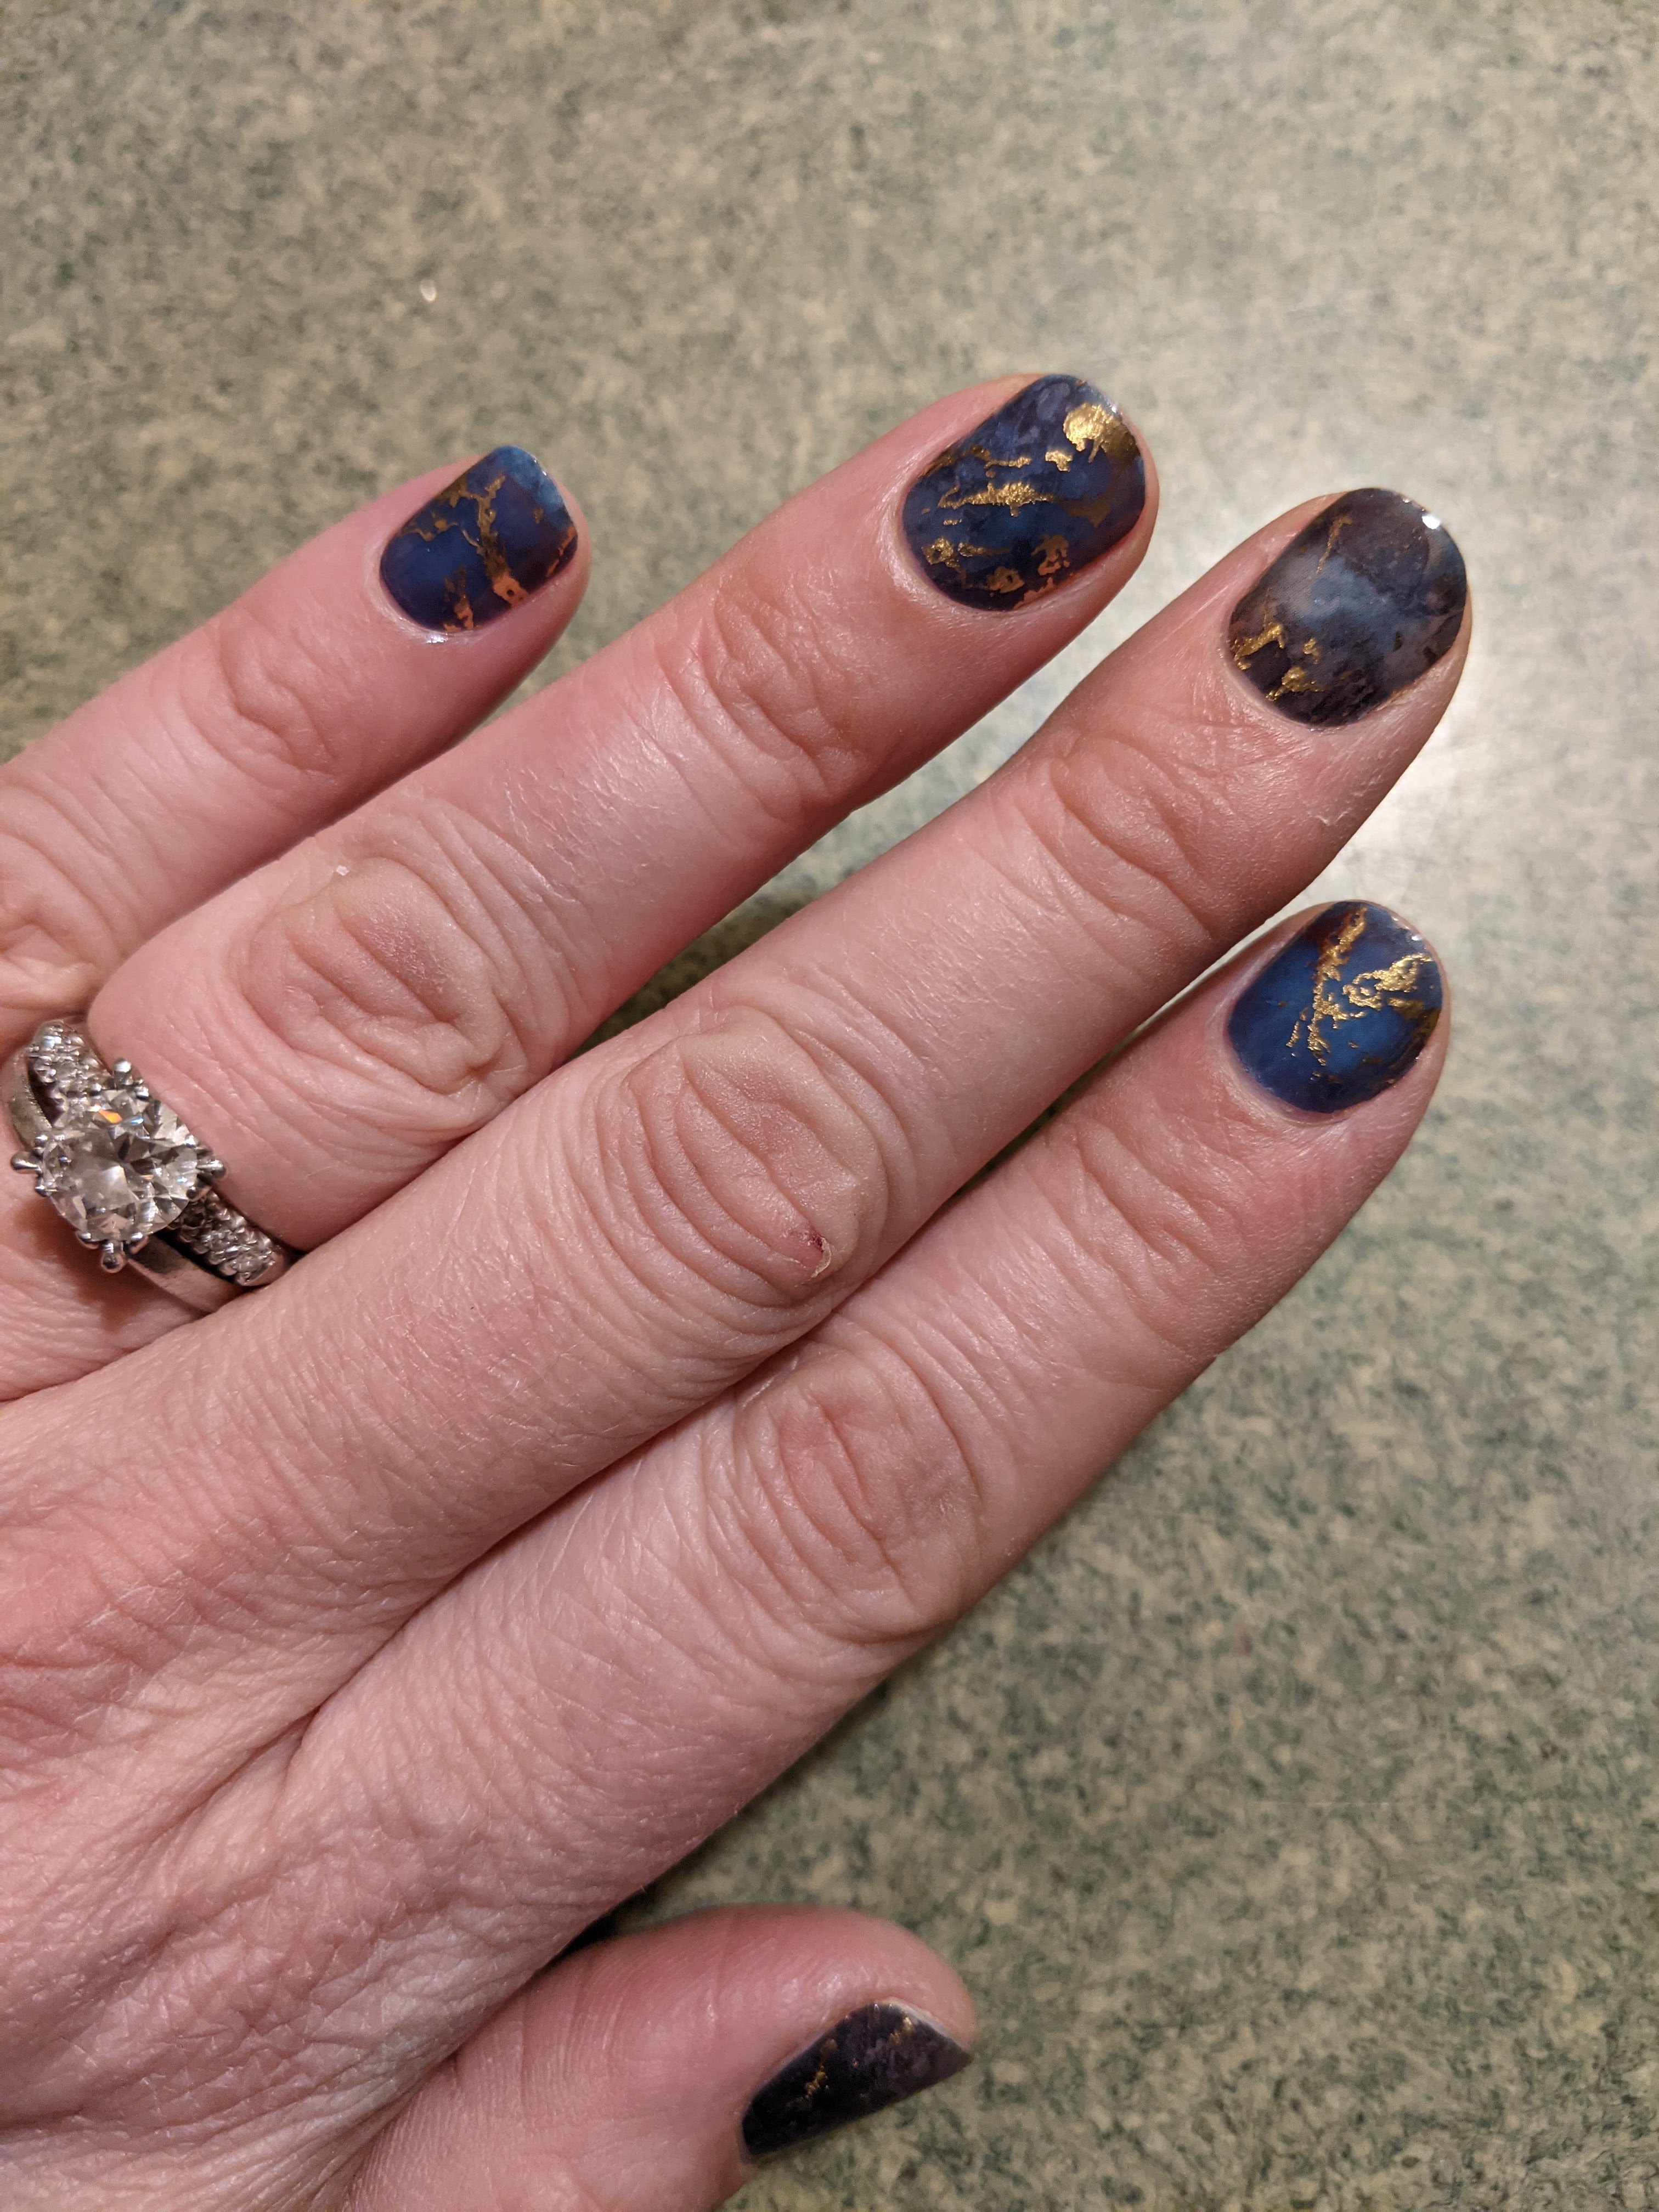
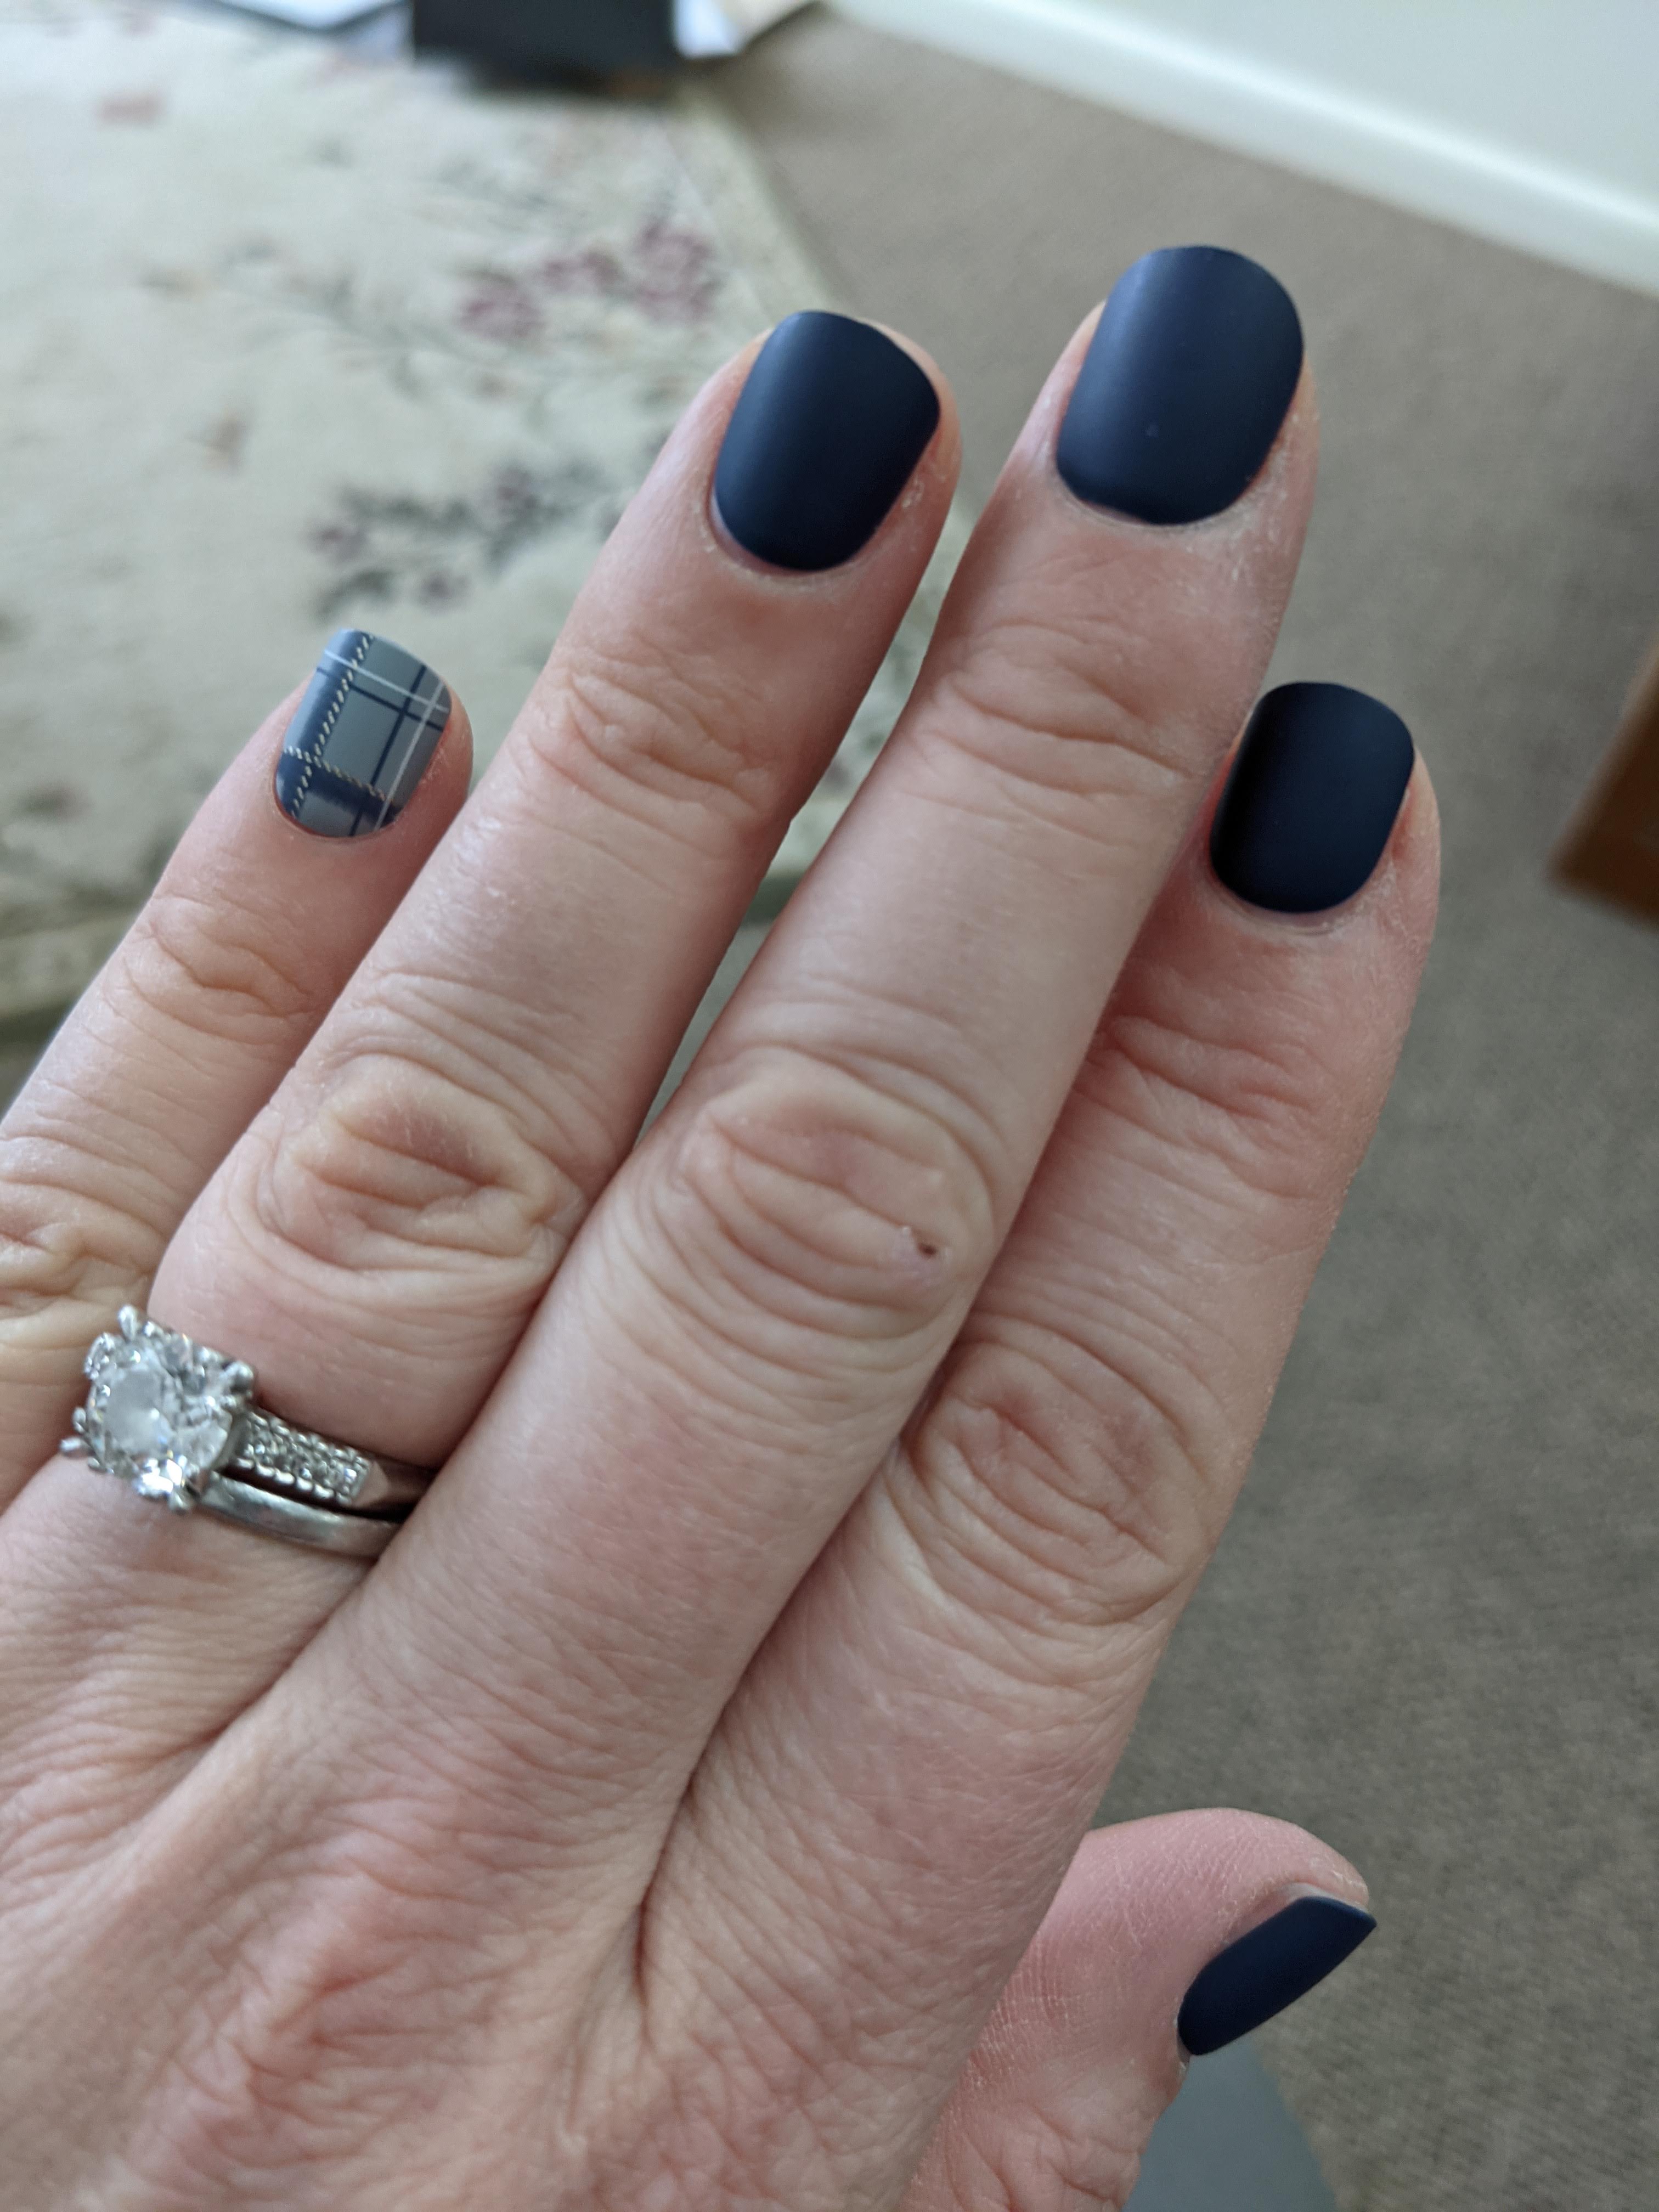
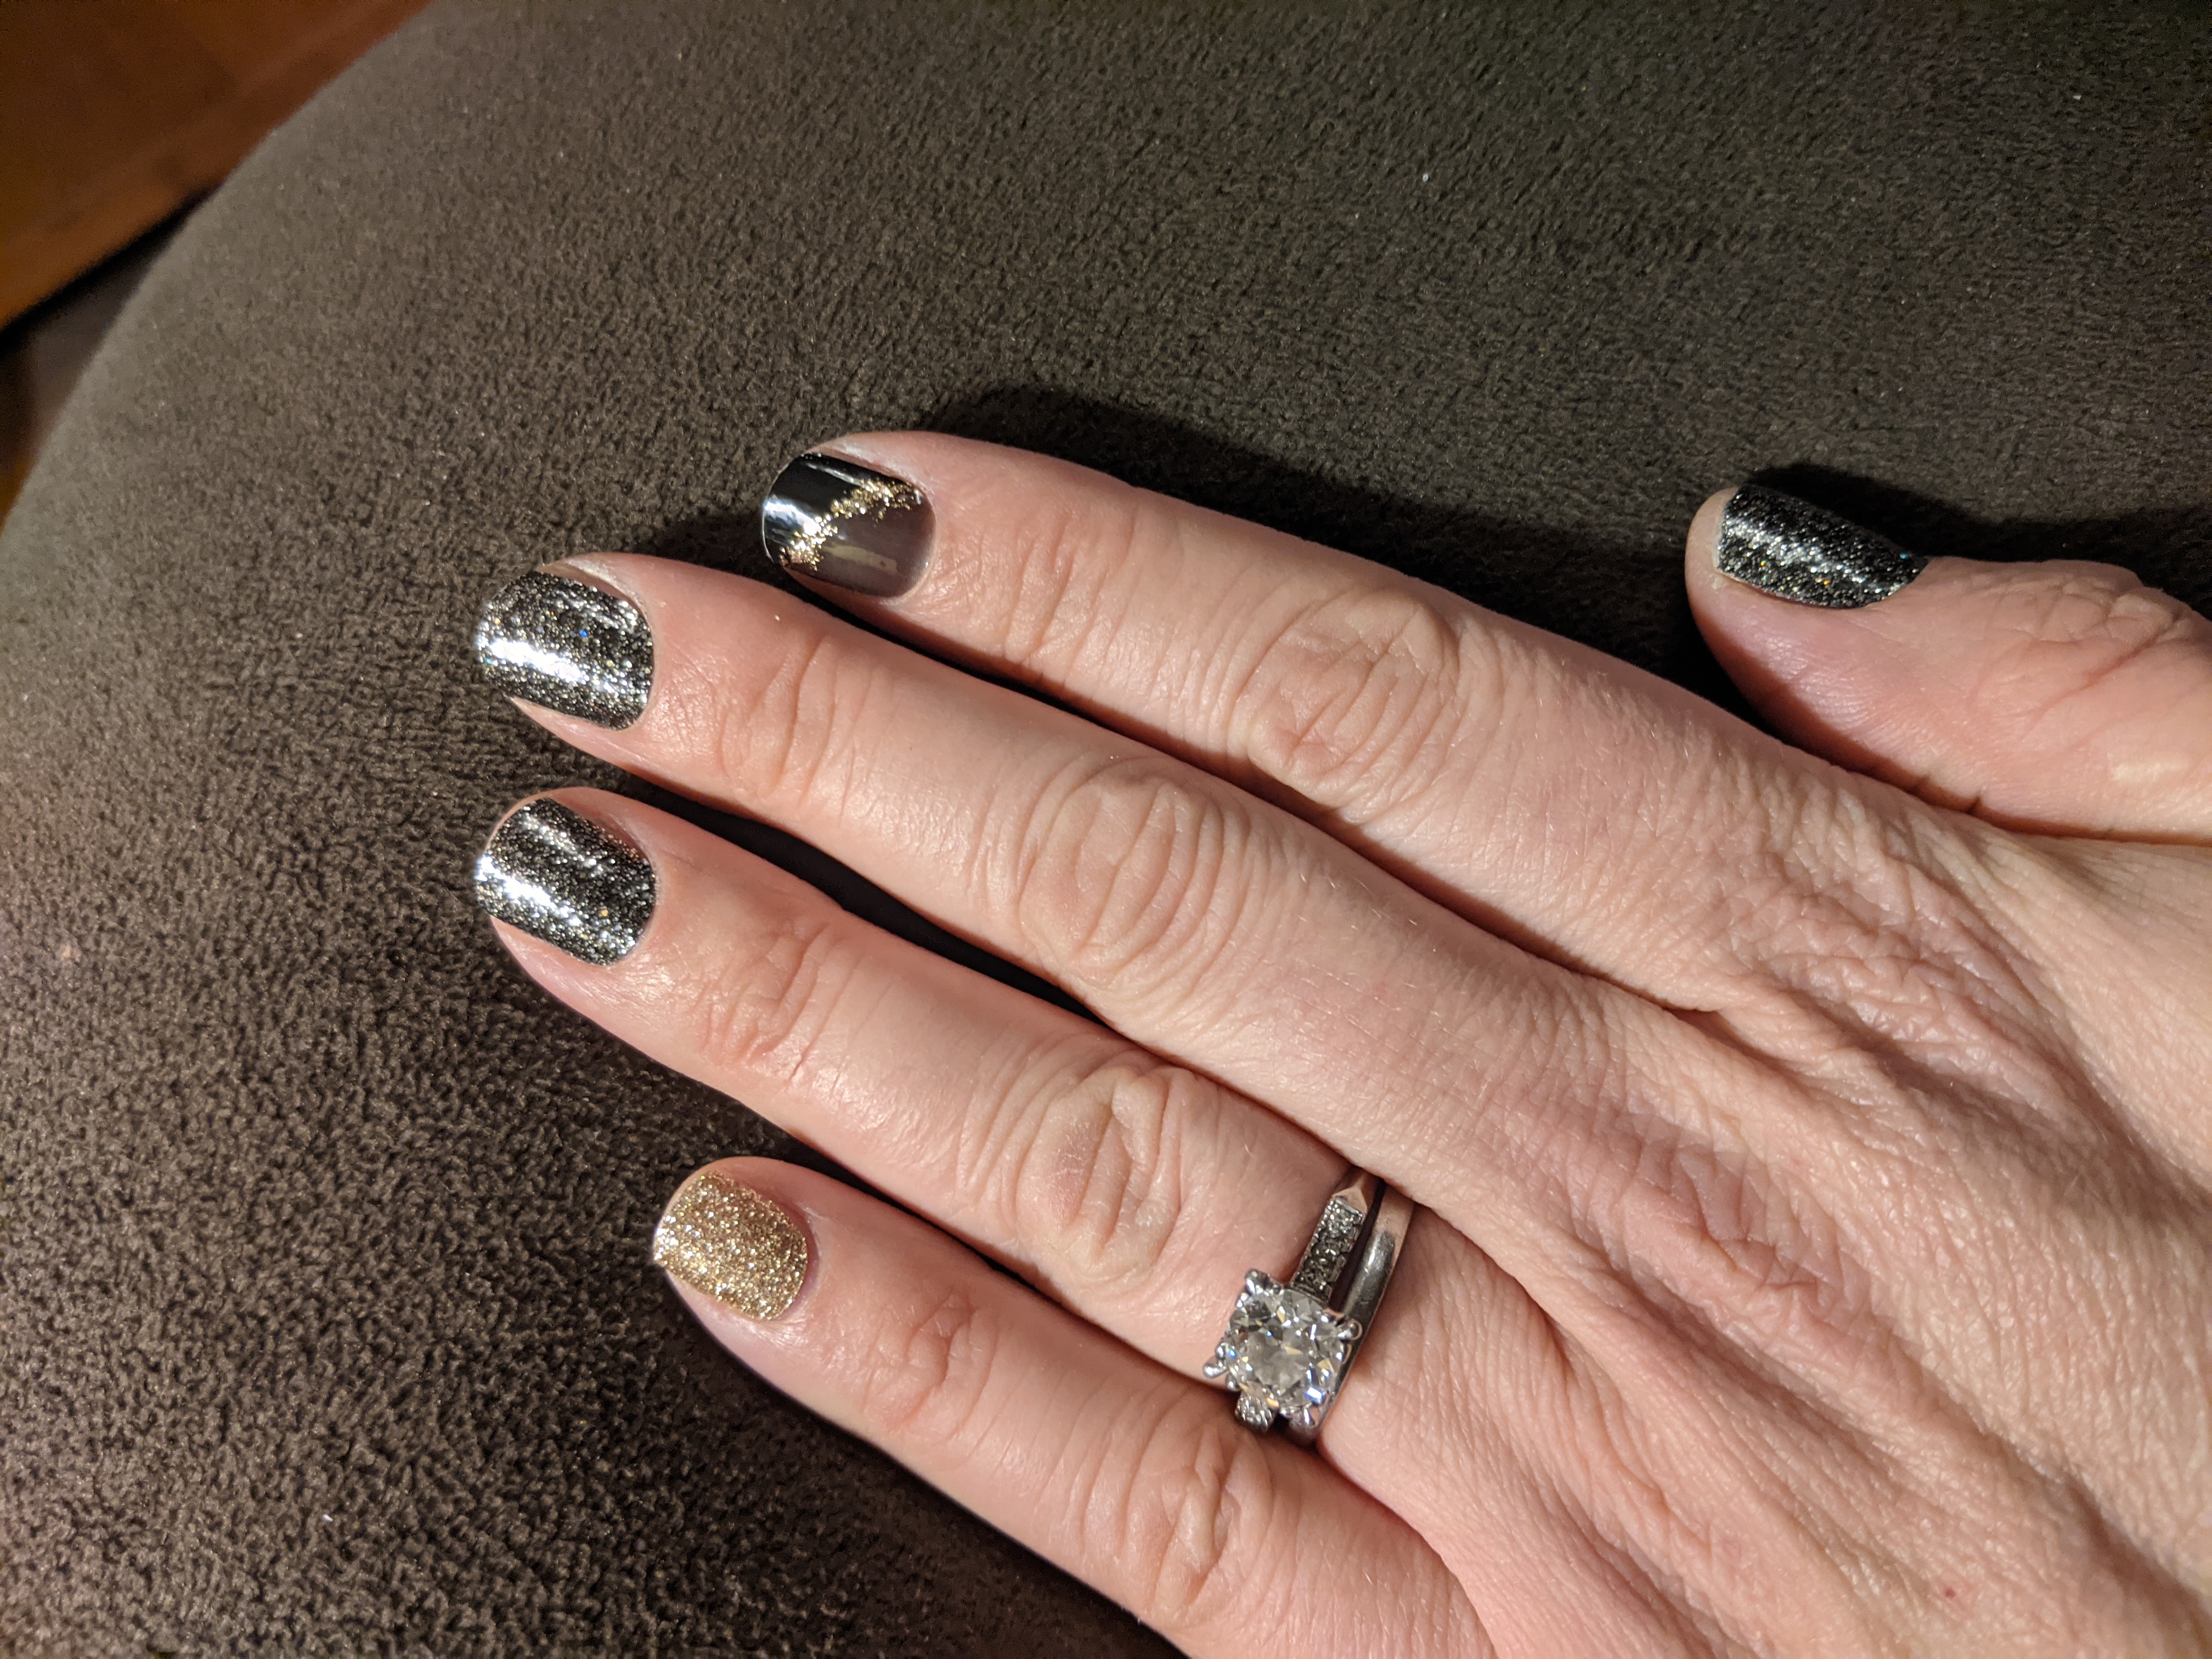
So many nail options! I **may** have gone overboard a smidge.  And, I’ve started moving into press on nails, which have come A LONG way since my youth.  In fact, I’ve looked at so many nail brands, I started getting ads for the wholesale companies that will make your own brand of nails.  I’m not quite there yet, but don’t tempt me anymore, IG ads.

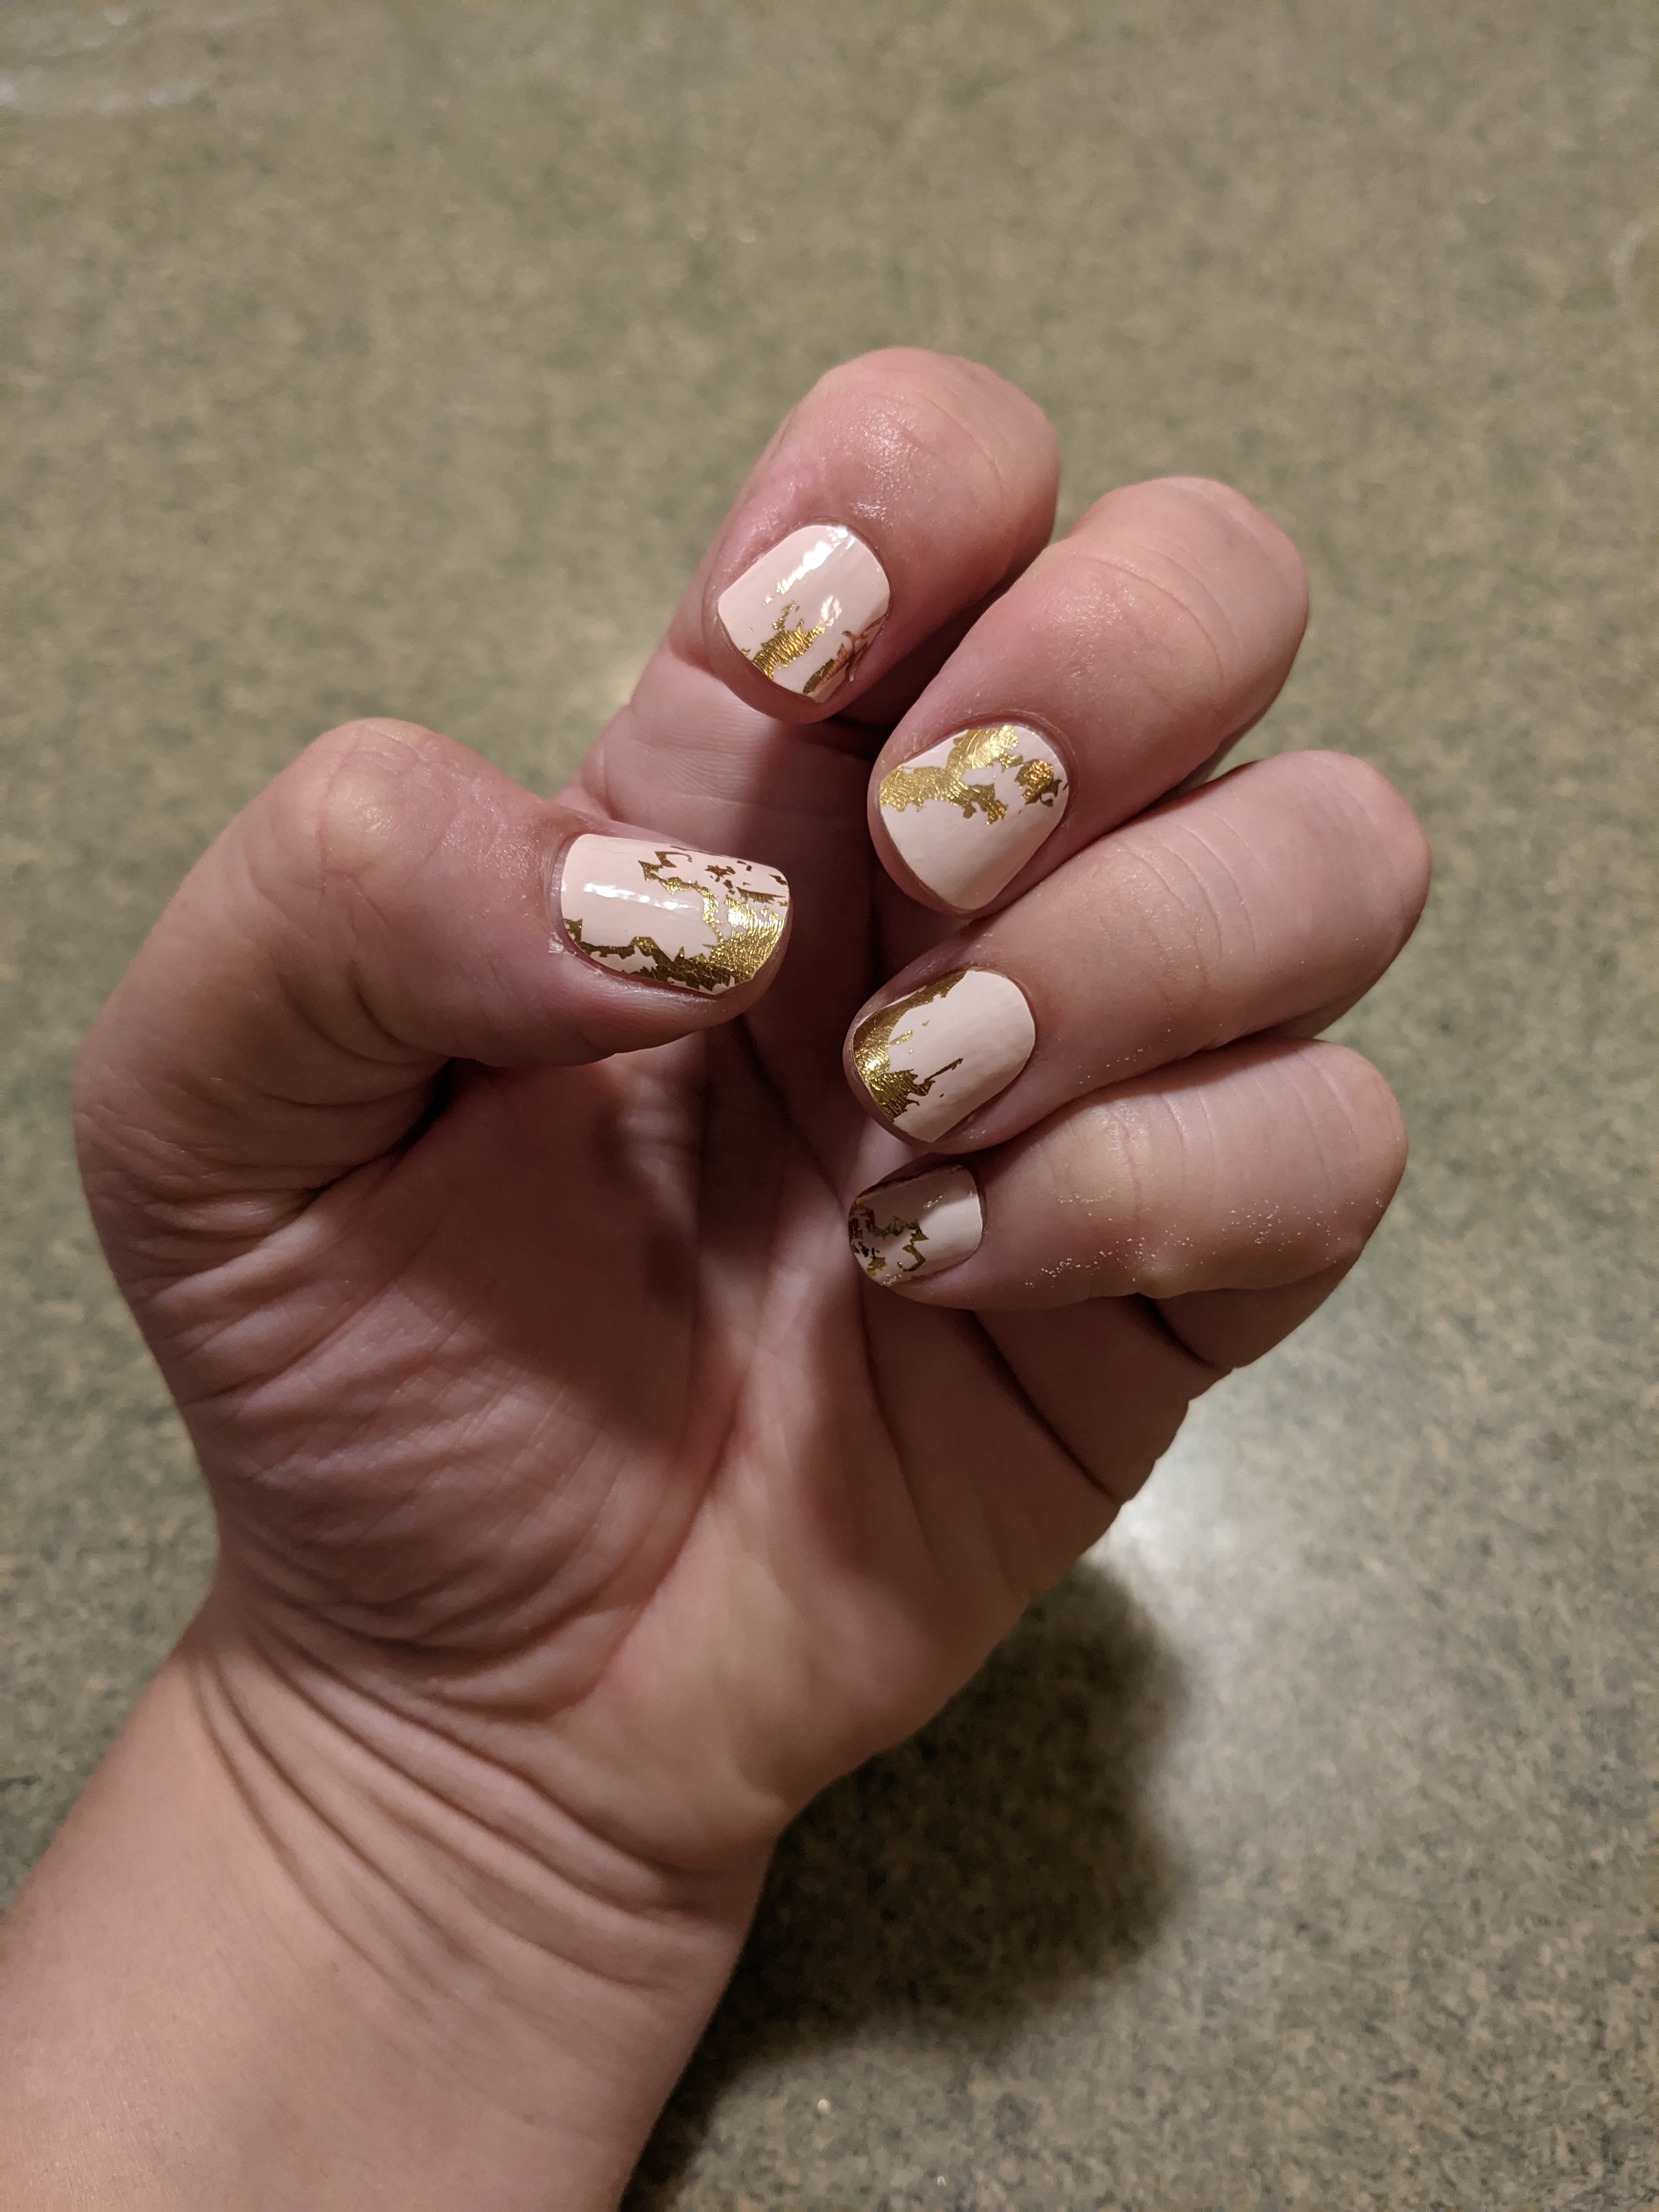
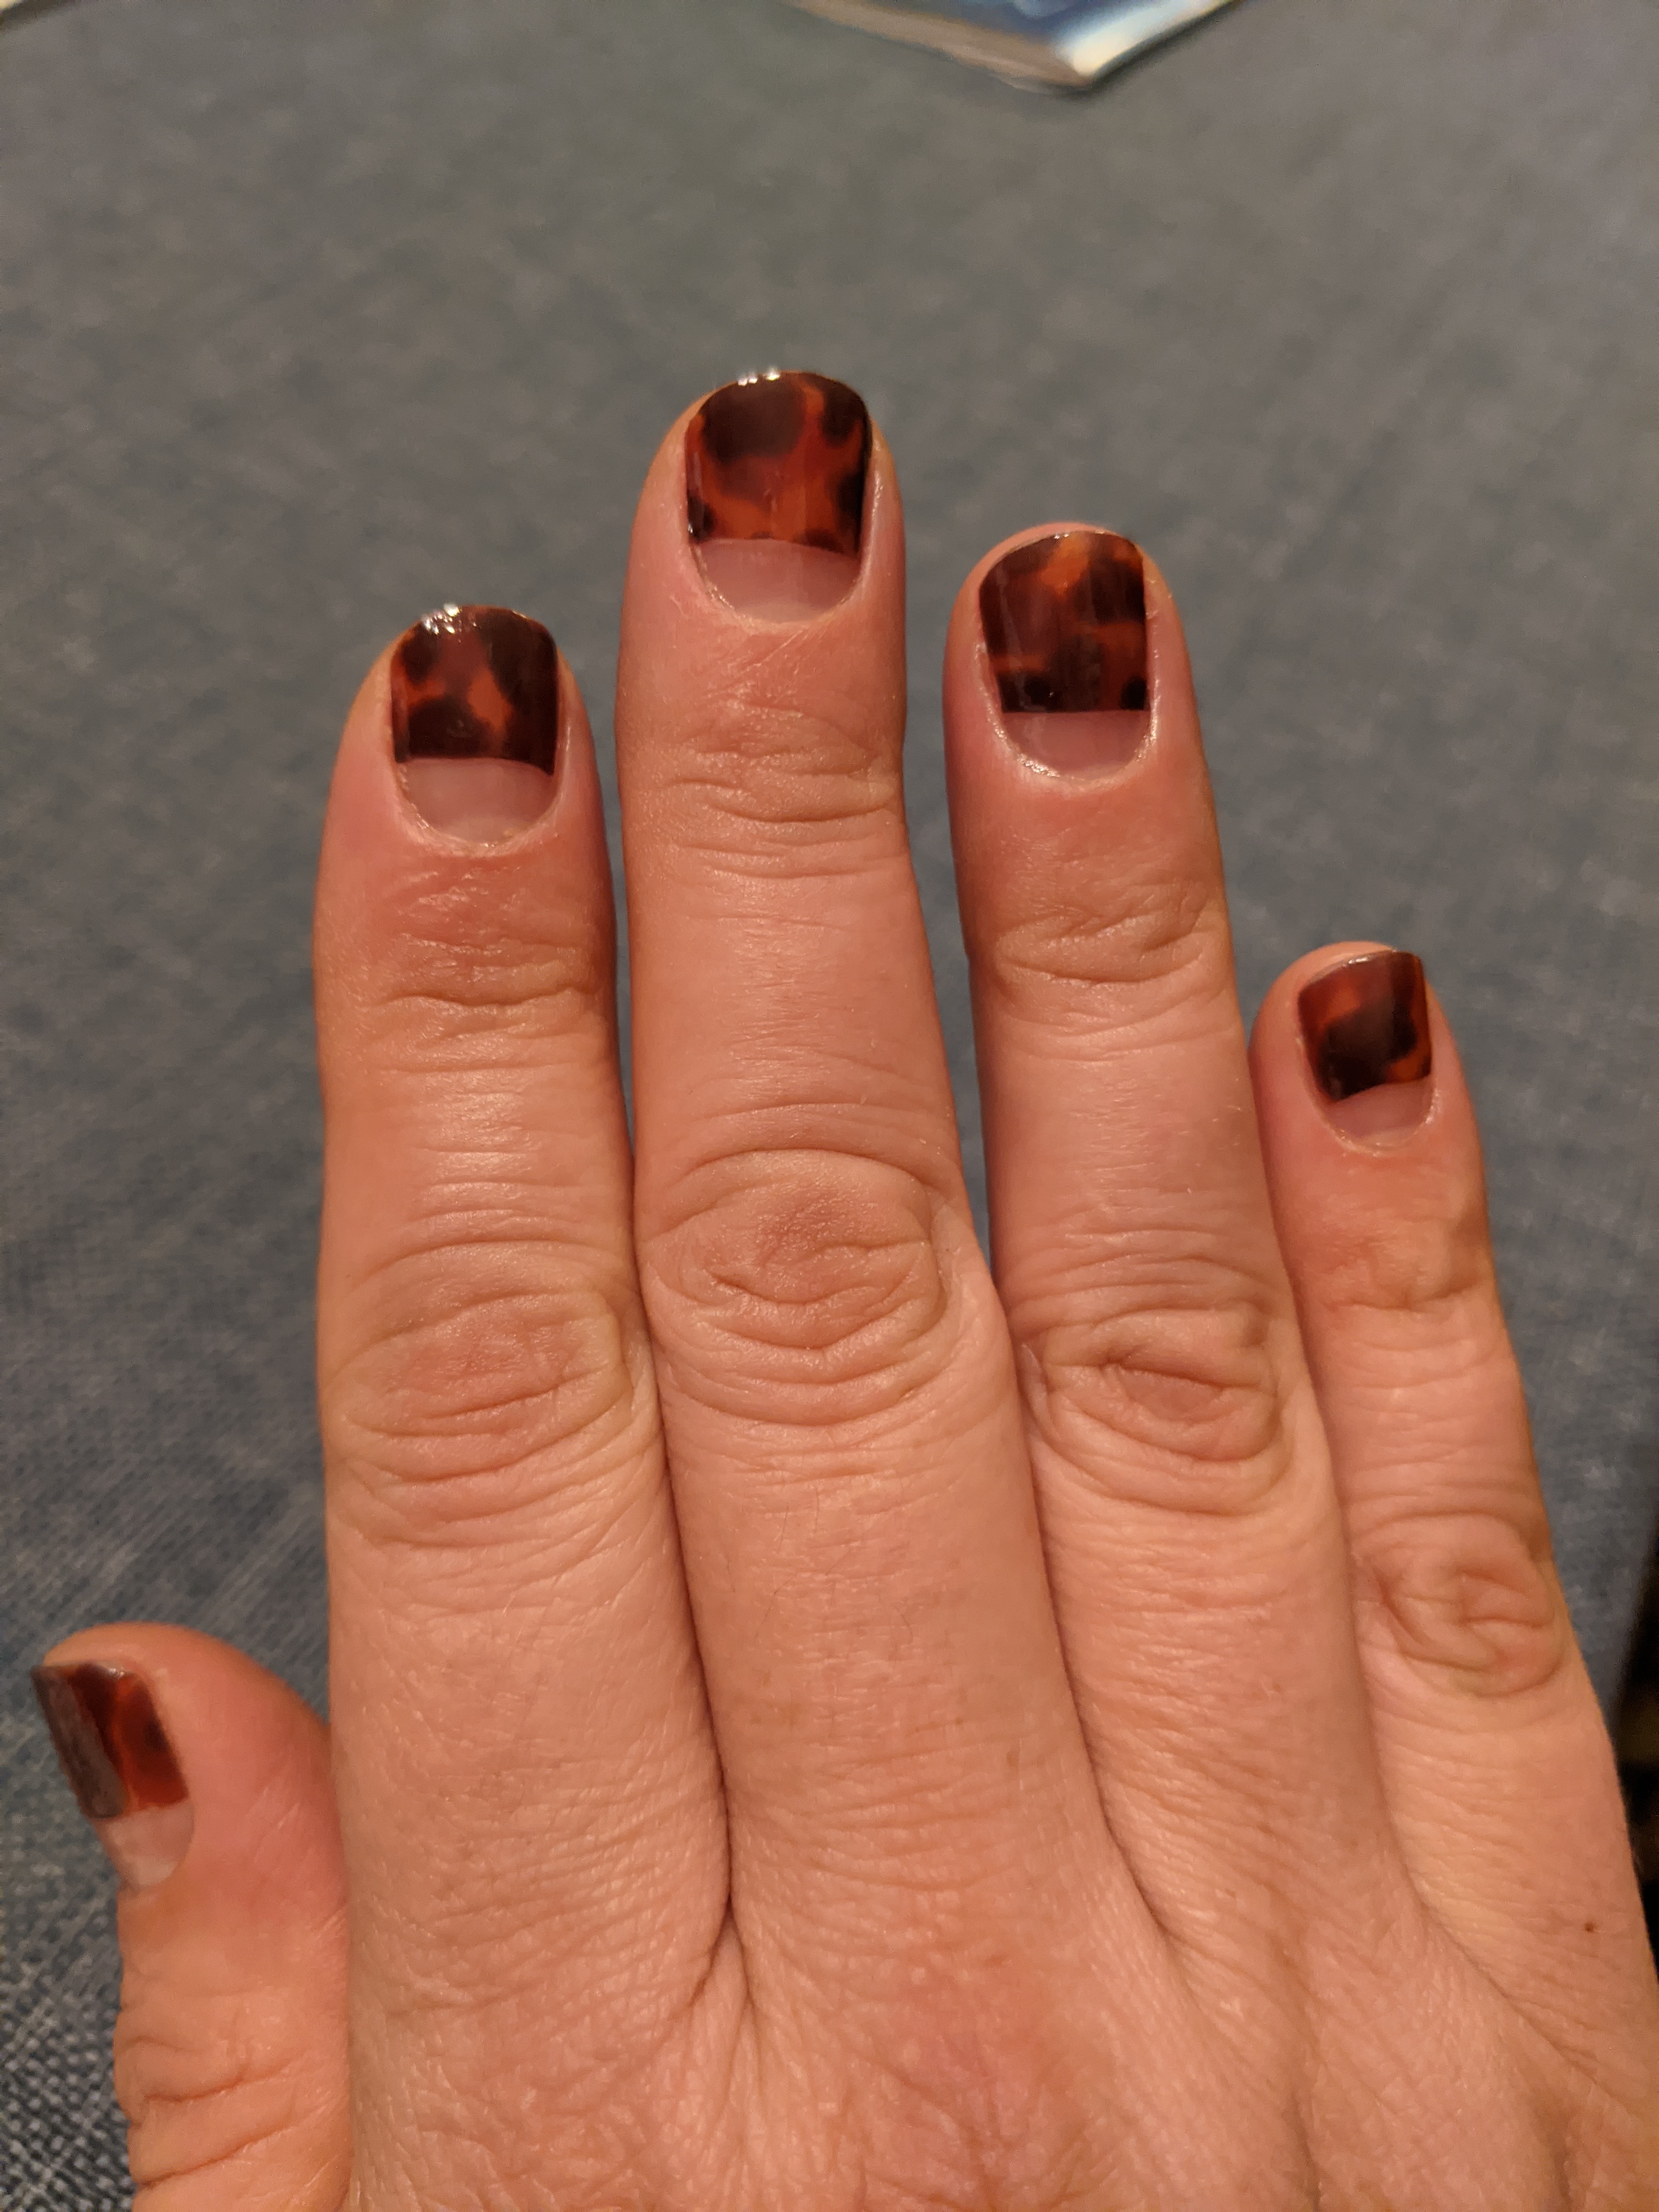
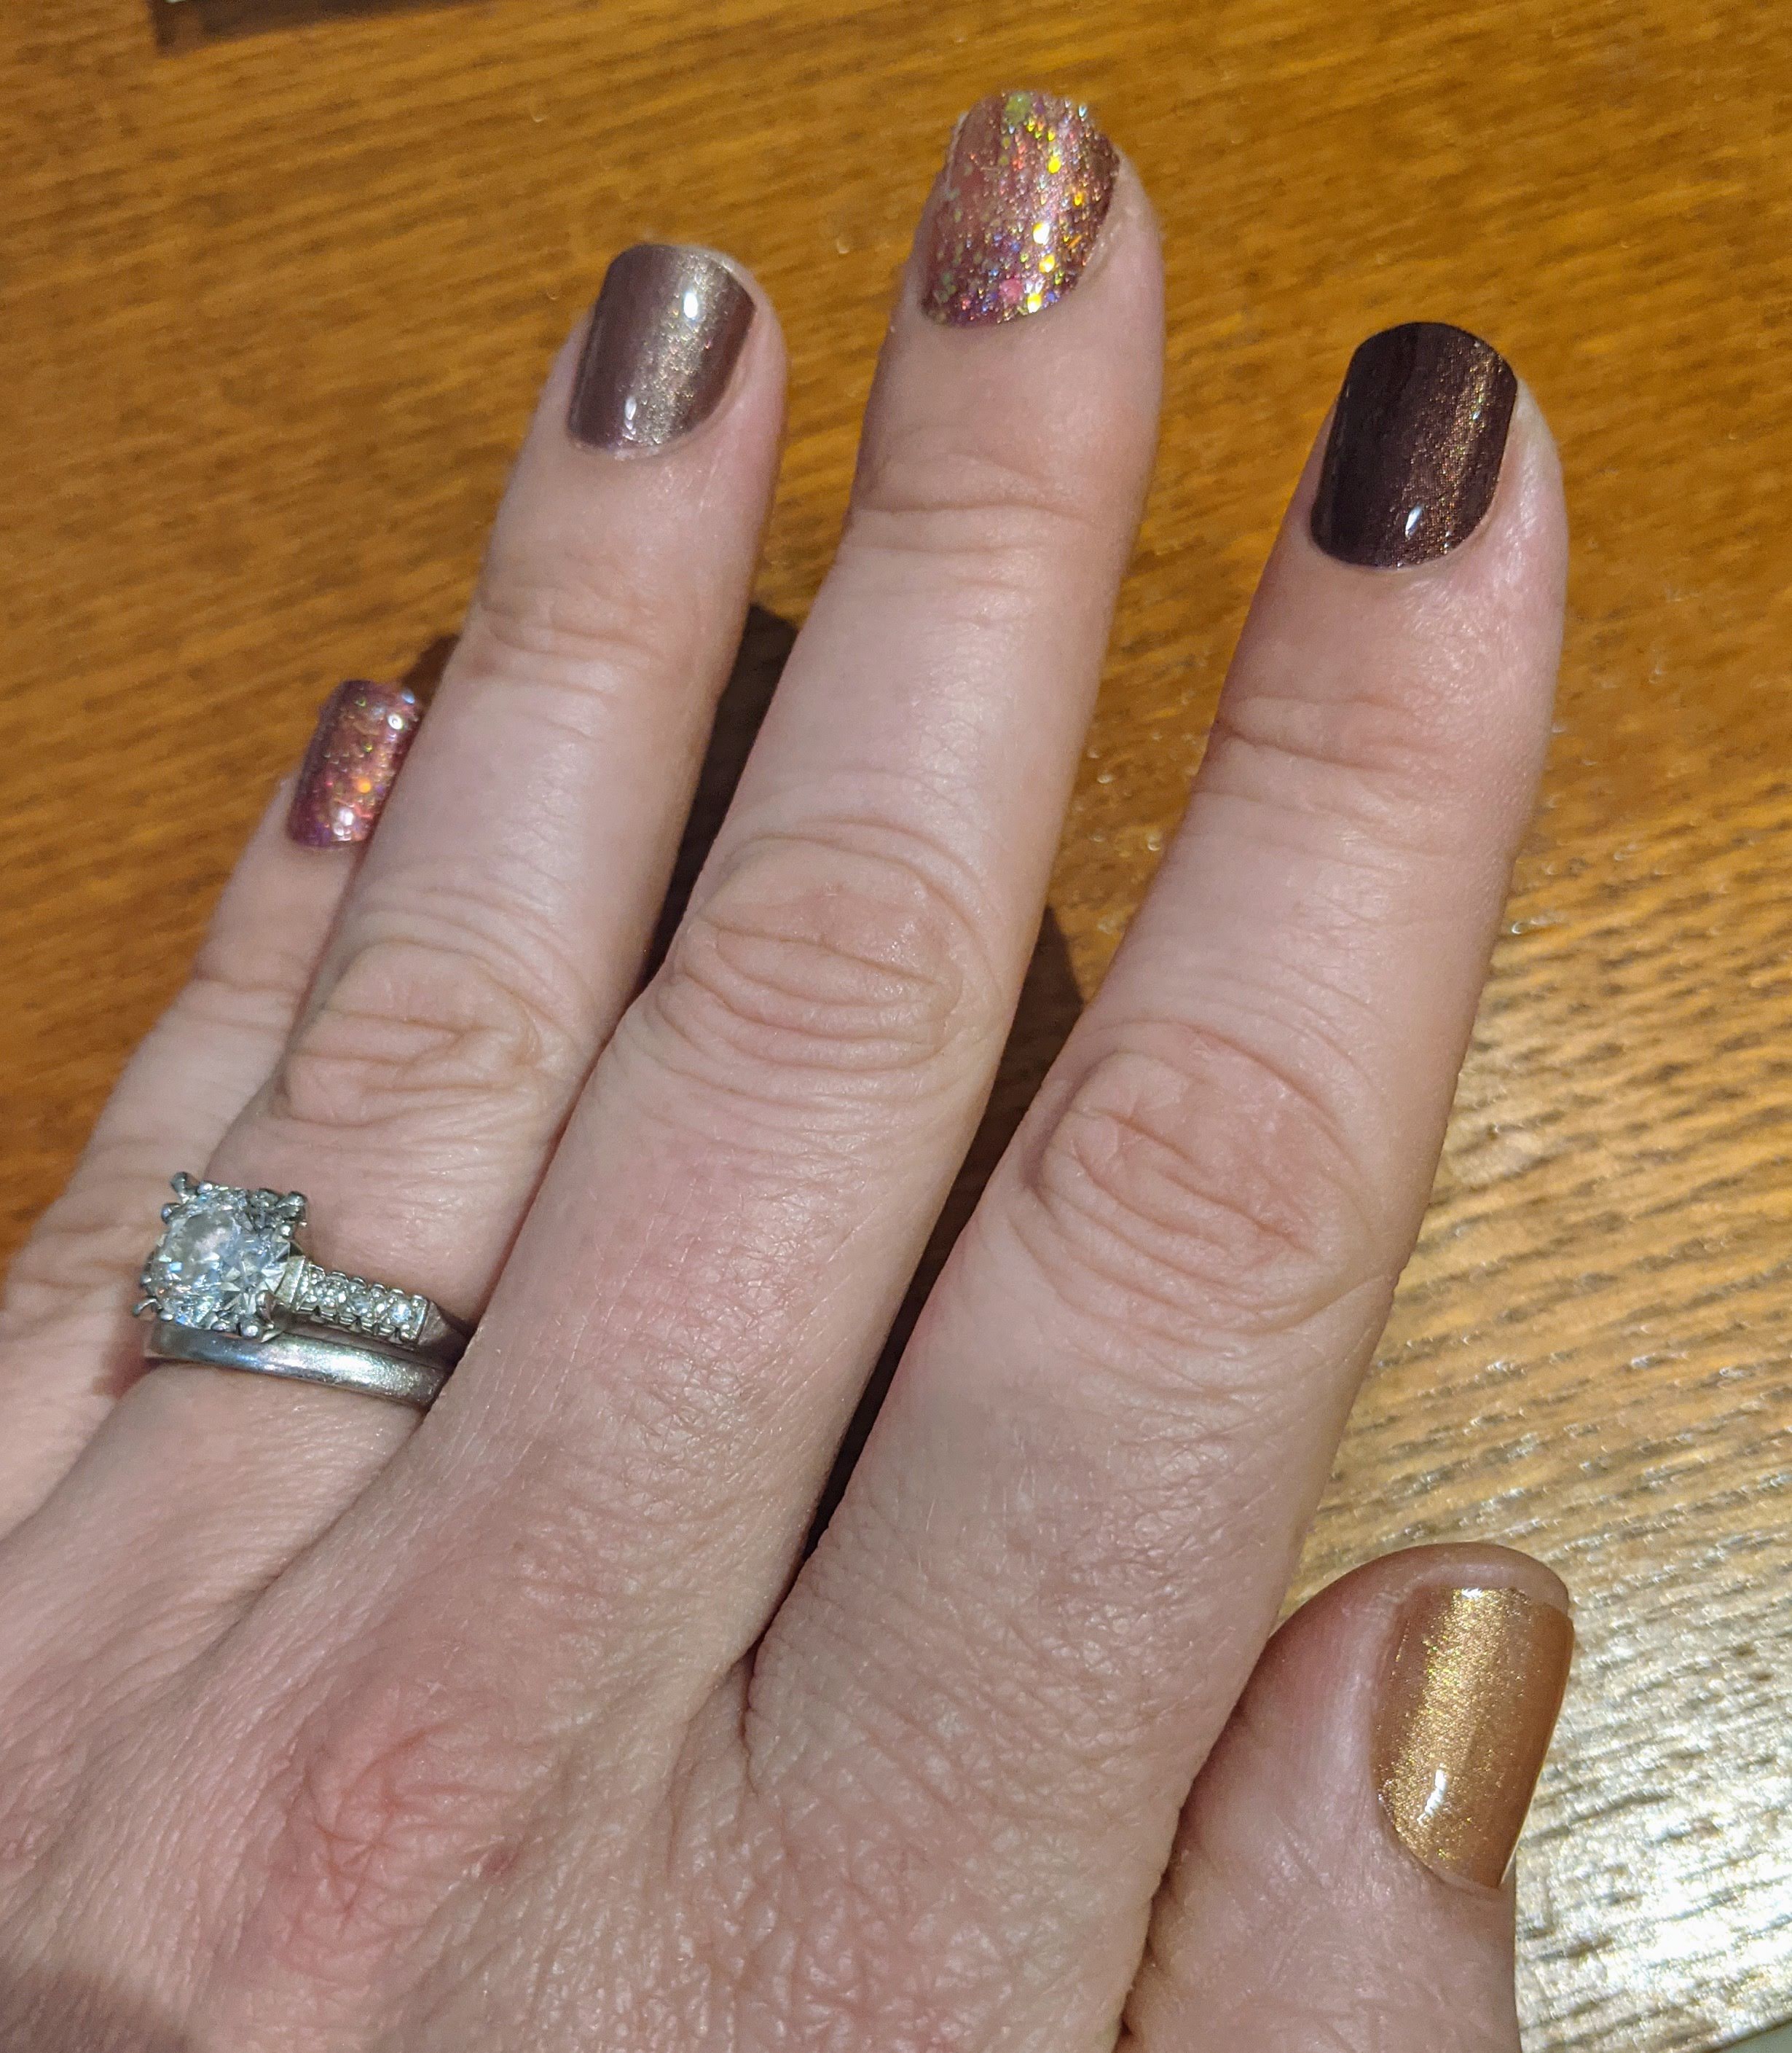
This brand of press on nails, Mejosi, is one of my current favorites, because they come in all kinds of cool styles and are reusable, with great sticky tabs included so you don’t have to mess with nail glue. Don’t laugh, but these are my first ever leopard print cookies, made to go with these nails. Need to work on my consistency, apparently, but I do love the effect.

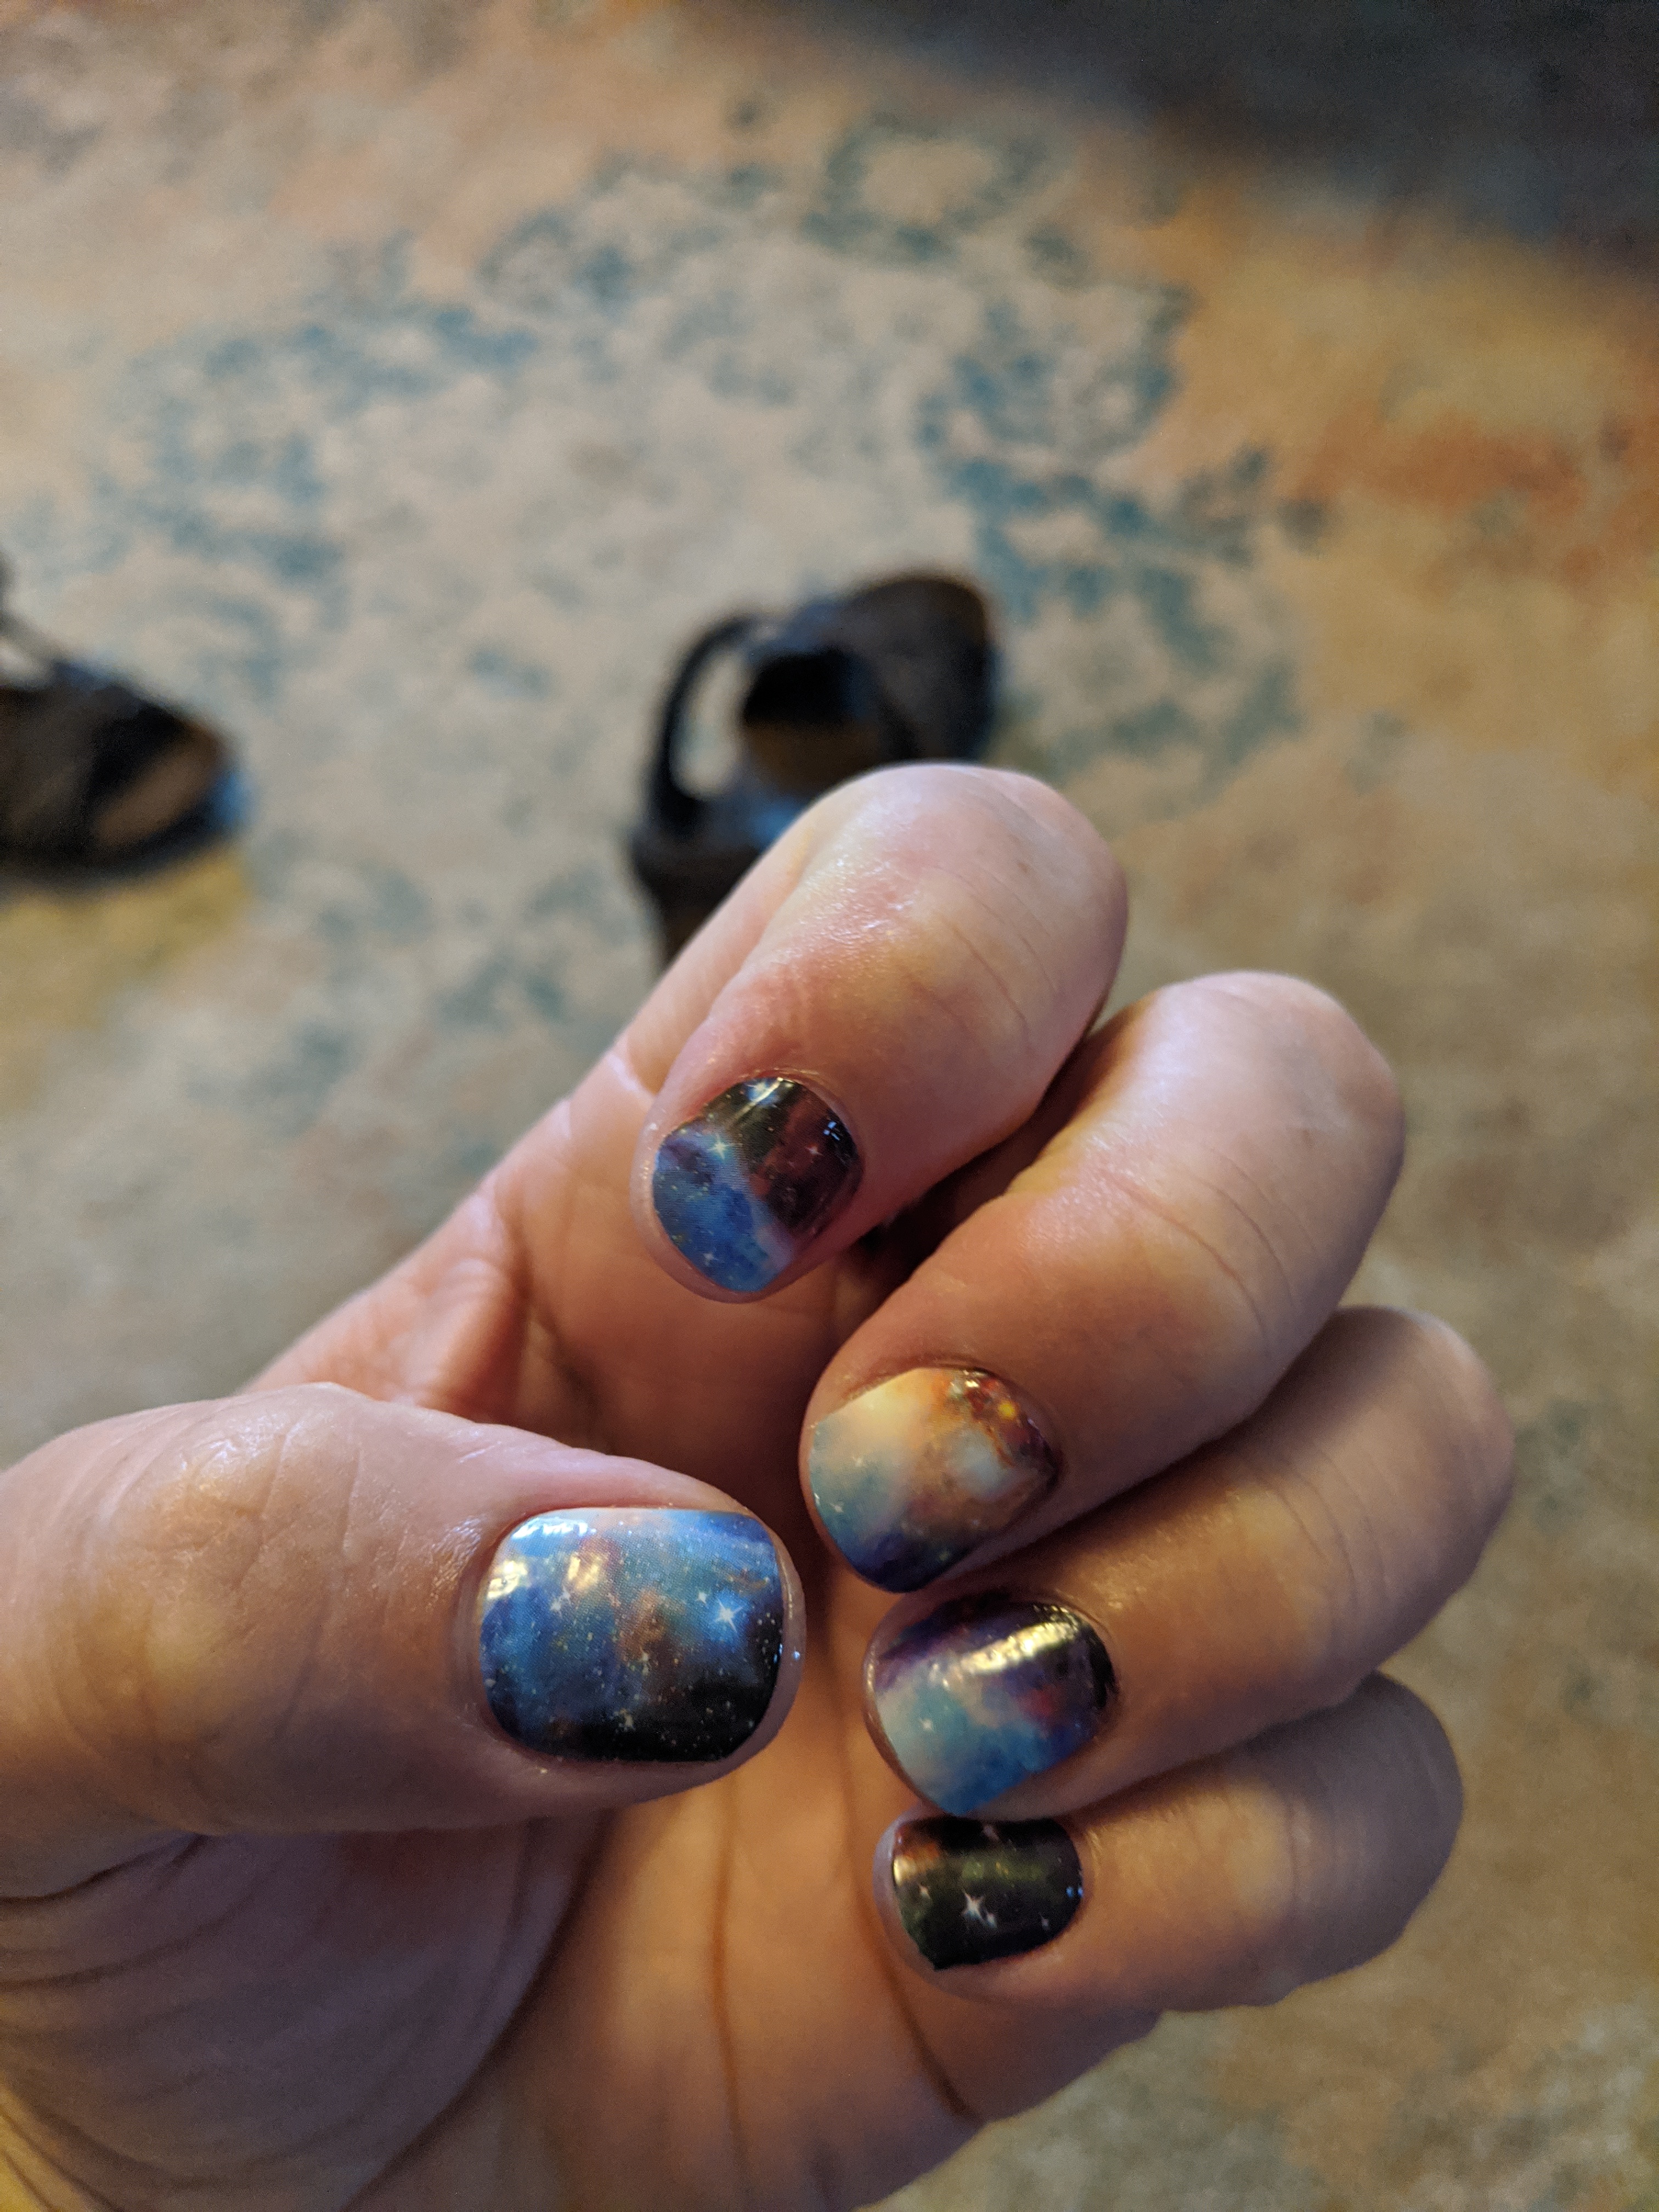
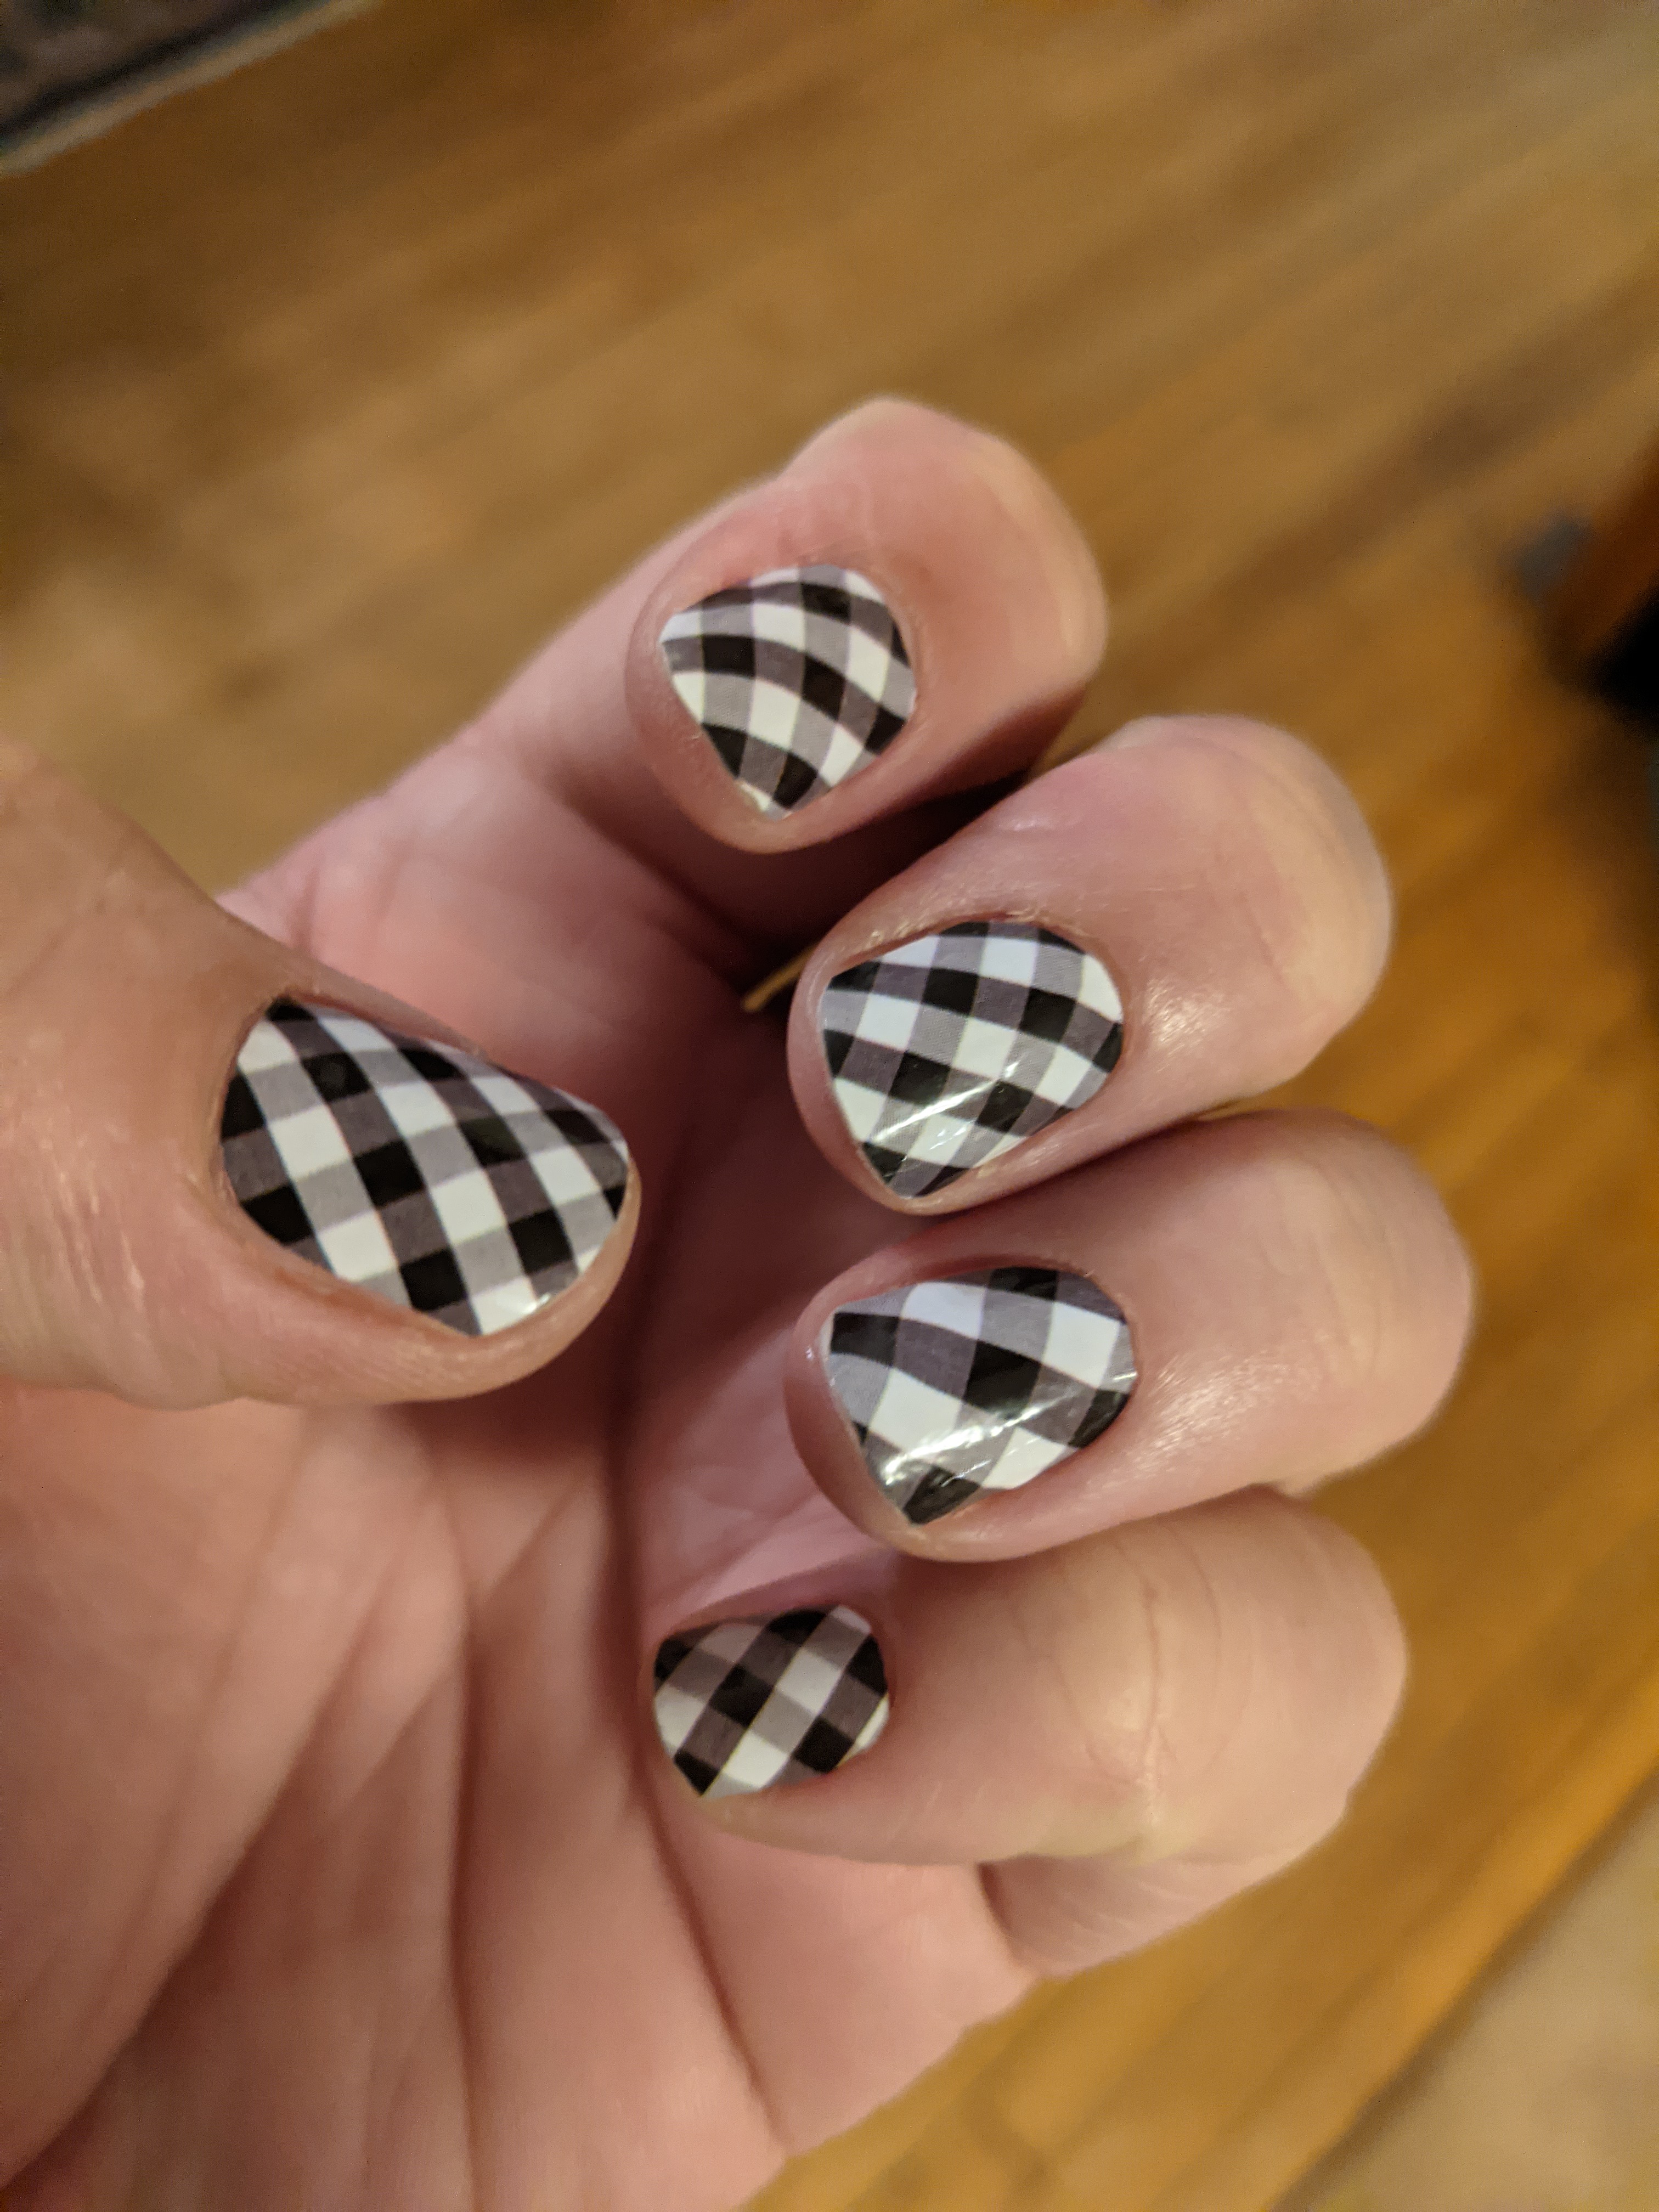
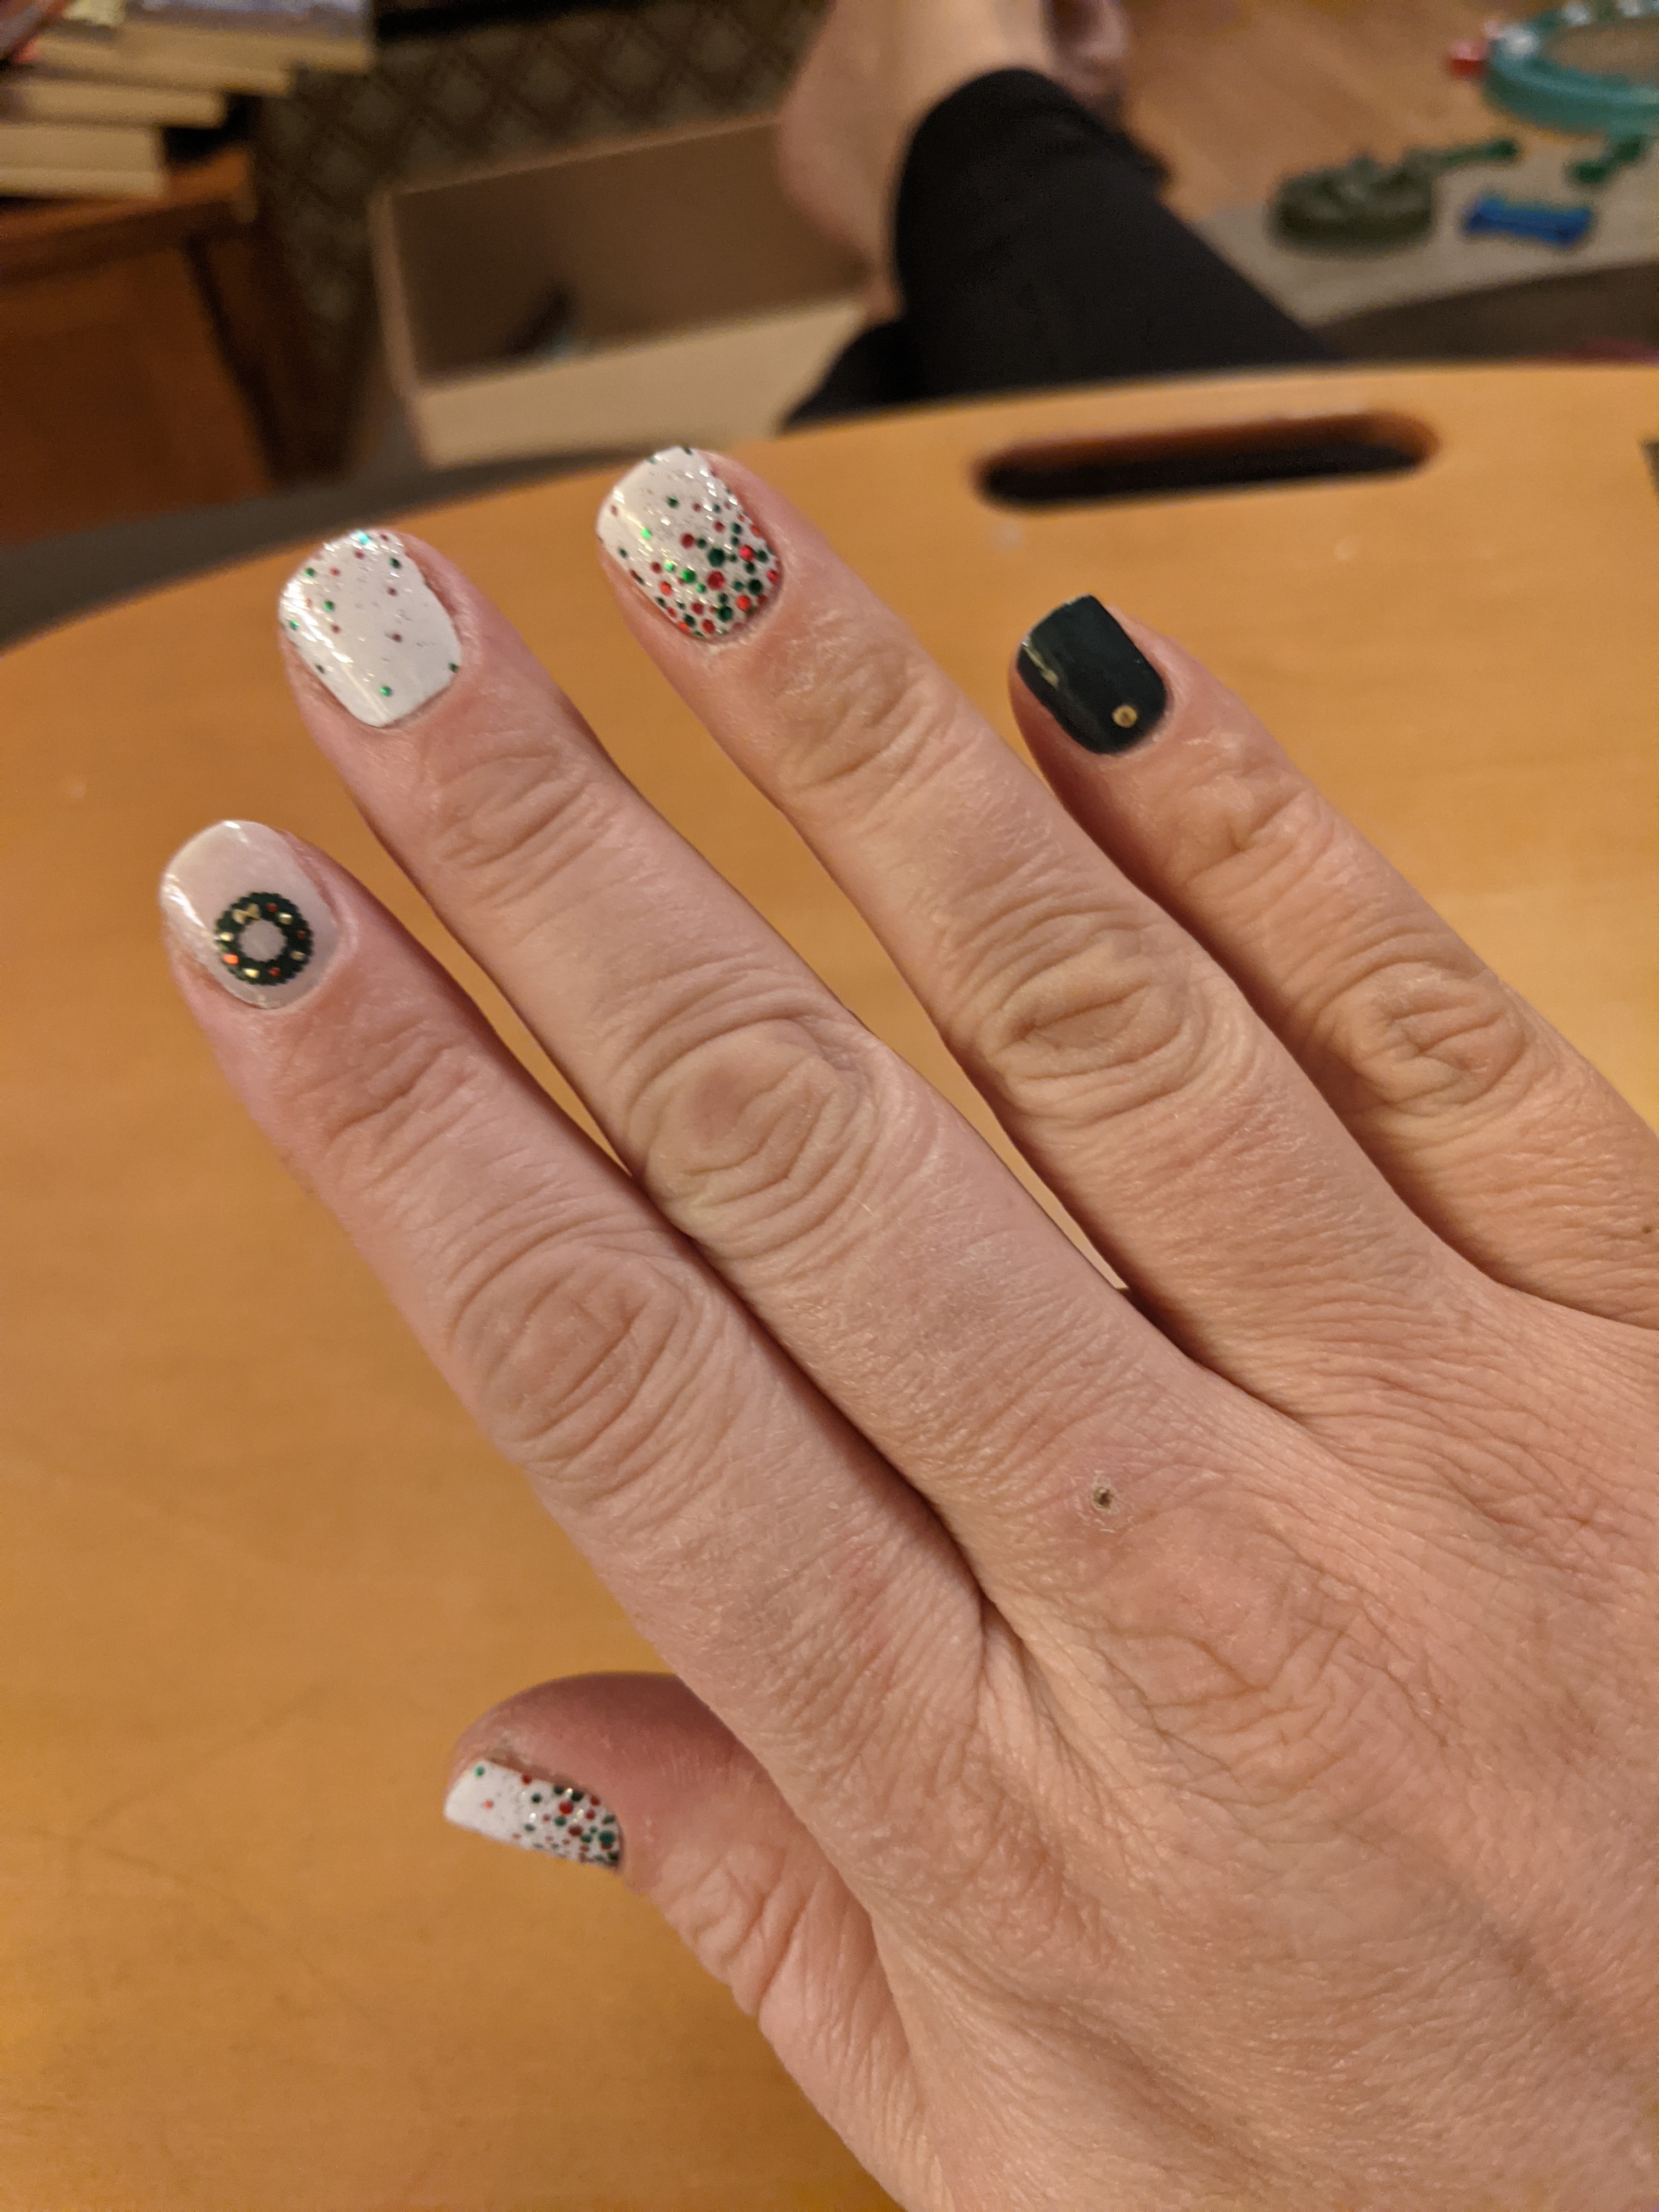
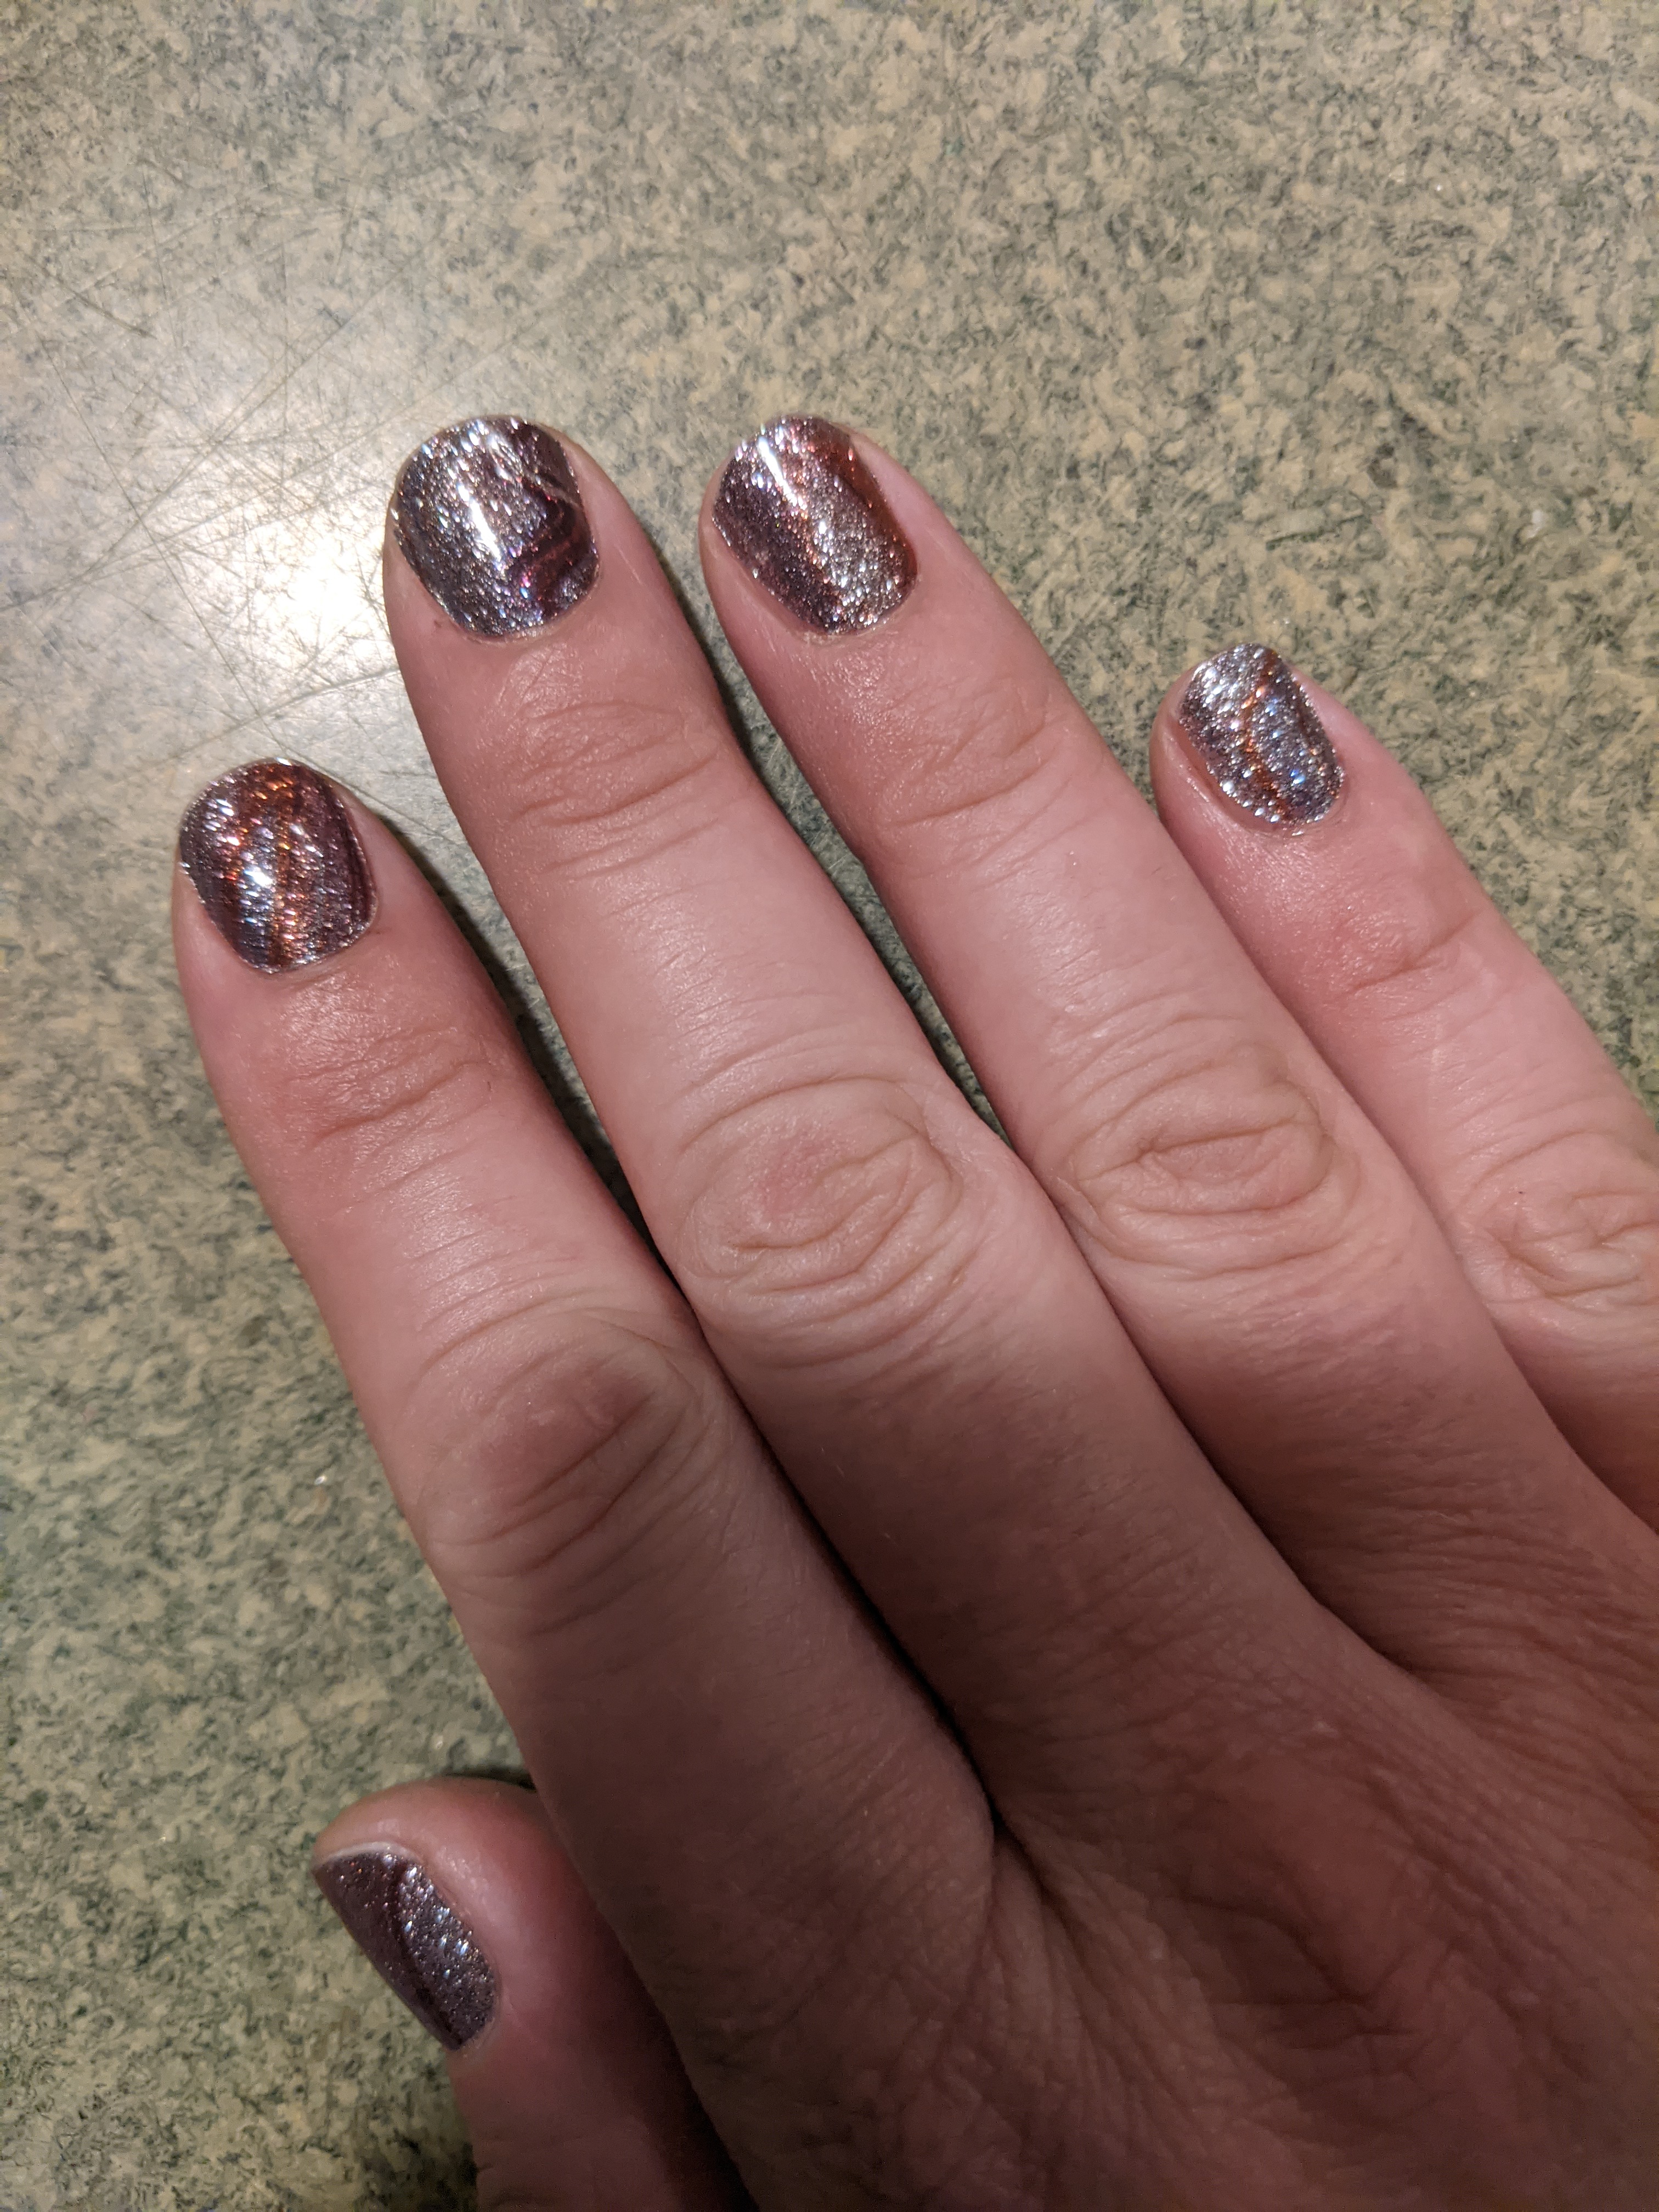
The light was fading fast when I took this picture, but you don’t need much sun to light up these sparkly gems! More Mejosi nails, and I finally tried that crumpled parchment on royal icing technique, which is easily the coolest thing Haniela has ever done, and she’s done a LOT of cool things! I wore a third set of Mejosi nails to show off these cookies- I love matte nails and I love the colors of these with the glitter accent.

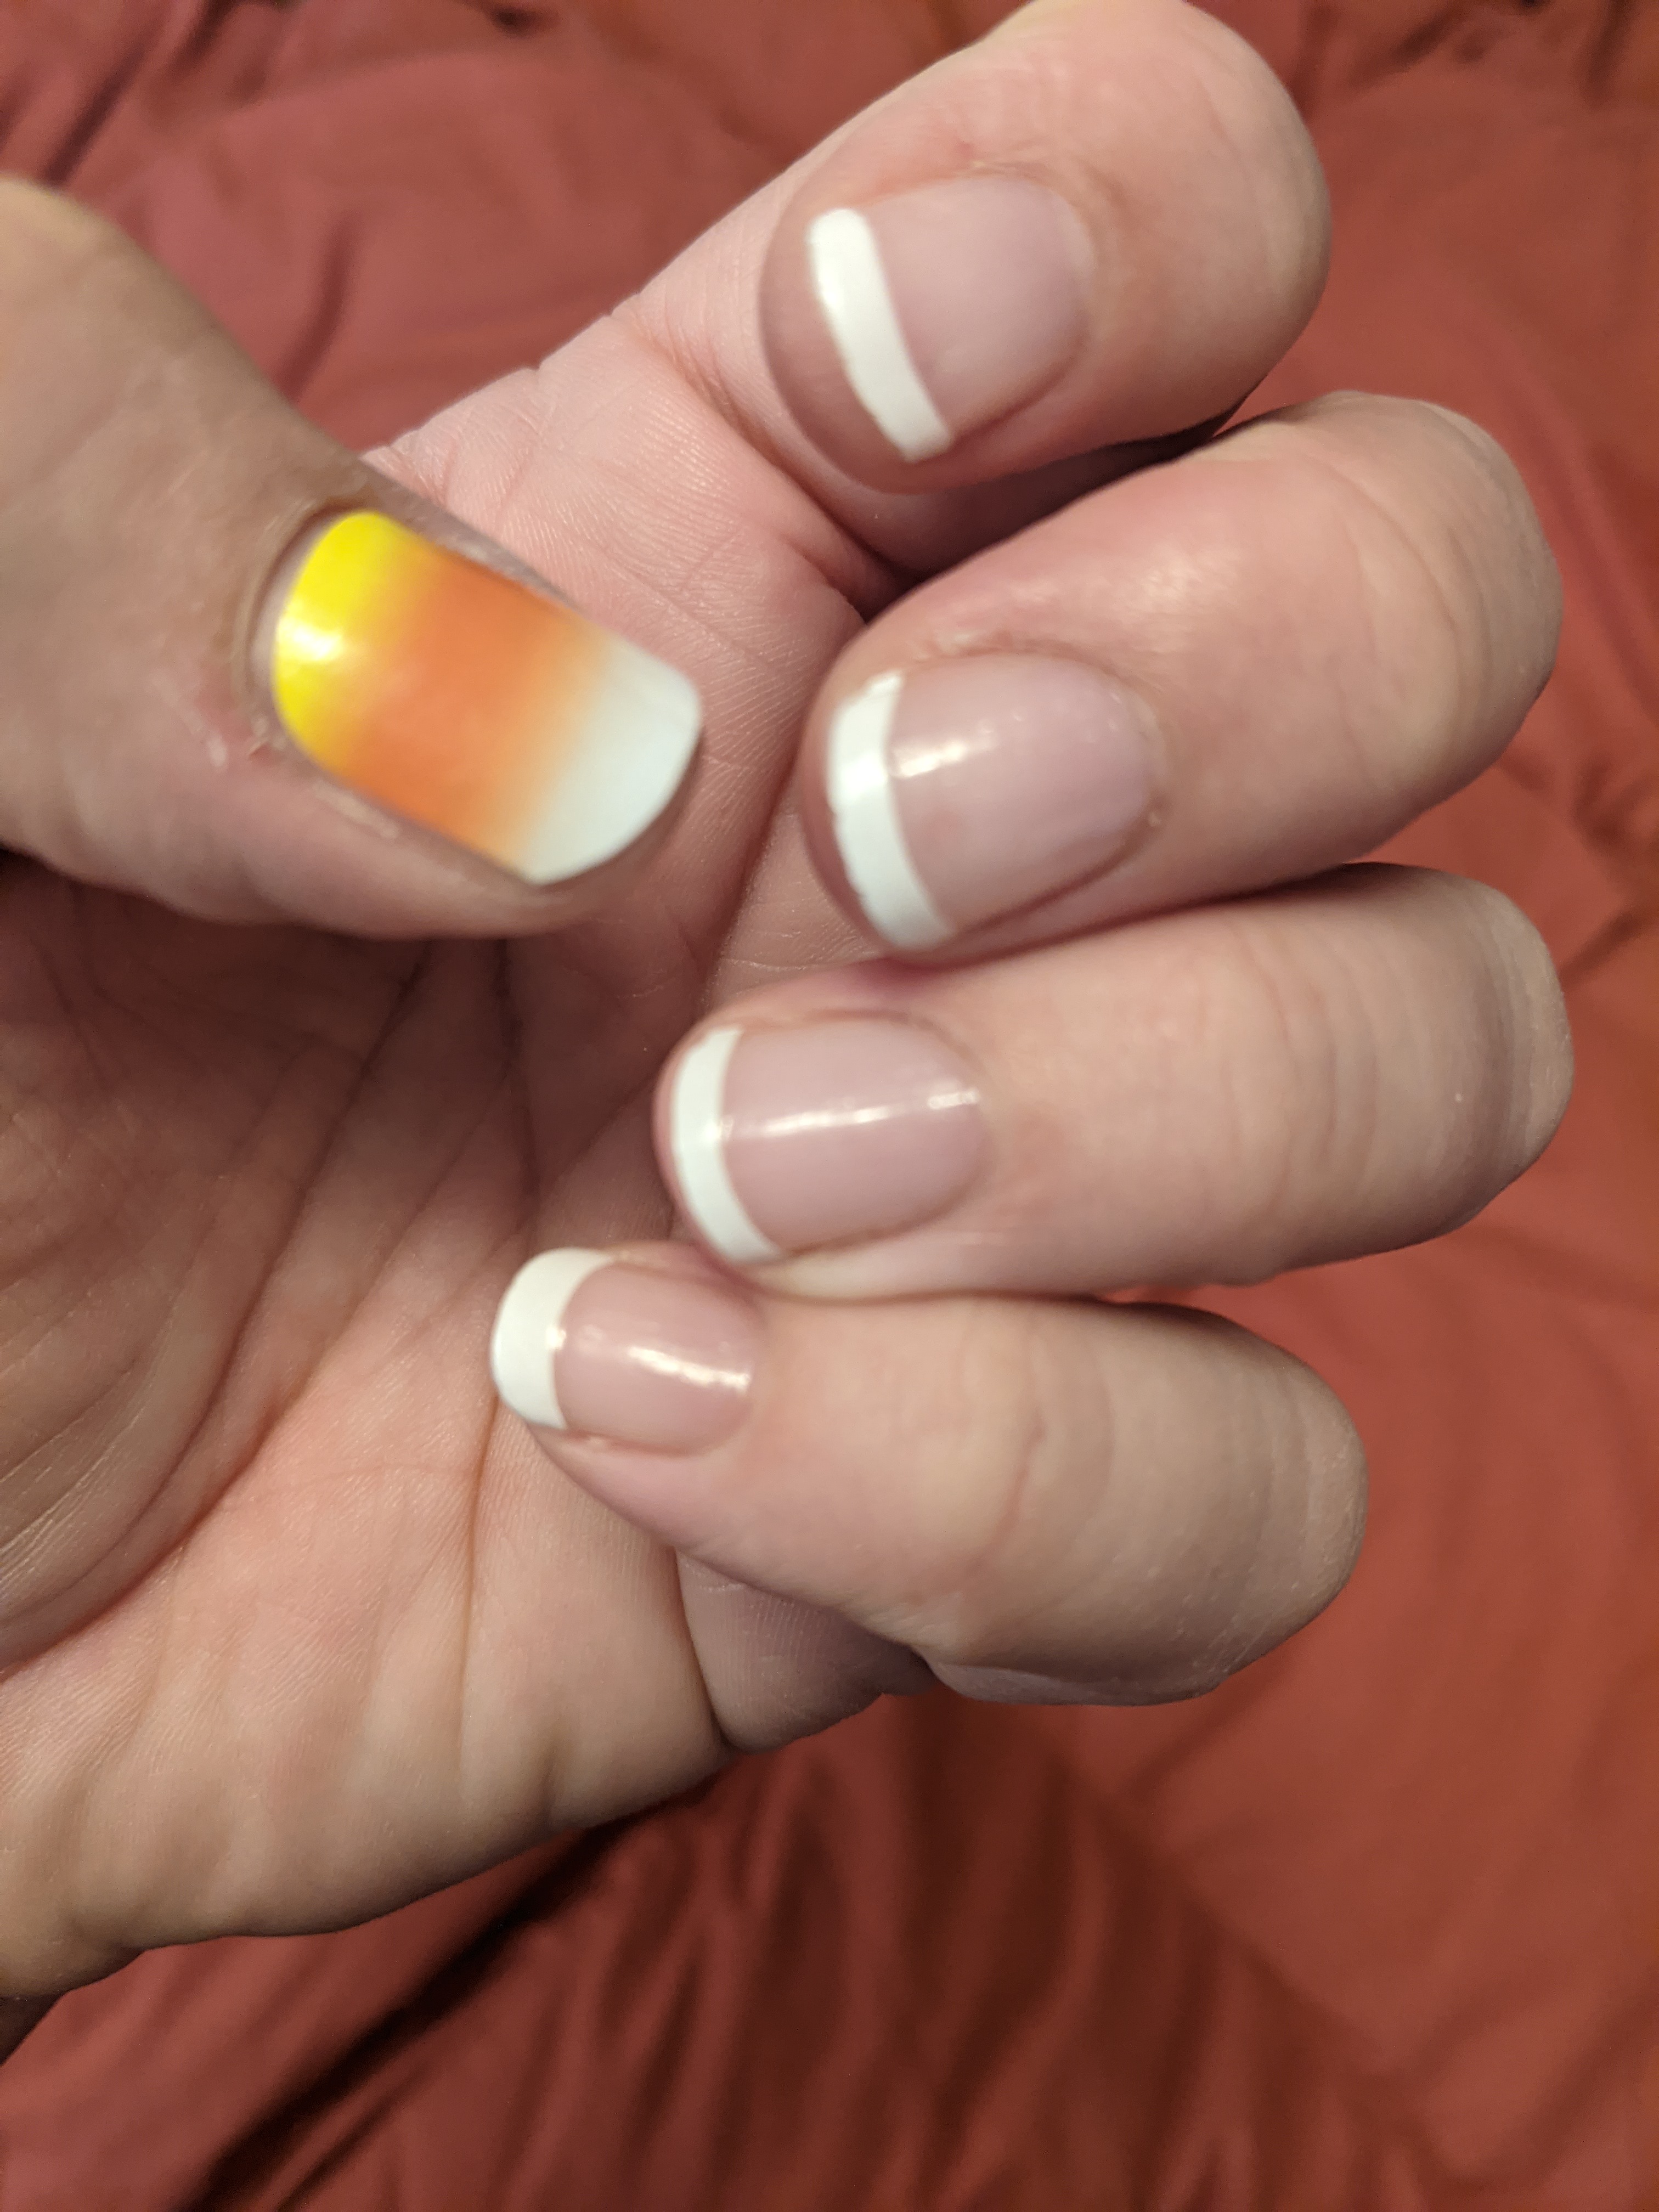
Ah, the French Manicure.  Still one of my favorite styles. I got married in a French mani/pedi, and on our honeymoon flight, realized that lady next to me in line to board must be a newlywed also. We had the exact same nails. 

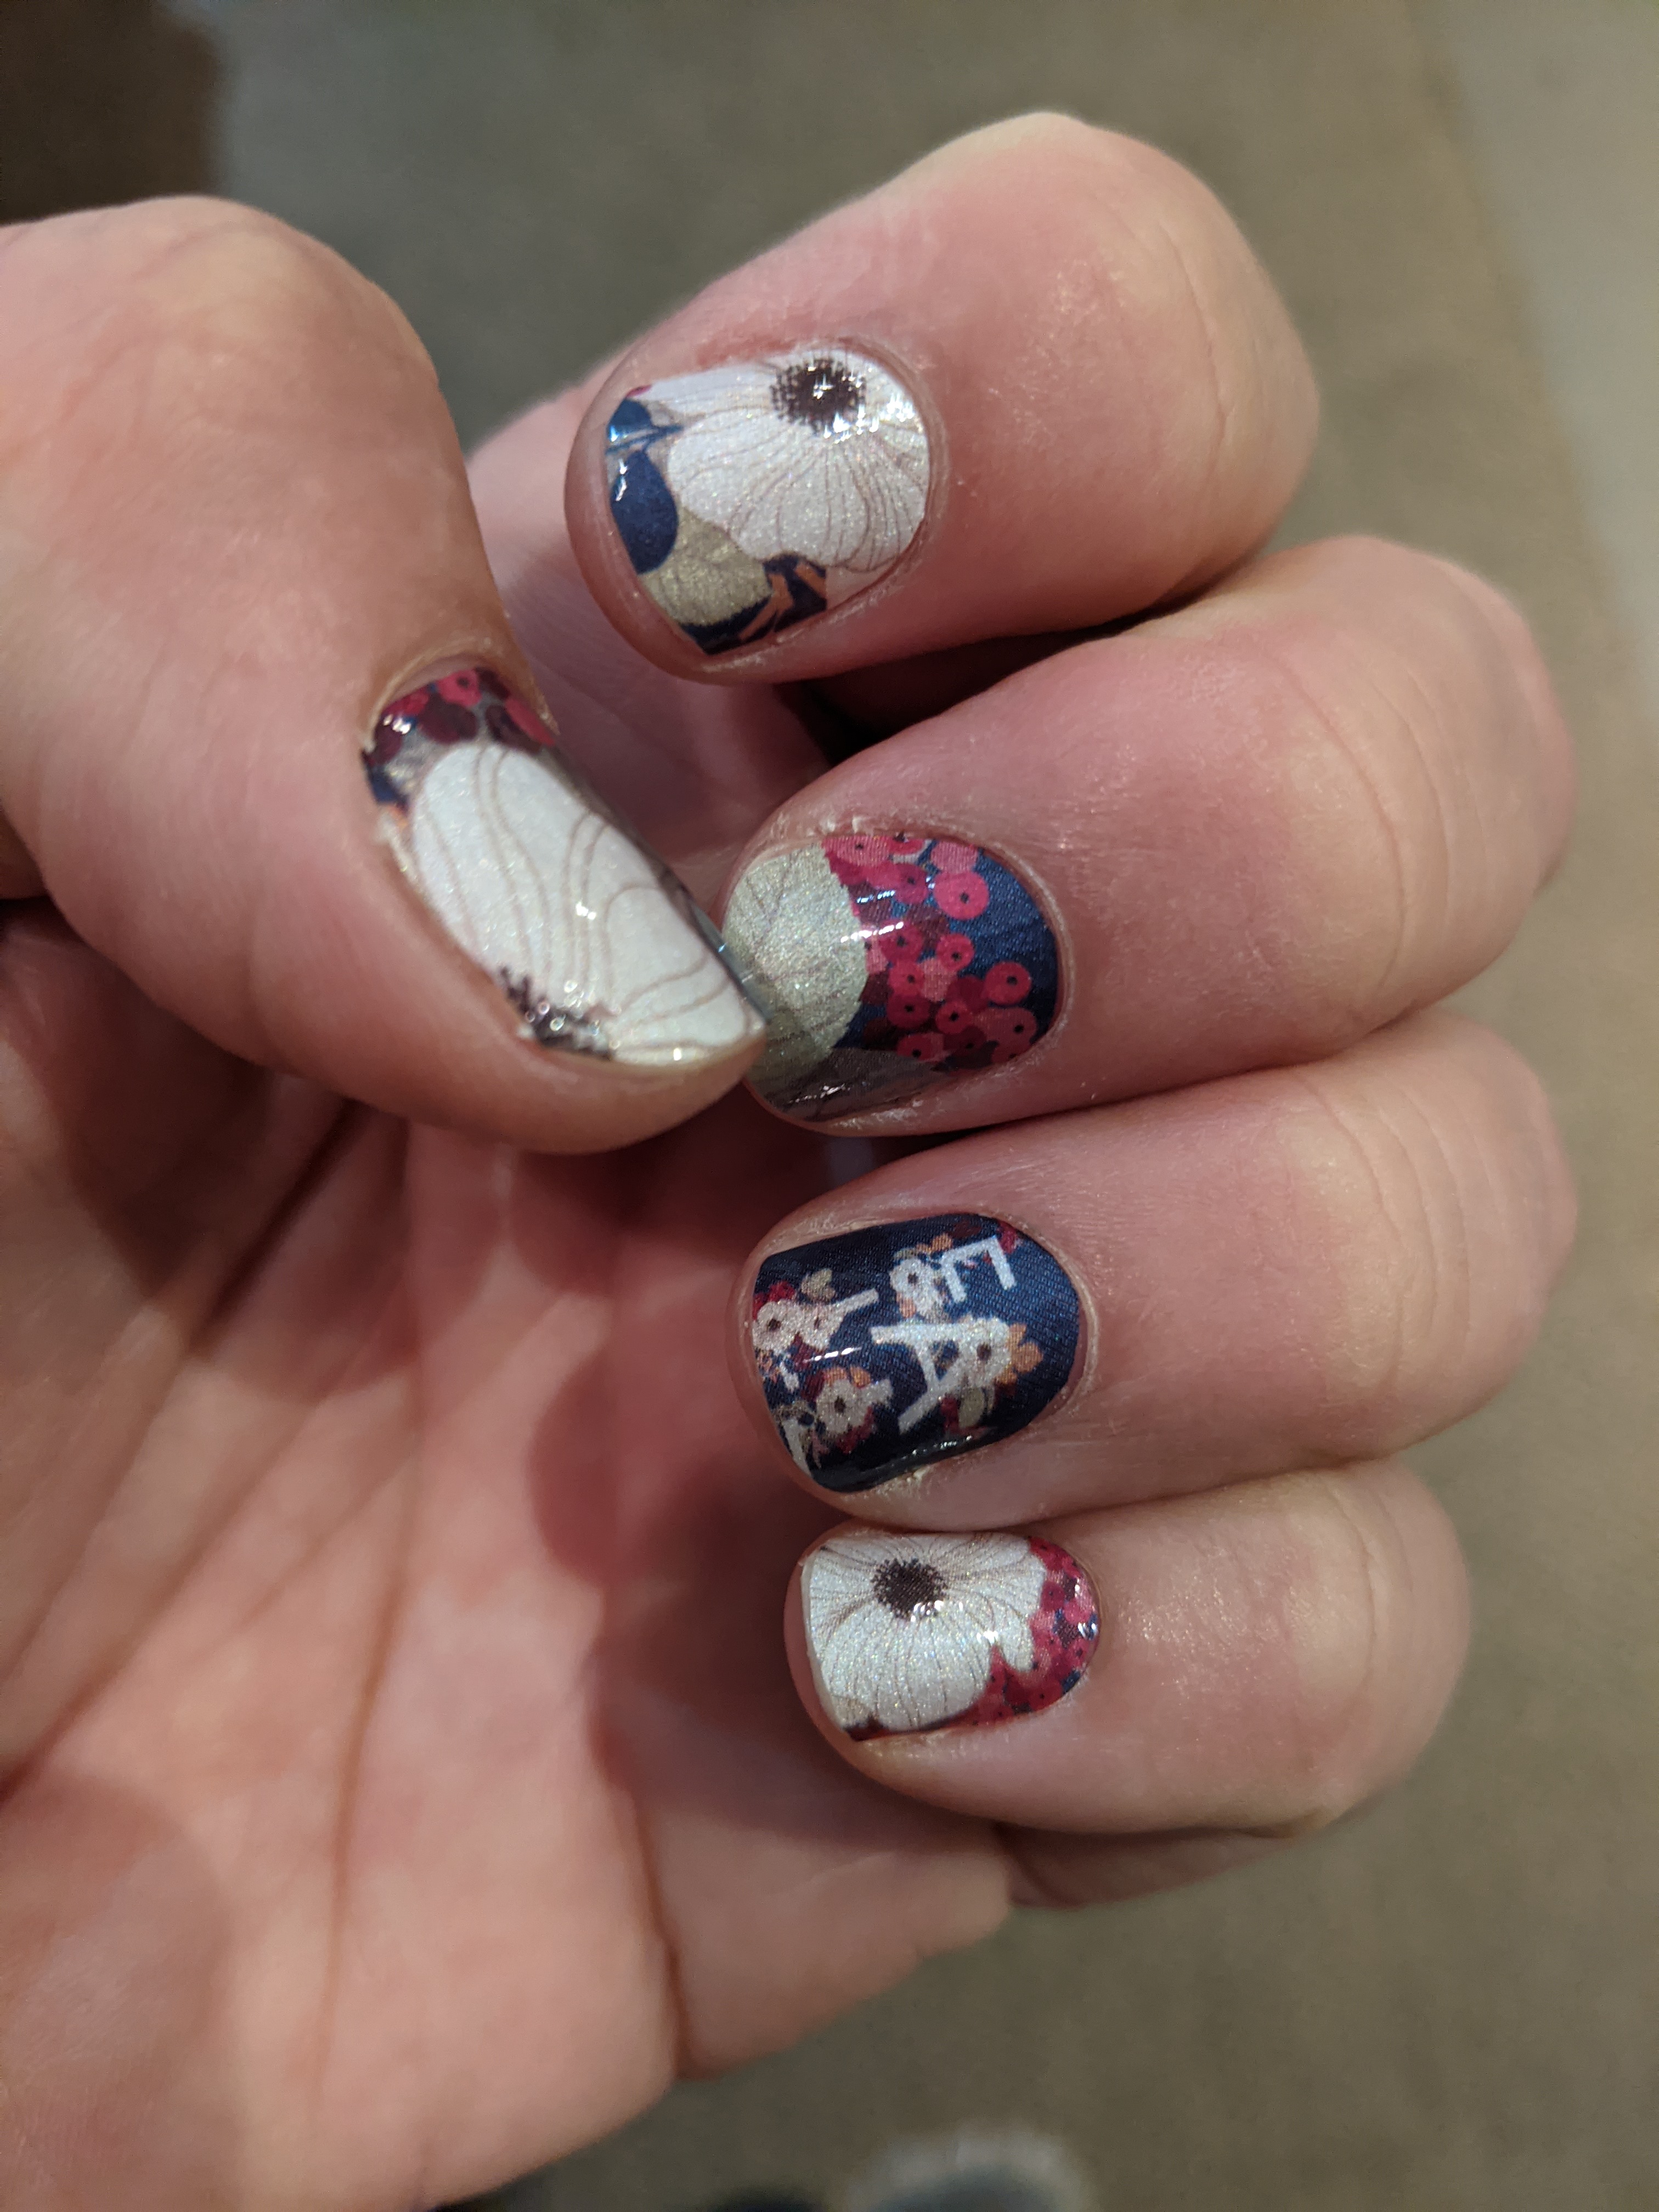
The thing about French manicures is that my nails are all over the map, some wide, some long, so traditional French press ons or wraps don’t work because they look uneven.  That’s why I love these Incoco strips, where you do the white tips, and then a clear overlay. They are fussy to do, but the results are worth it!  LOL- I’m realizing this is basically just a walk down nail brand memory lane, or as my mom calls it, a “shopping opportunity.”

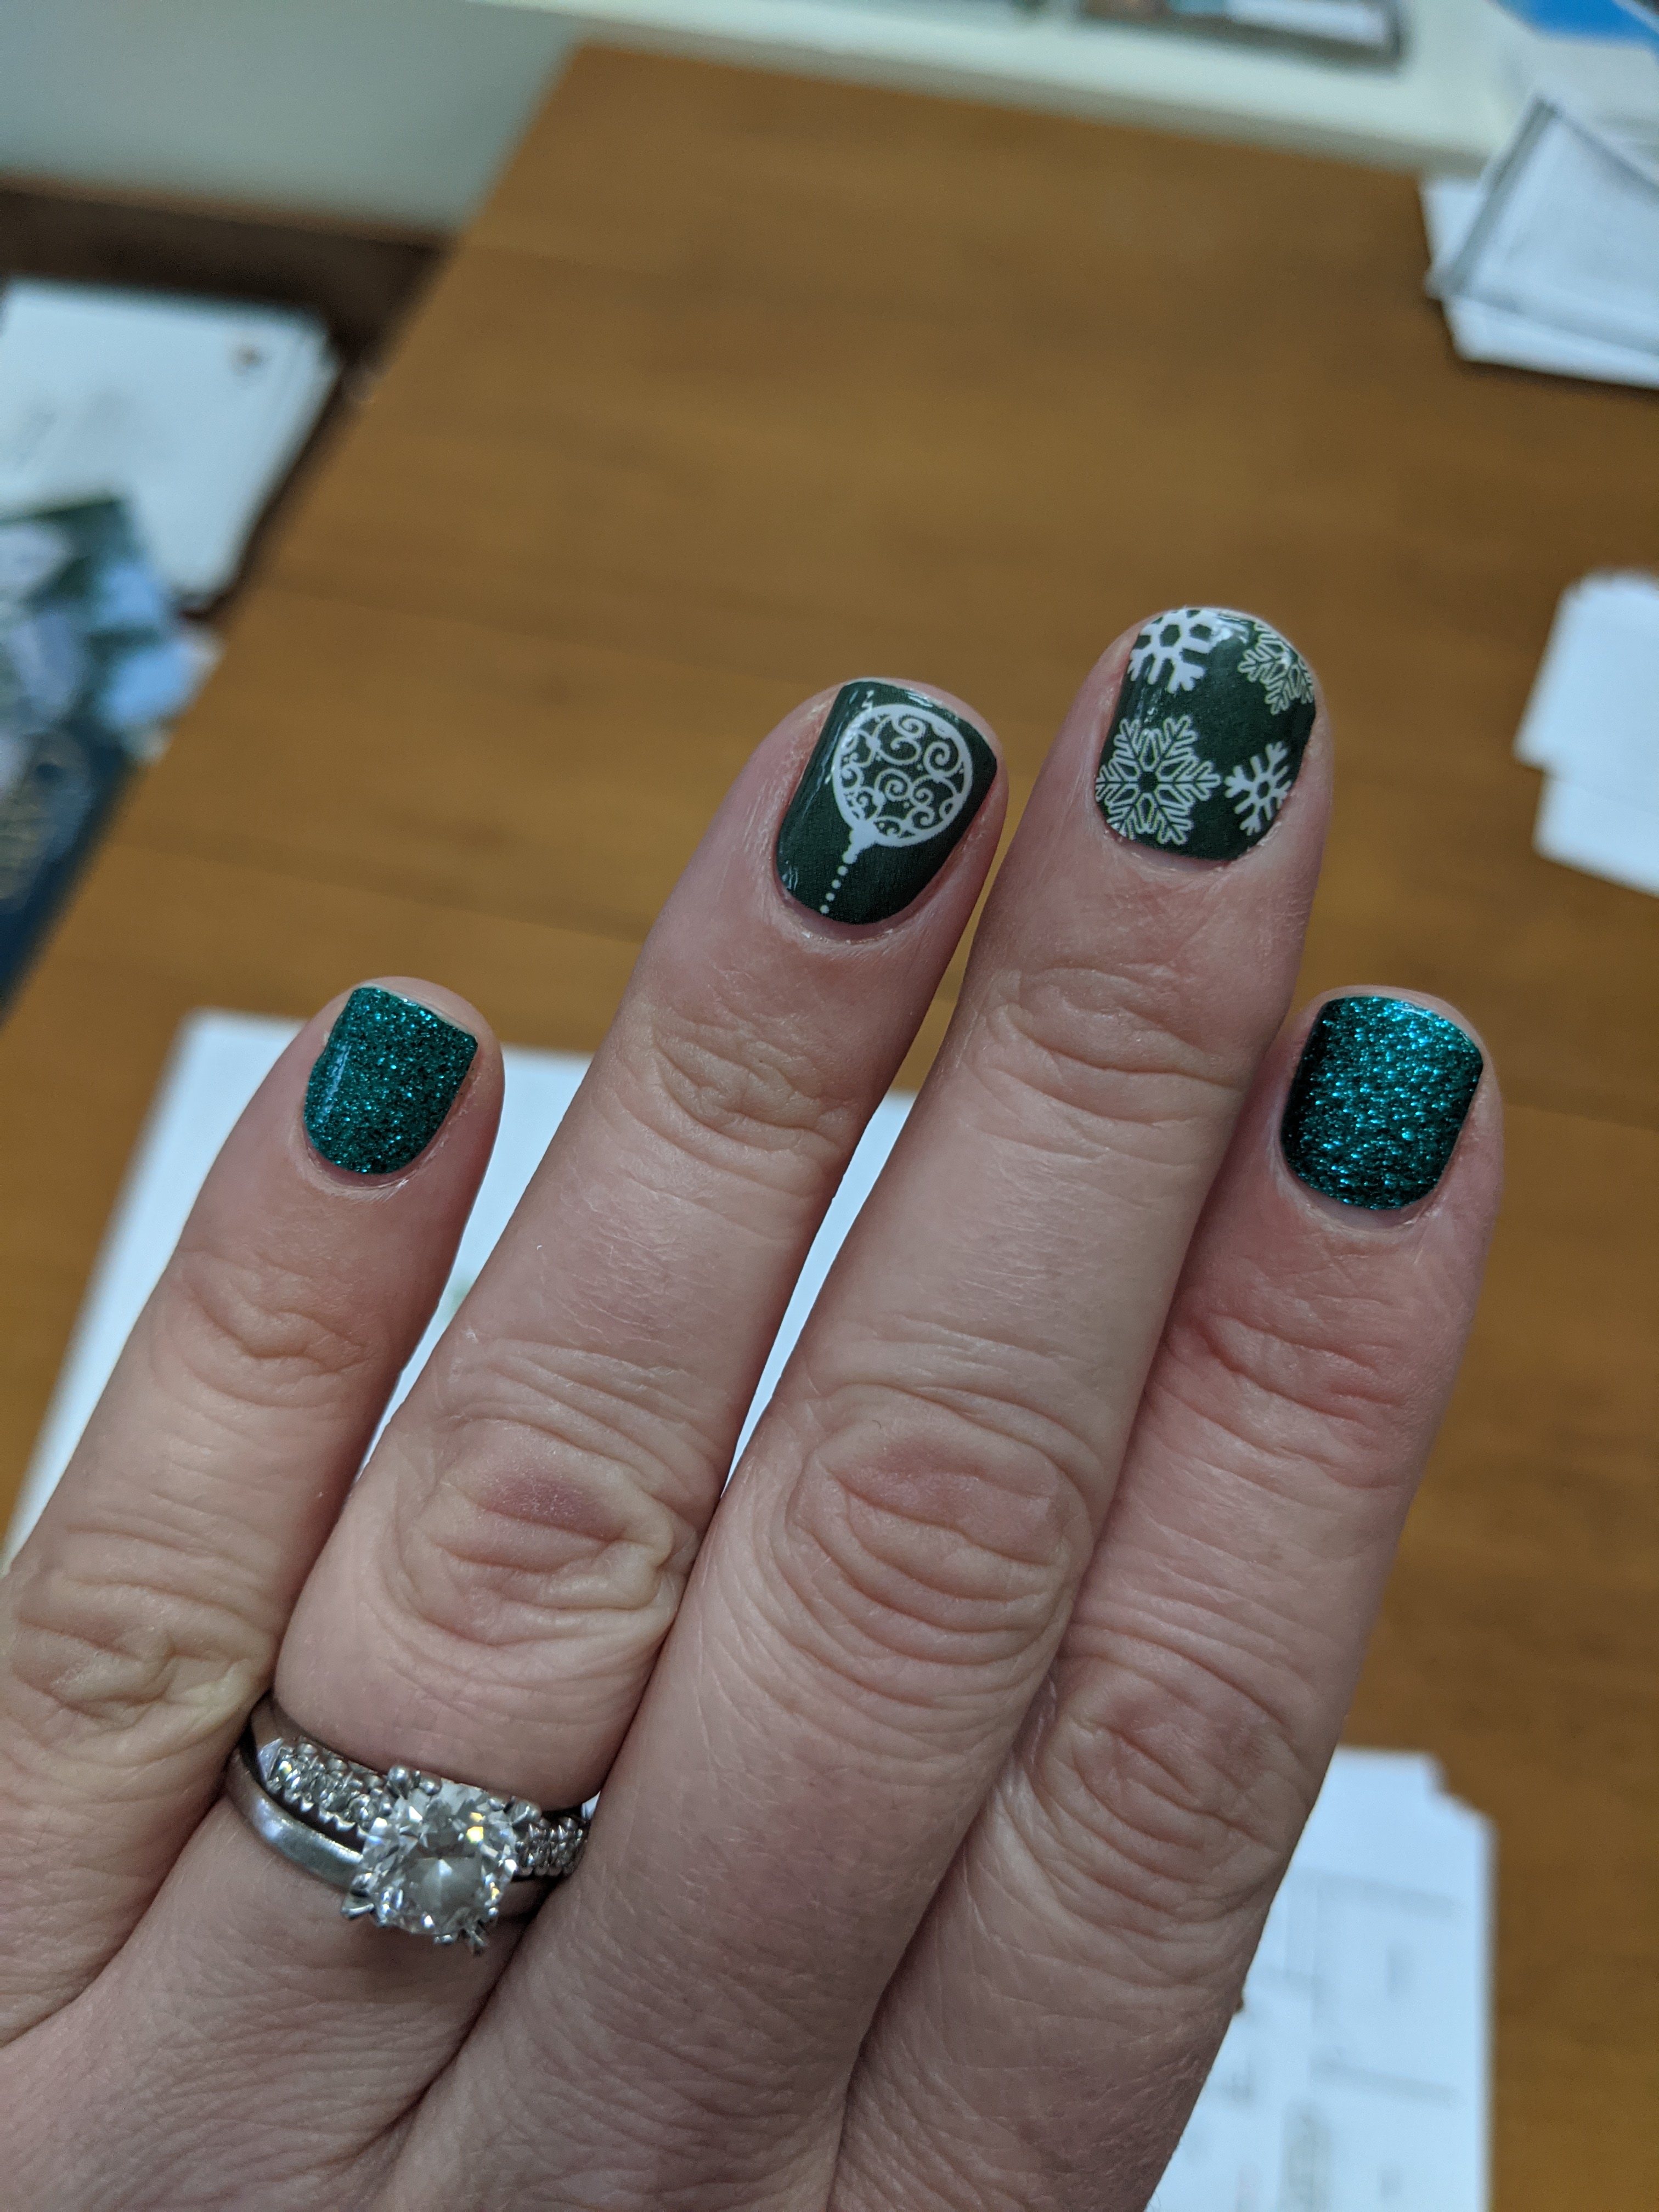
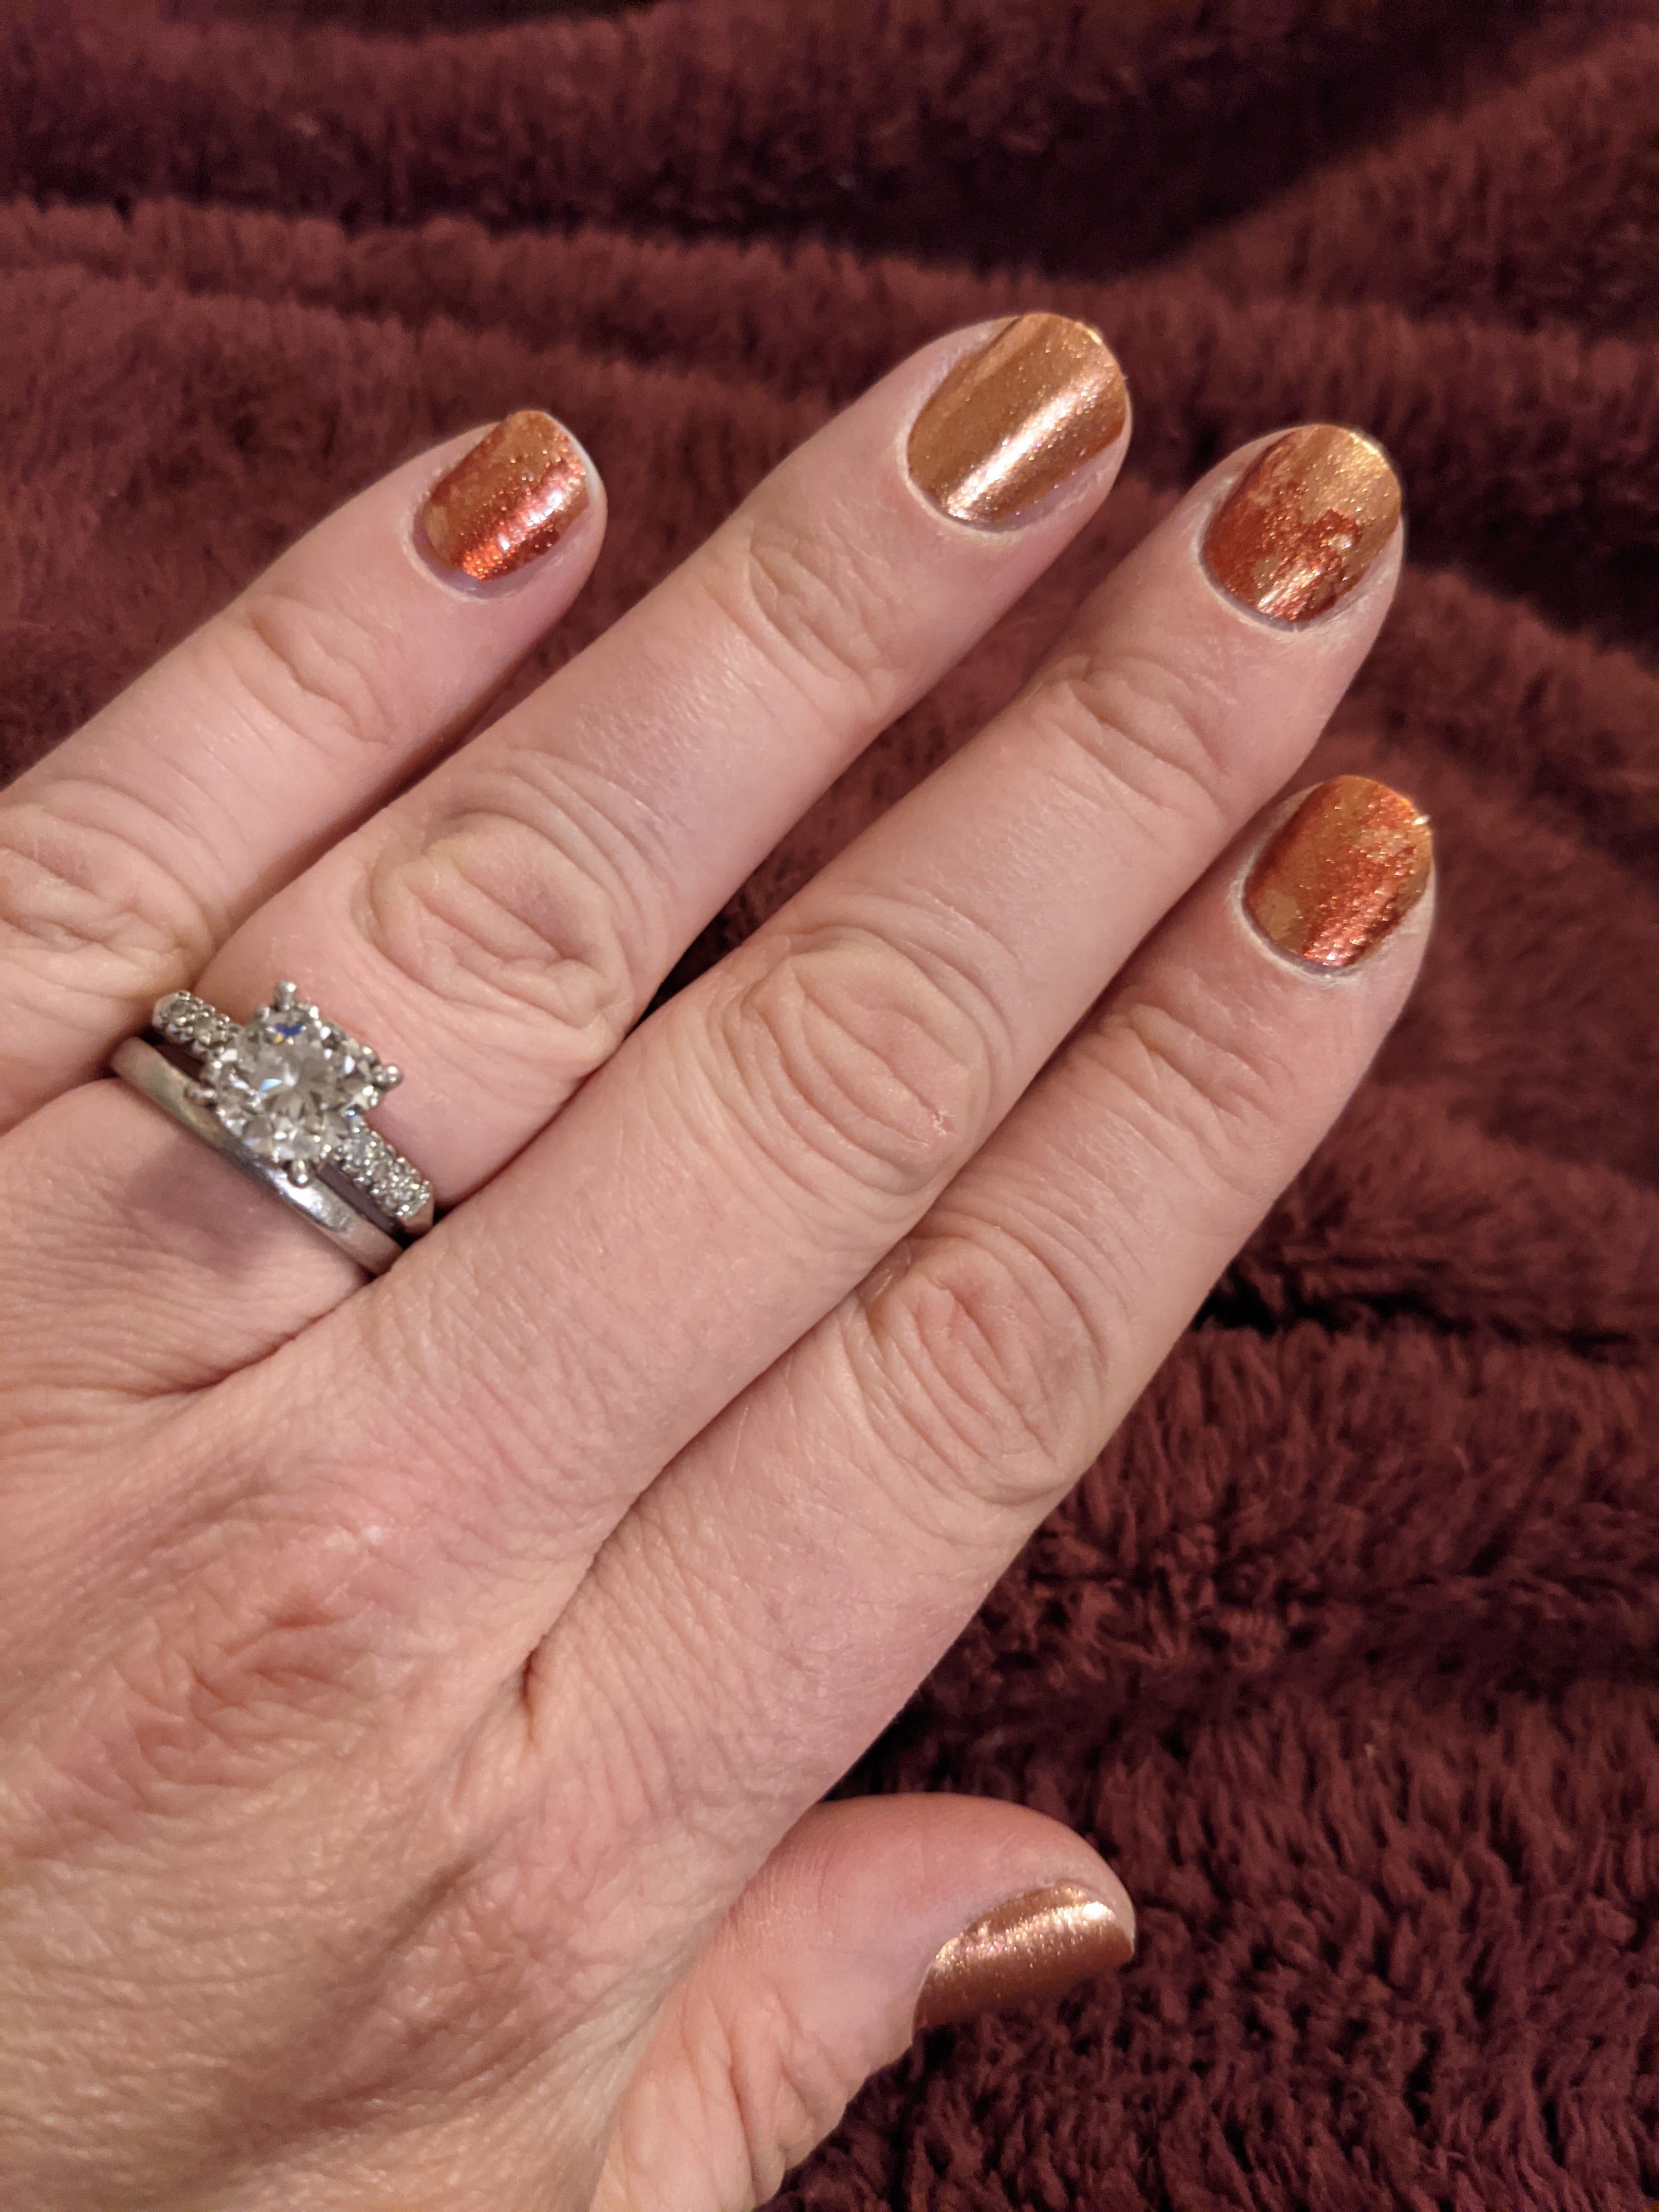
Dashing Diva Magic Press nails are also some of my faves, shown here with some jeweled accents.  I busted out some edible gems to decorate the accompanying cookies. Impress press-on nails are also amazing and have fun colors, patterns and gems.  For both of these I wear a layer of Dashing Diva (DD) Red Therapy Base Shield for press ons, and it helps them stick and protects my nails. They also have great solid colors, which never chip or peel!

Gotta mention Colorstreet in all this! Colorstreet is actual nail polish tabs, and while many of the wraps I use are made with real nail polish, most also have a plastic layer in there somewhere, and Colorstreet really doesn’t seem to. They go on easy, and they come off with nail polish remover (Most others peel off with the help of remover).  They definitely wear better than regular nail polish.  I did try modern nail polish as part of this journey, thinking maybe it would work better than it did for me in junior high. Alas, no! So back to wraps for me. Colorstreet don’t last quite as long for me as Dashing Diva, but they do feel very nice on, and you can layer them.  You can buy them from their website, but it’s usually better to buy them from your friend who sells them. For me, that friend is @nailsbymurrah, that same Murrah that hosted the nail/cookie collaboration!  If you want Colorstreet, you can check them out here.

Too Cool For School

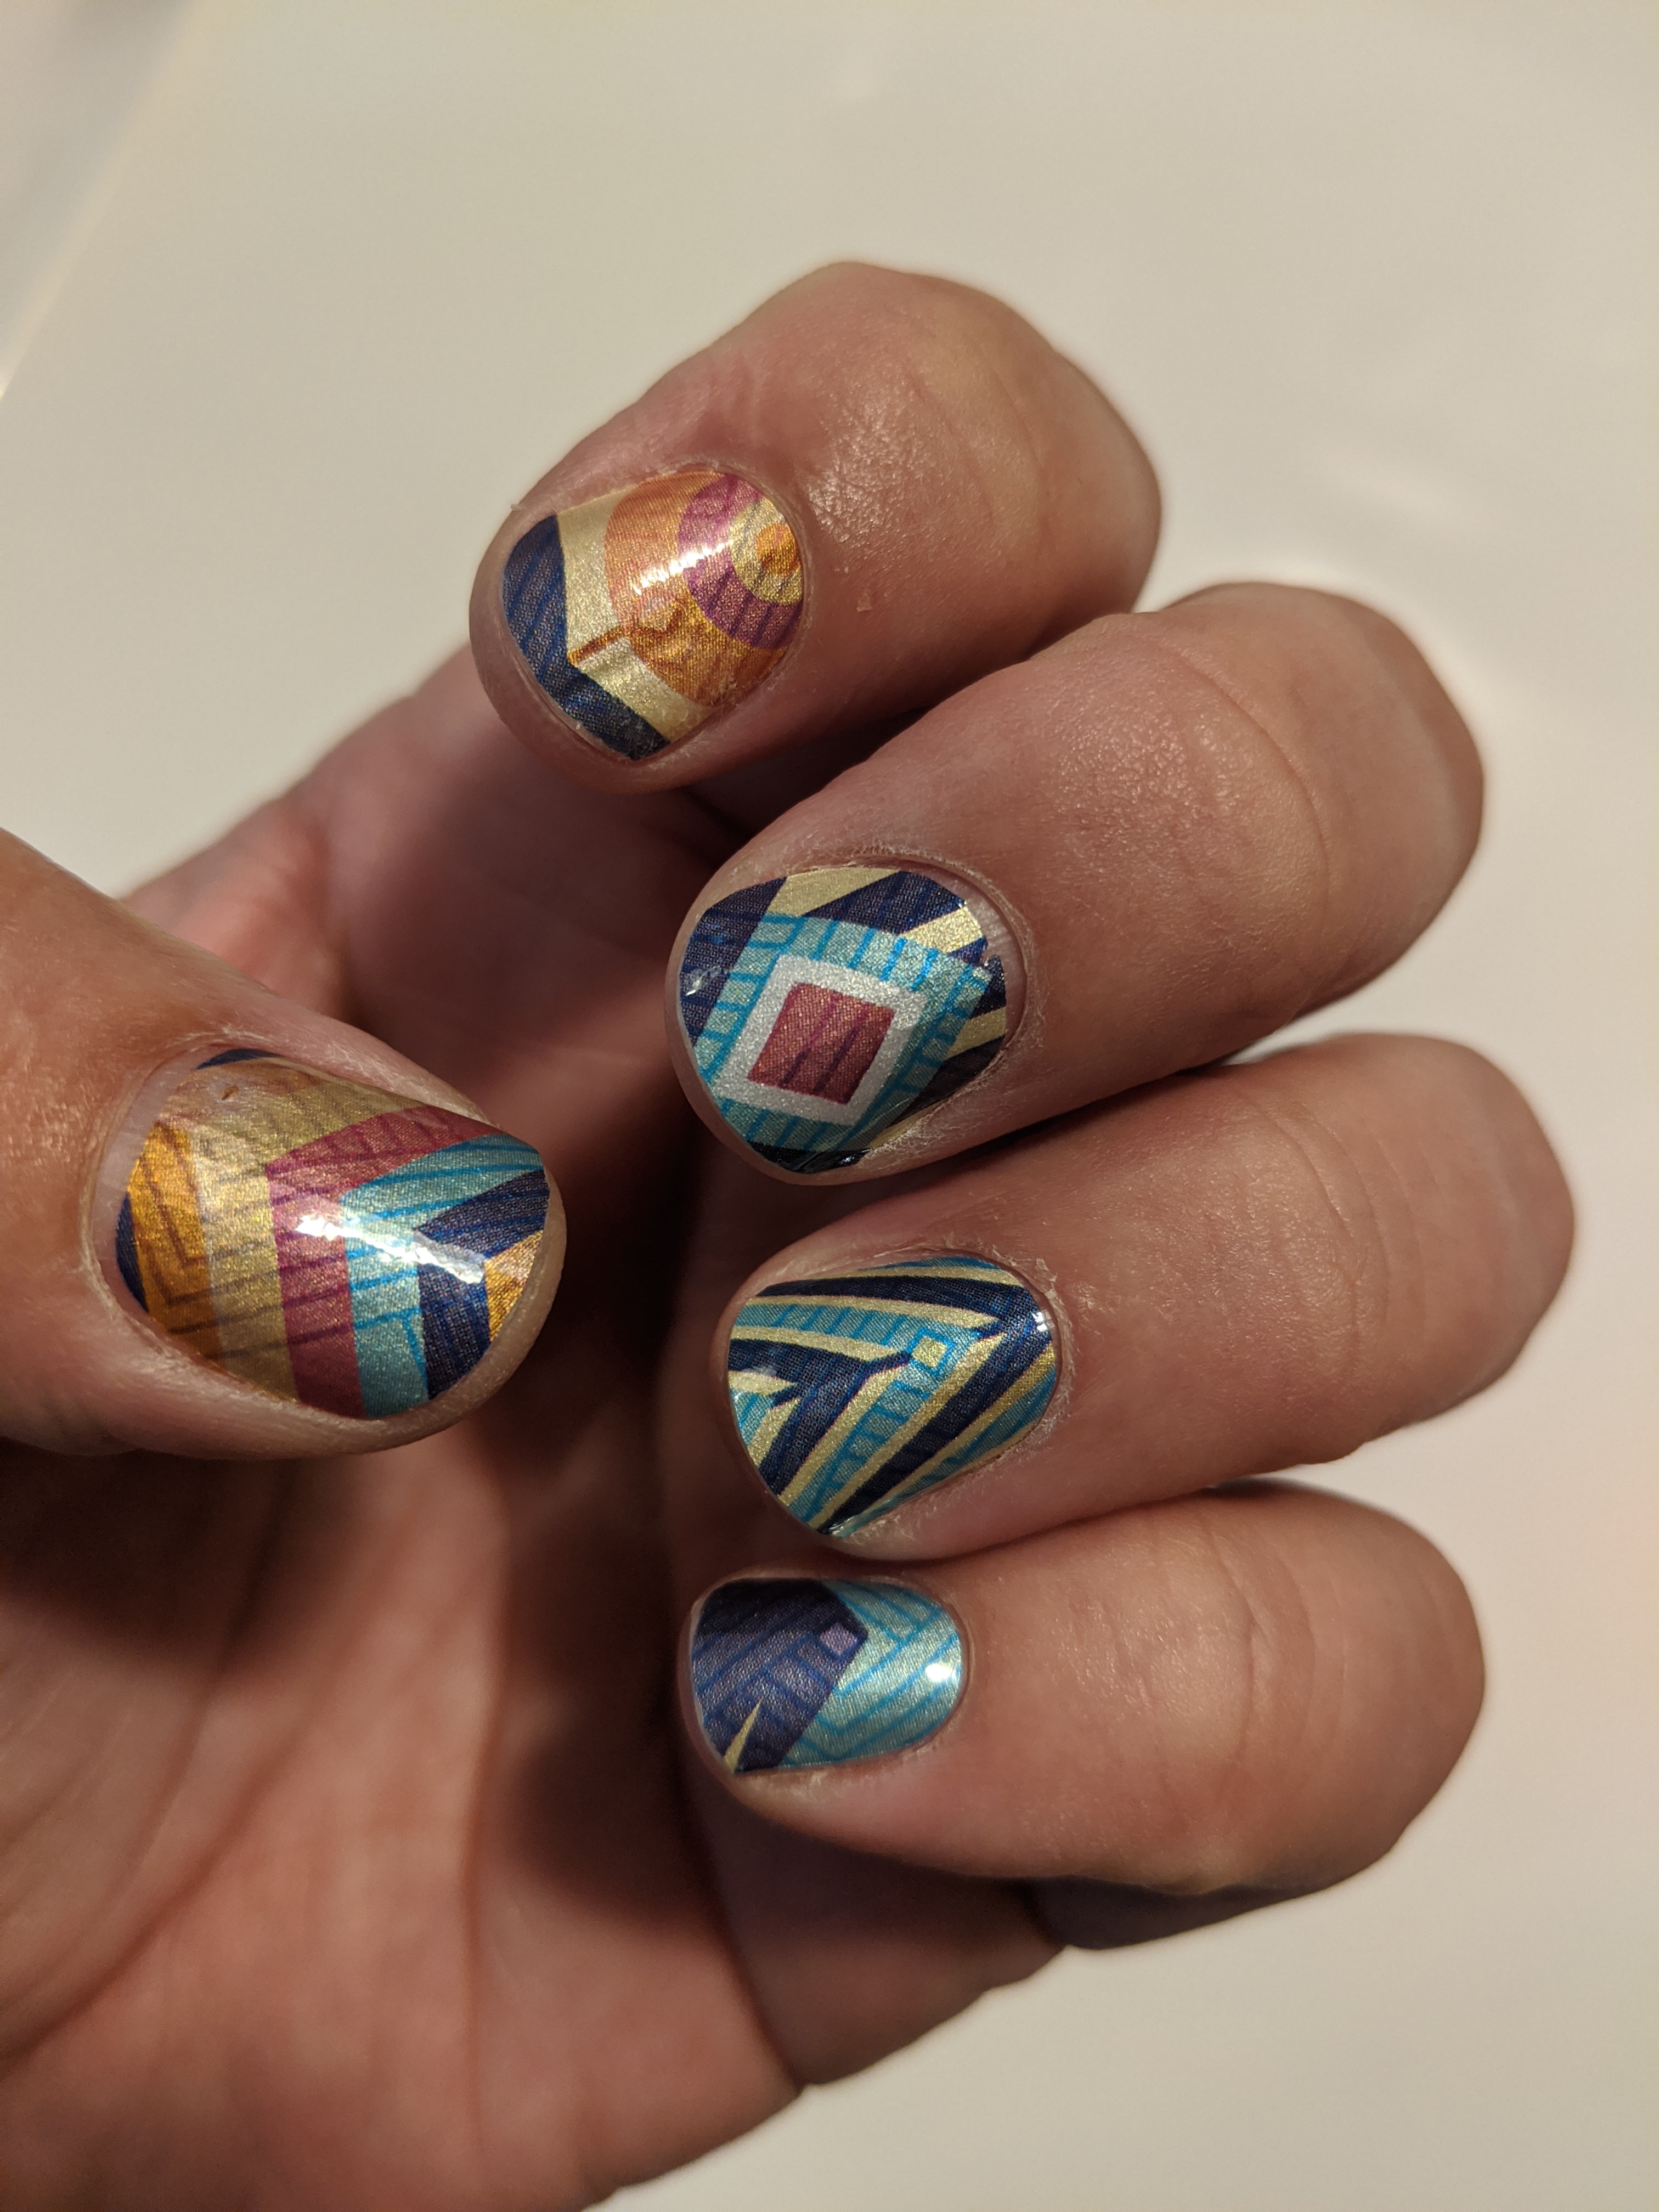
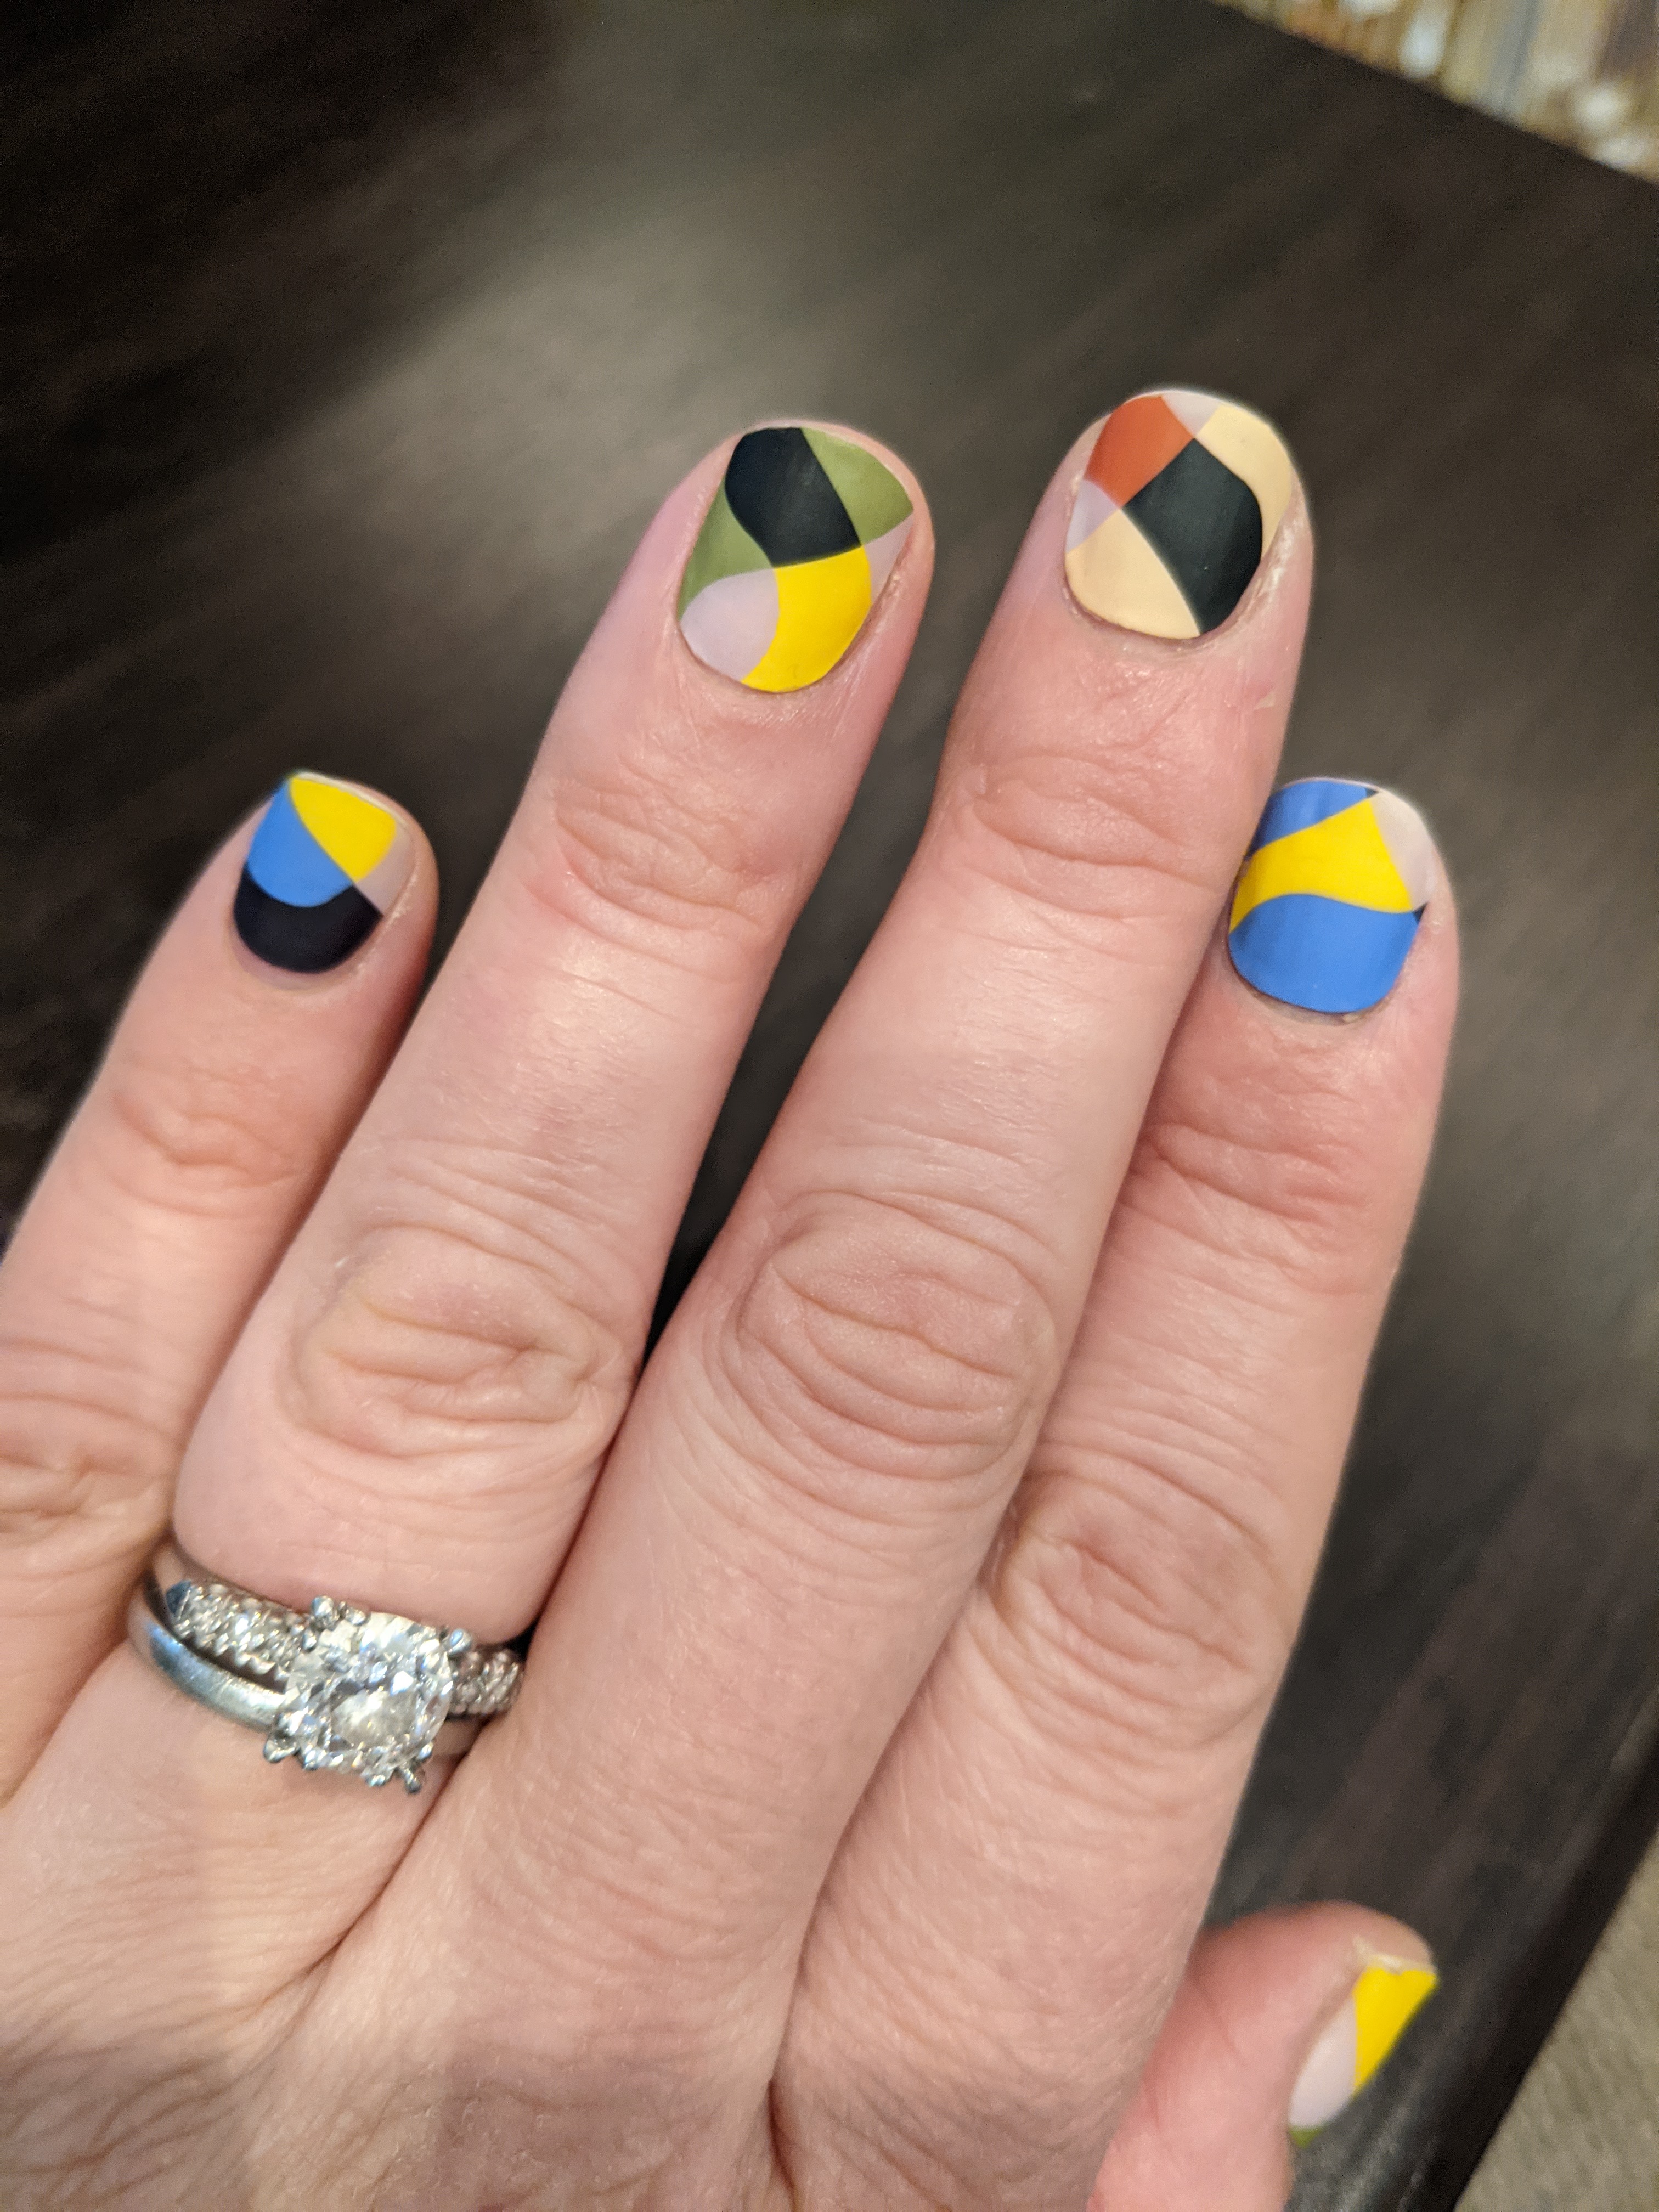
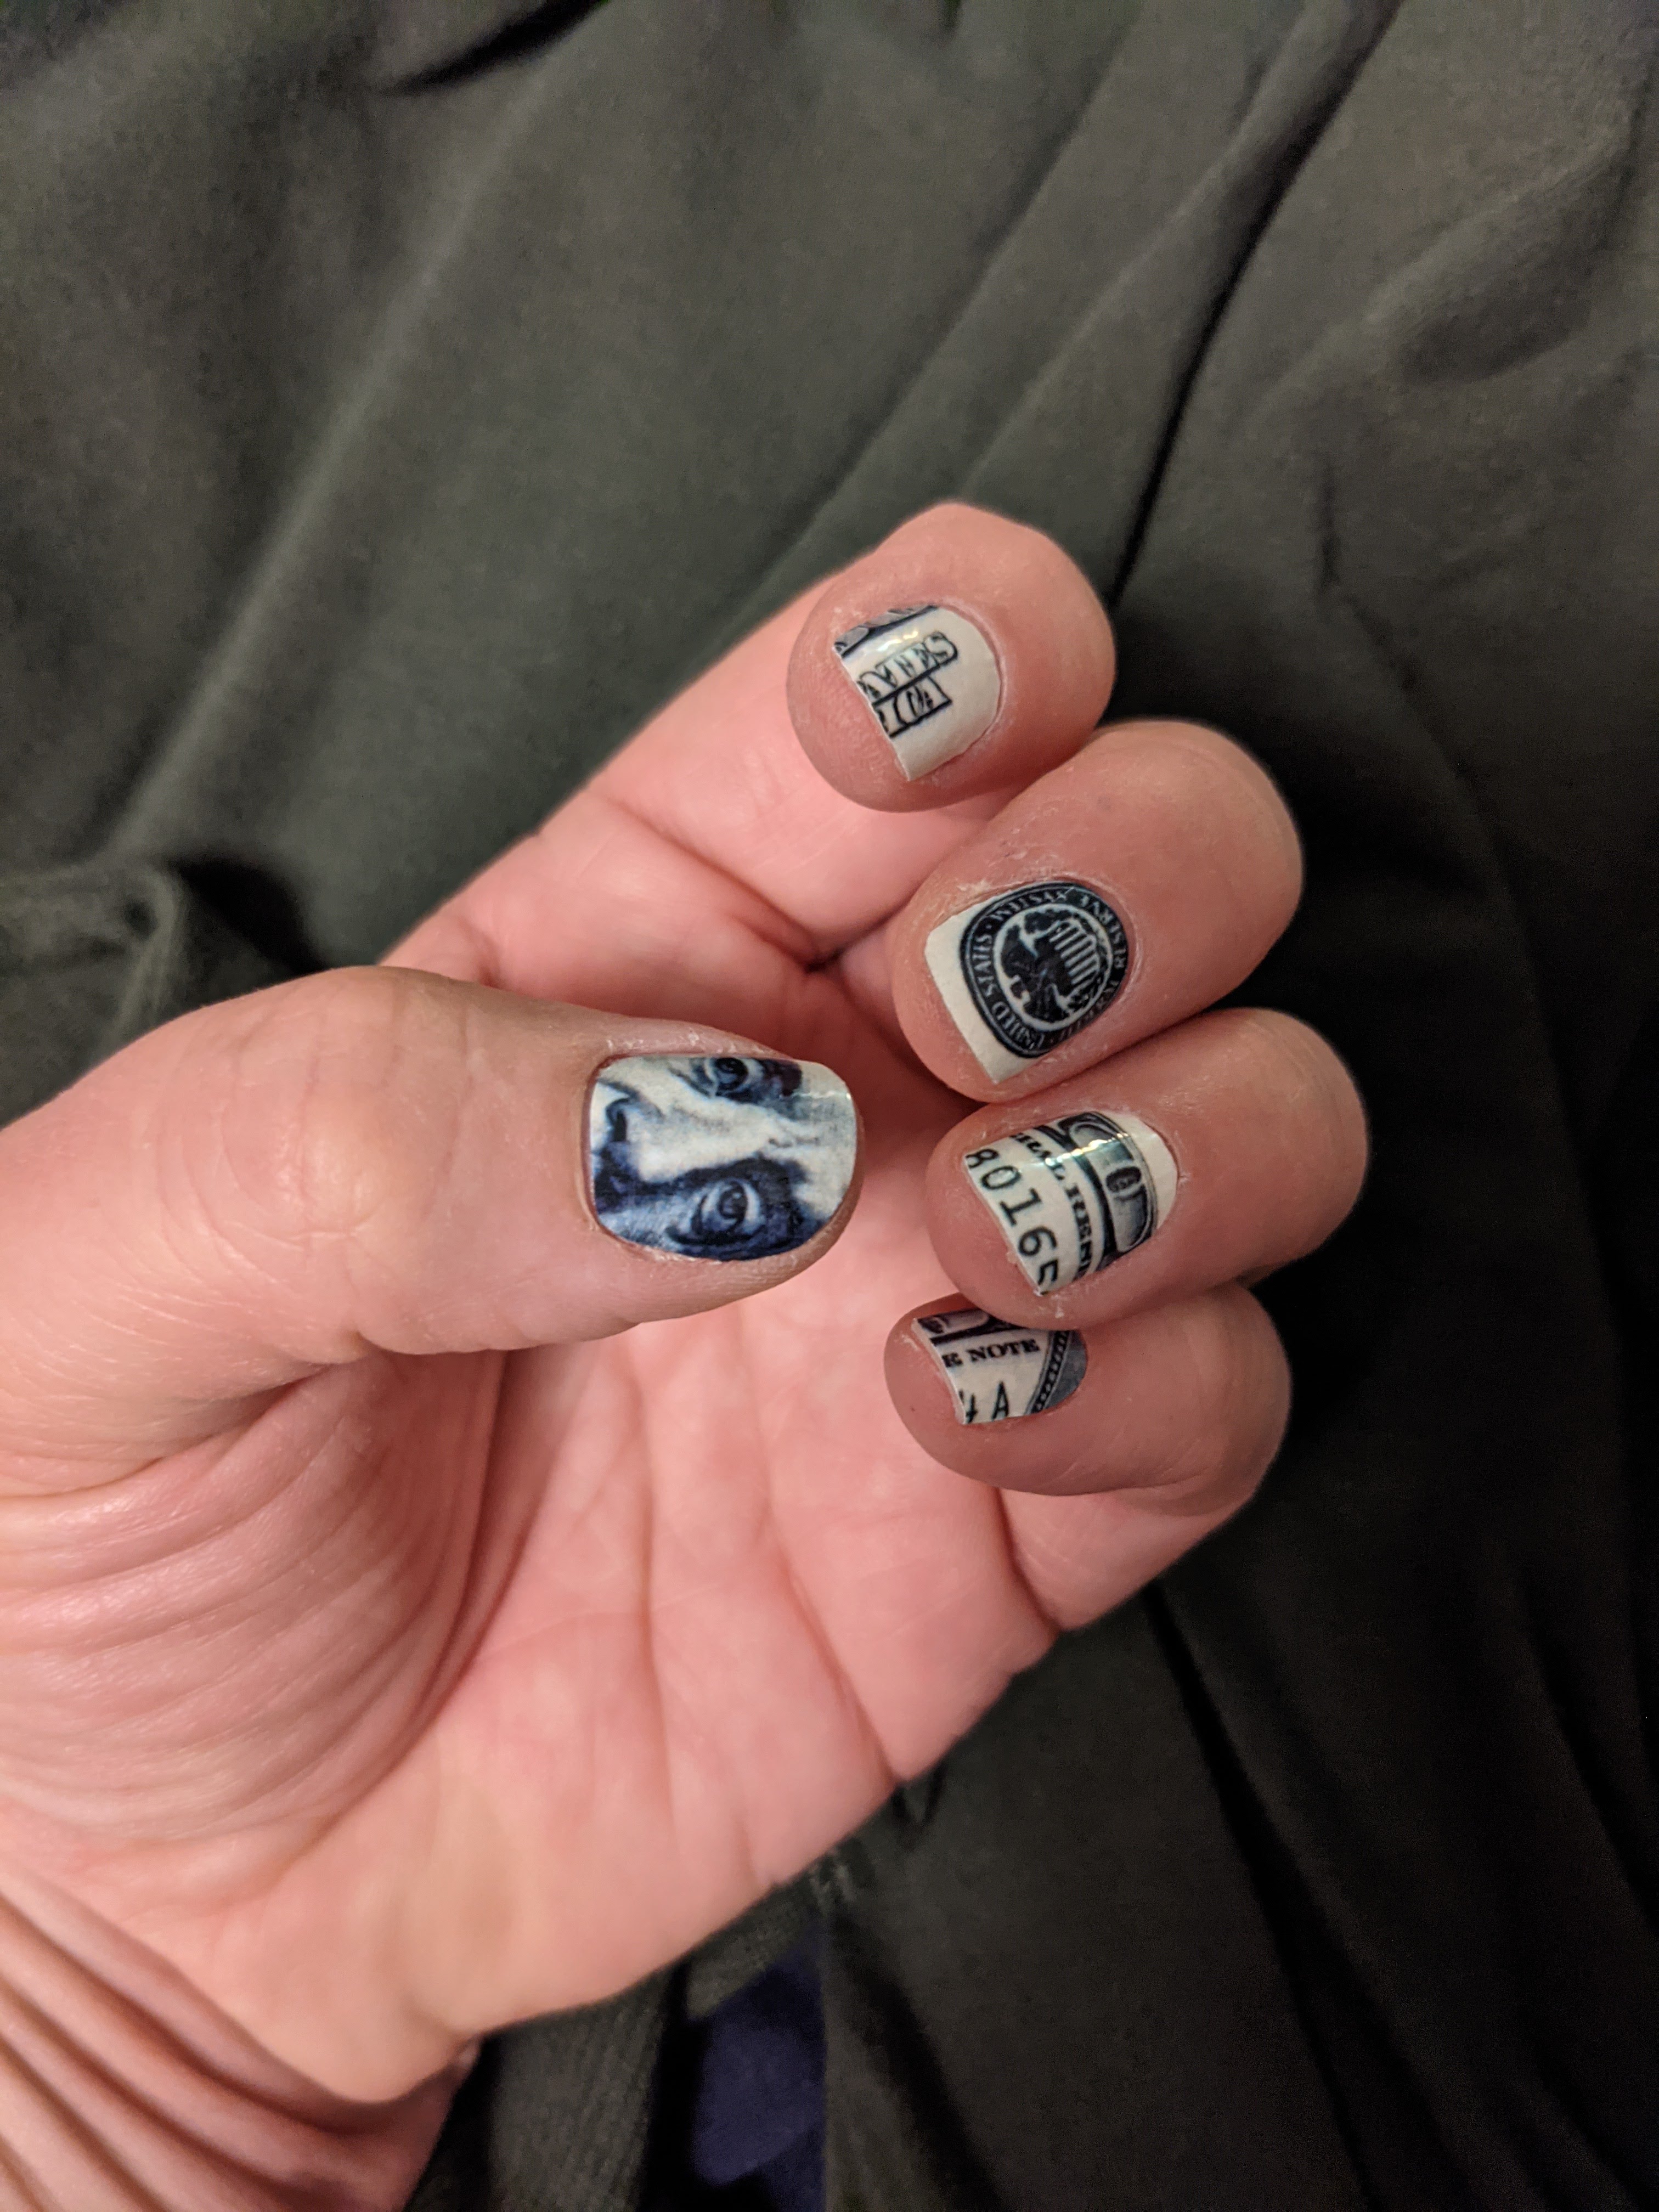
Back to the Future!  I may never be cool enough (or young enough) to wear these pierced nails by Rave Nailz, but still I kind love them.  And same goes for these crazy rose gold holographic ones by Marmalade Nails. But they do make for great cookie inspo. I did actually buy those Clutch Nails with the tattoos, but I’ll definitely have to save them for a walk on the wild side! 

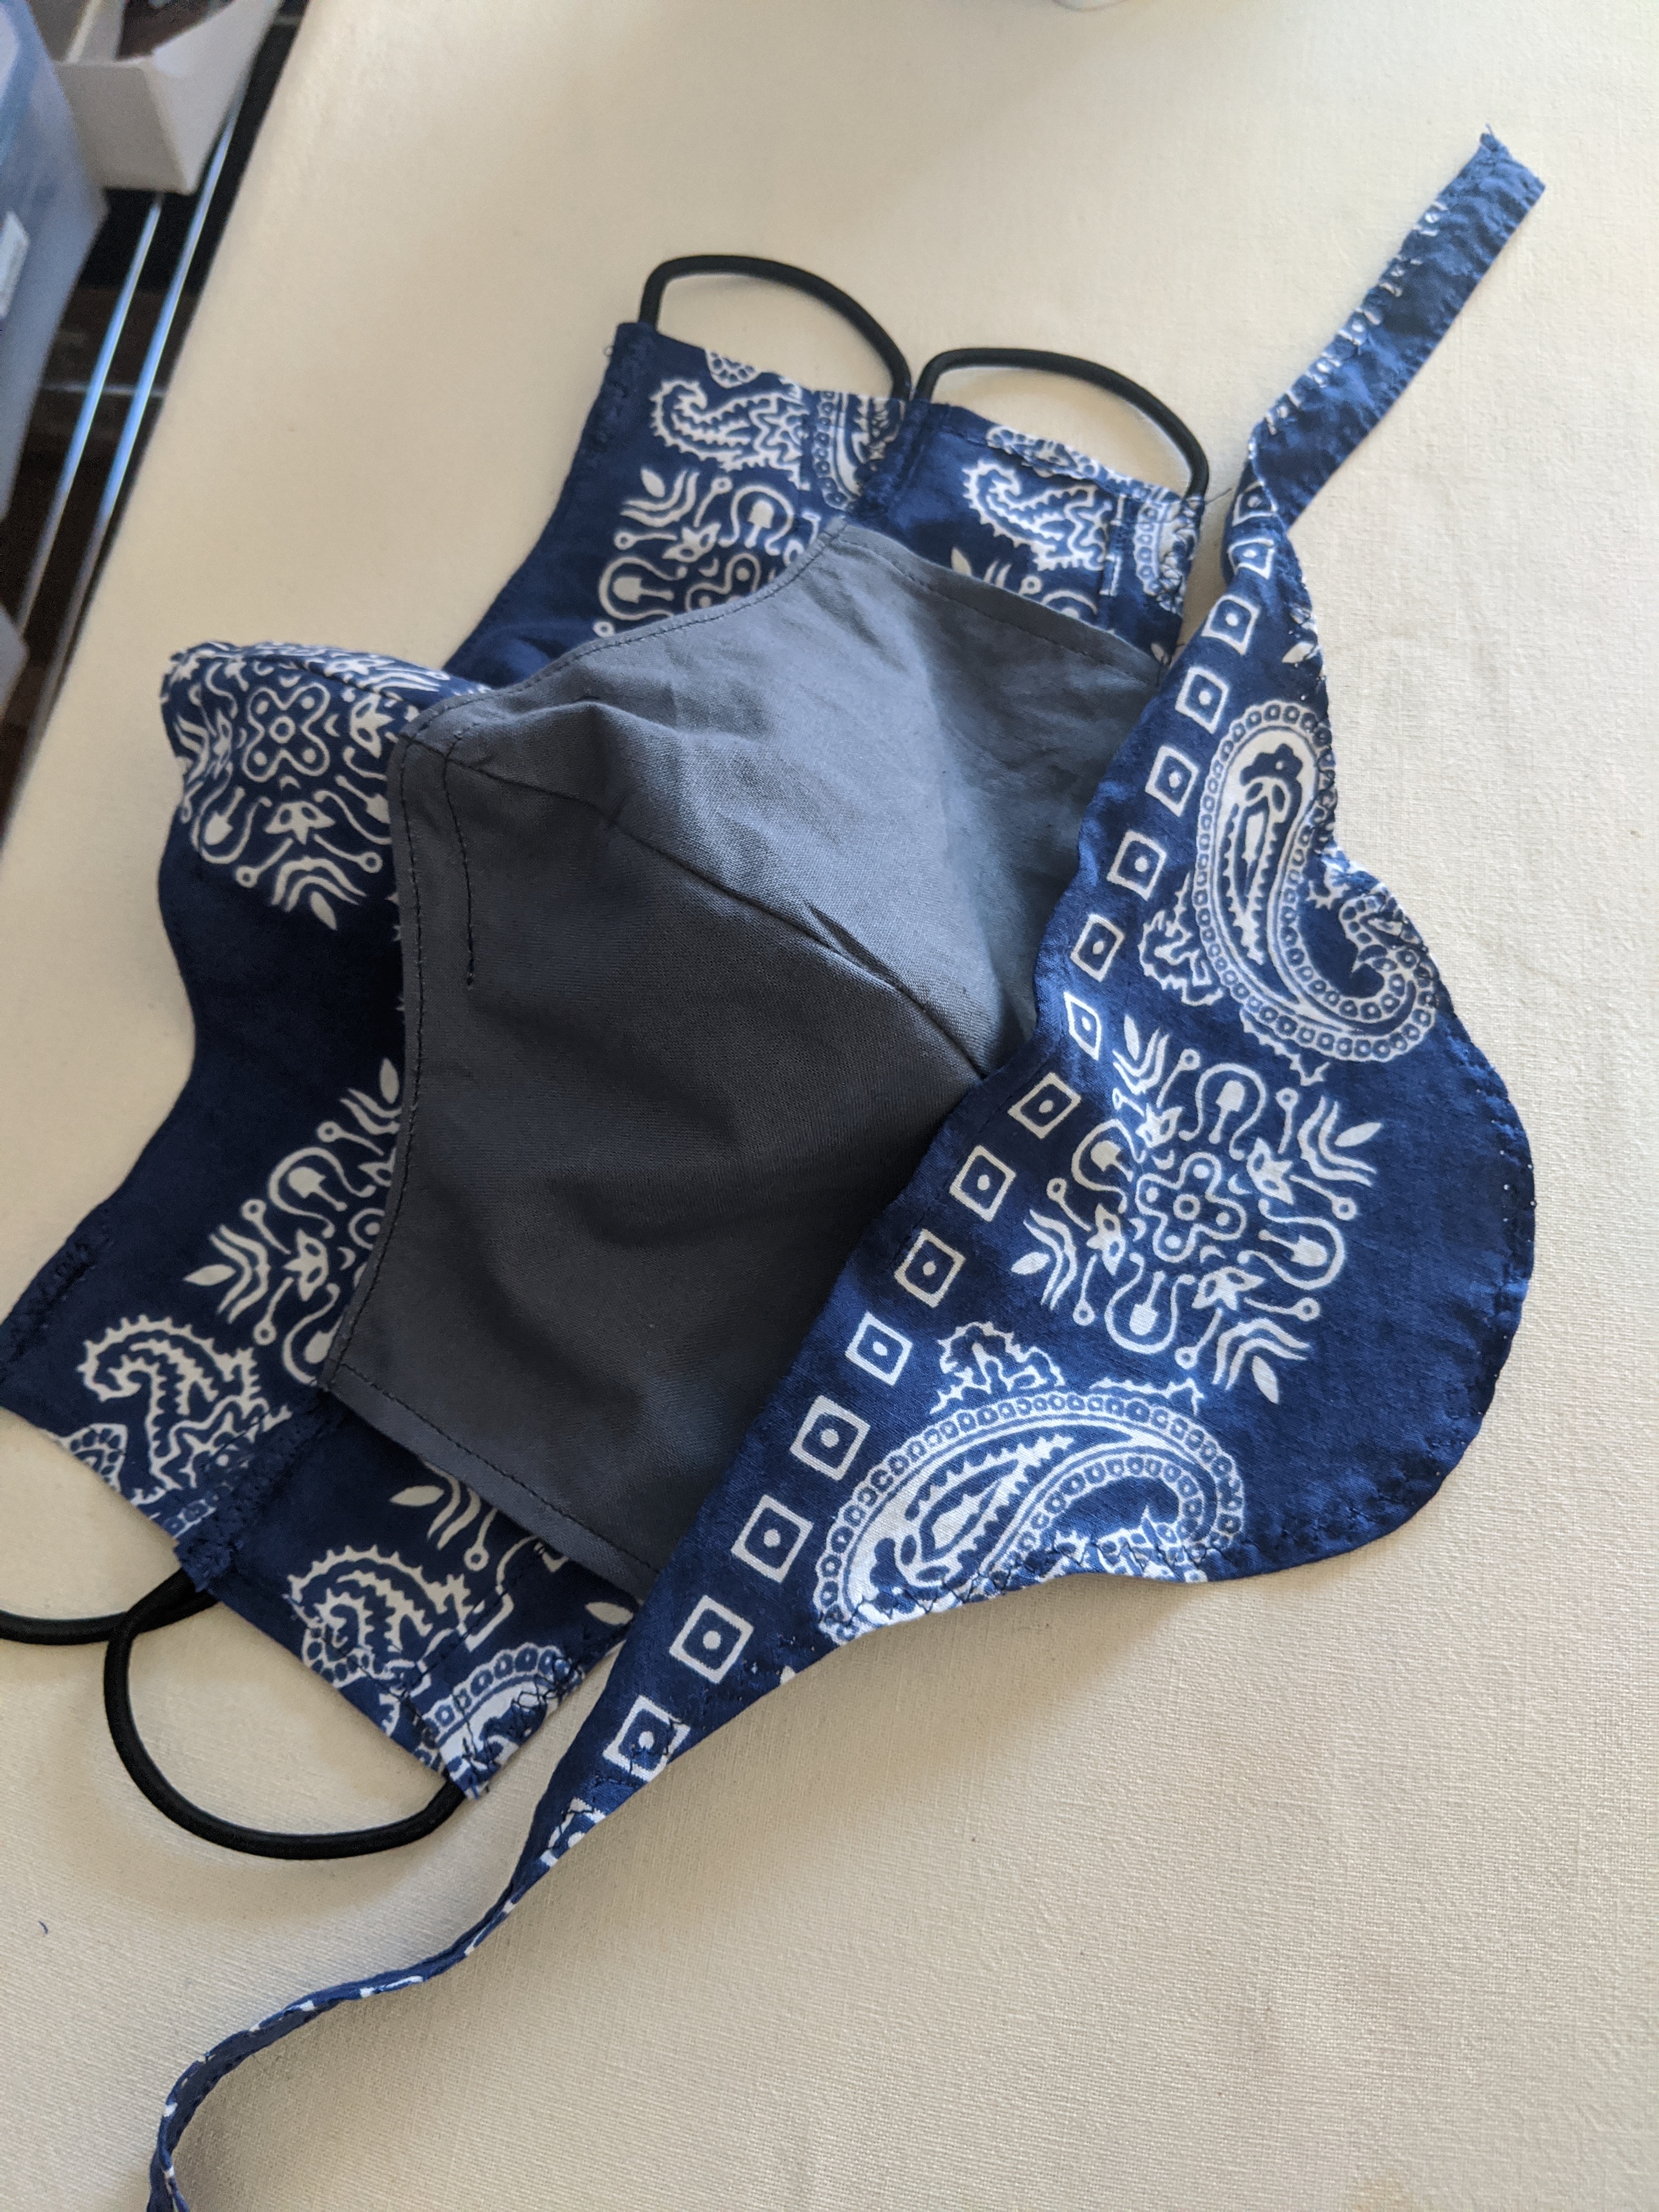
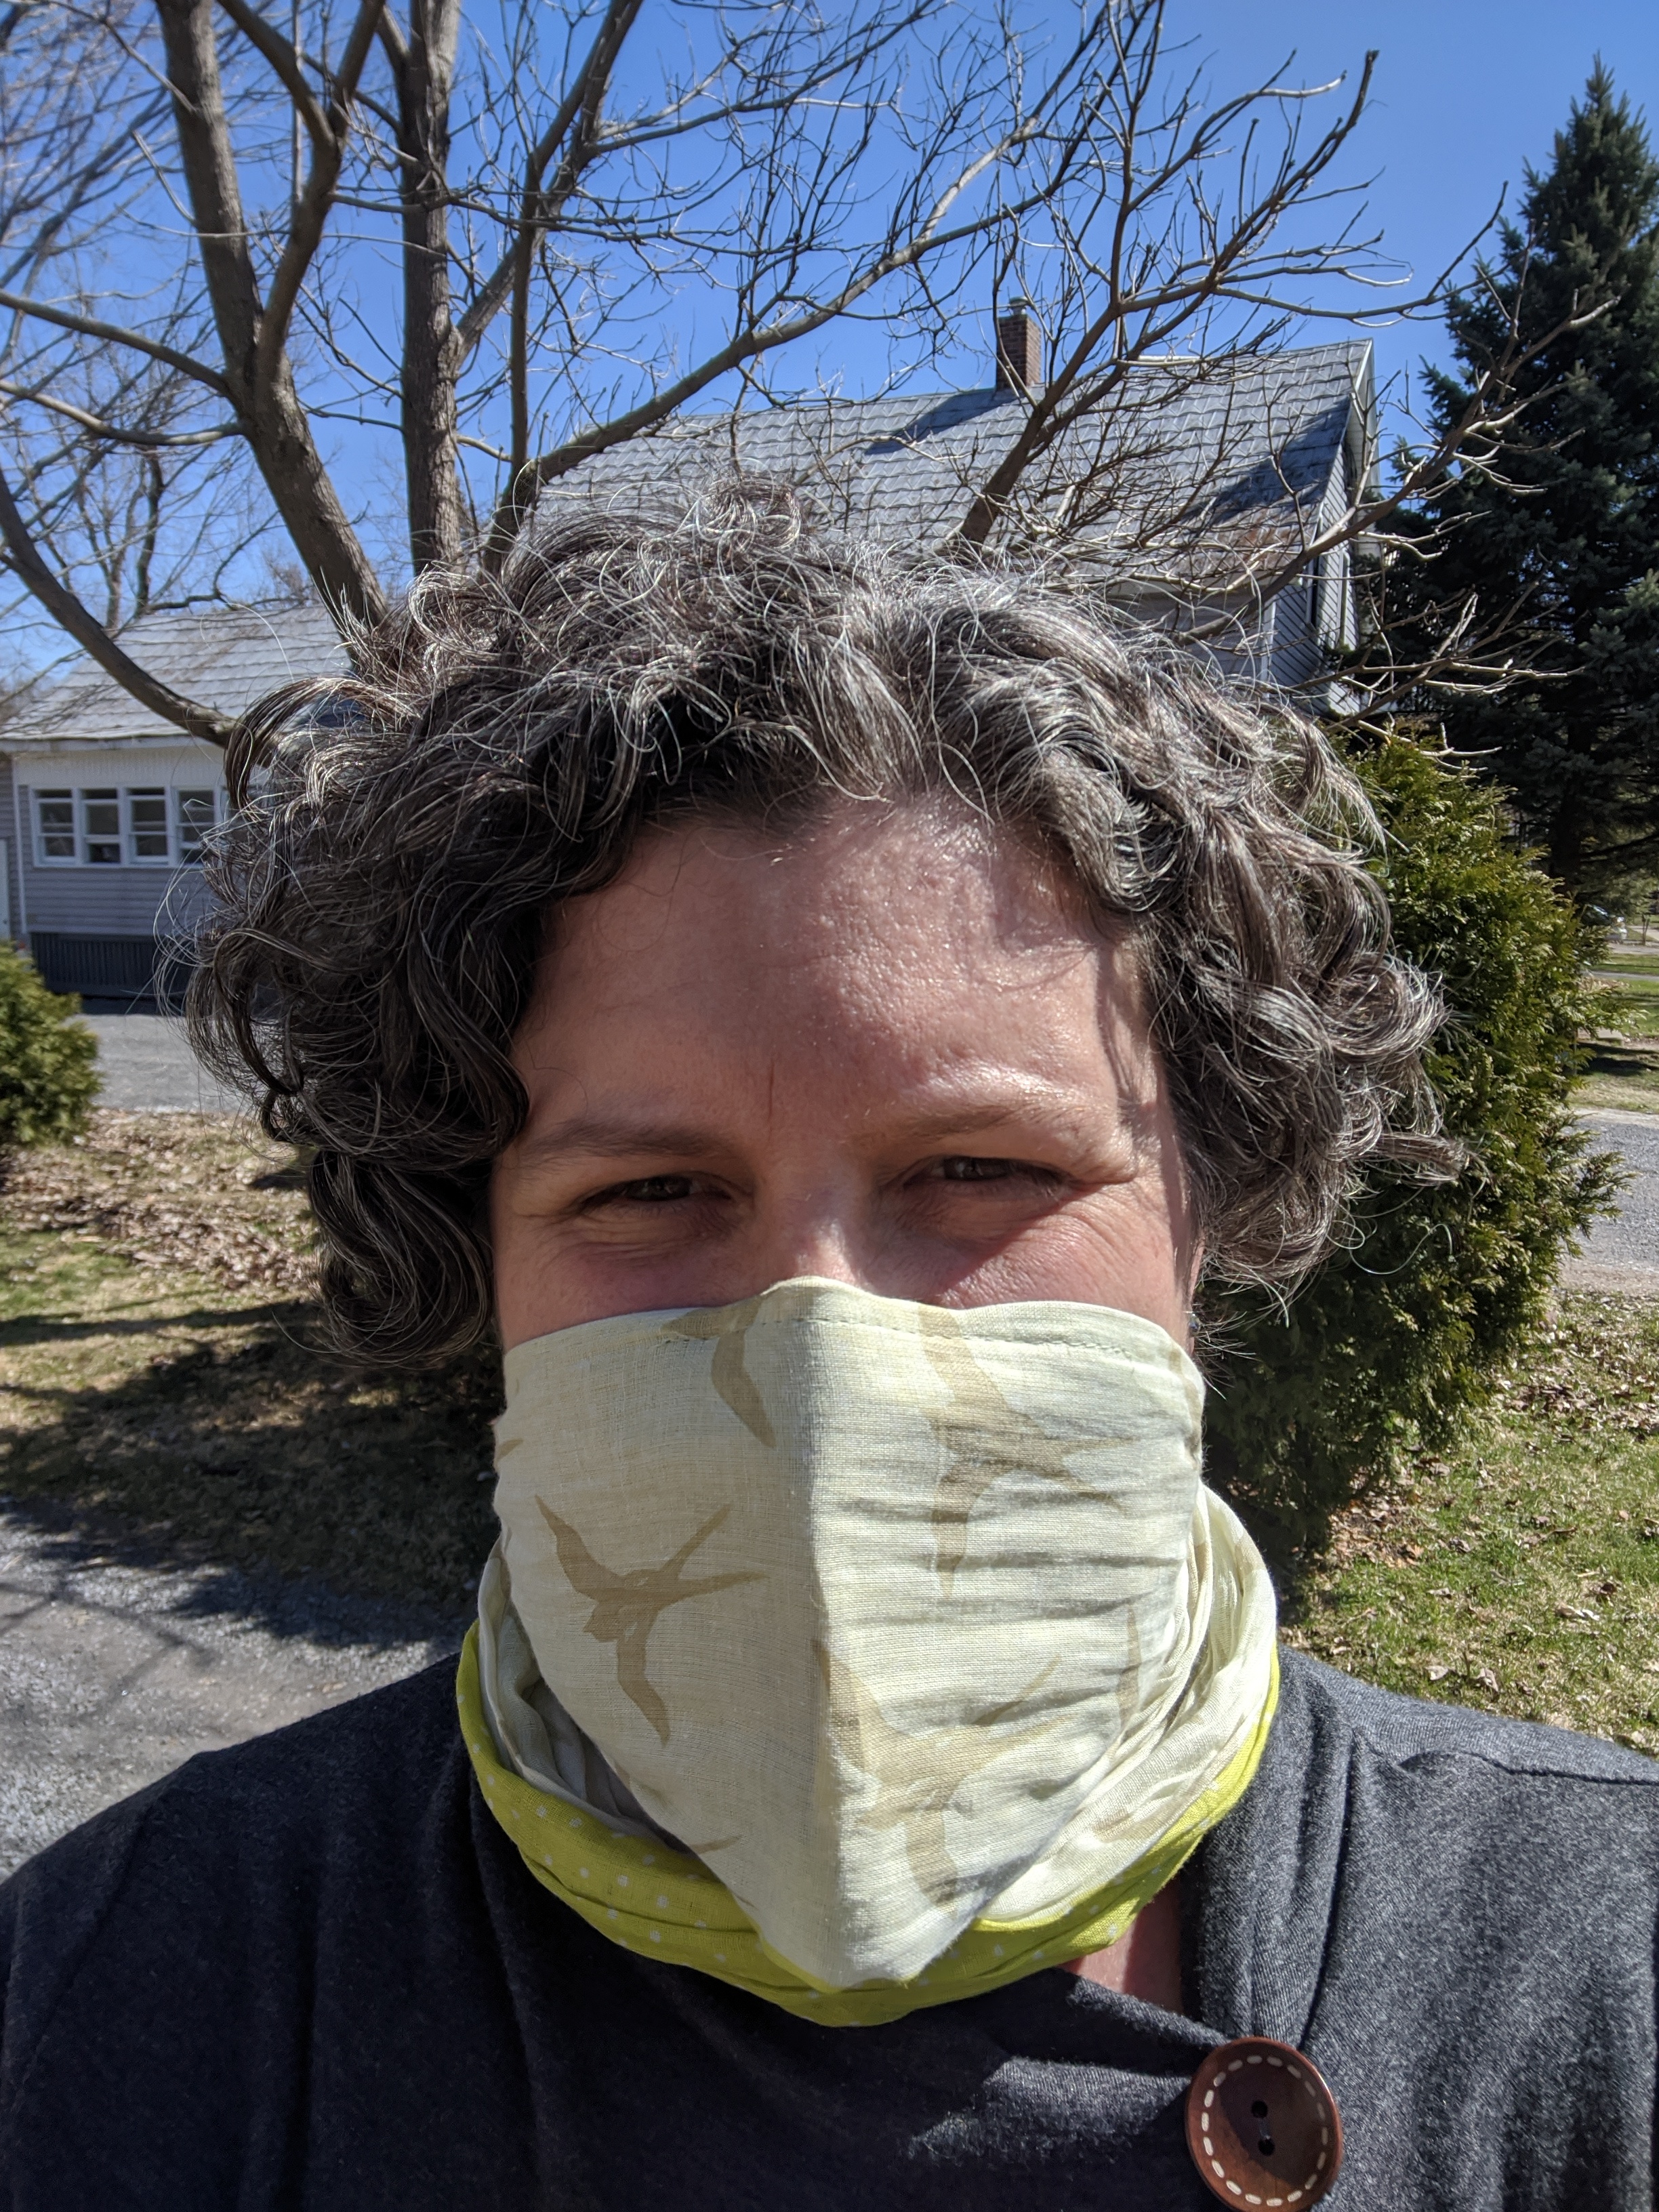
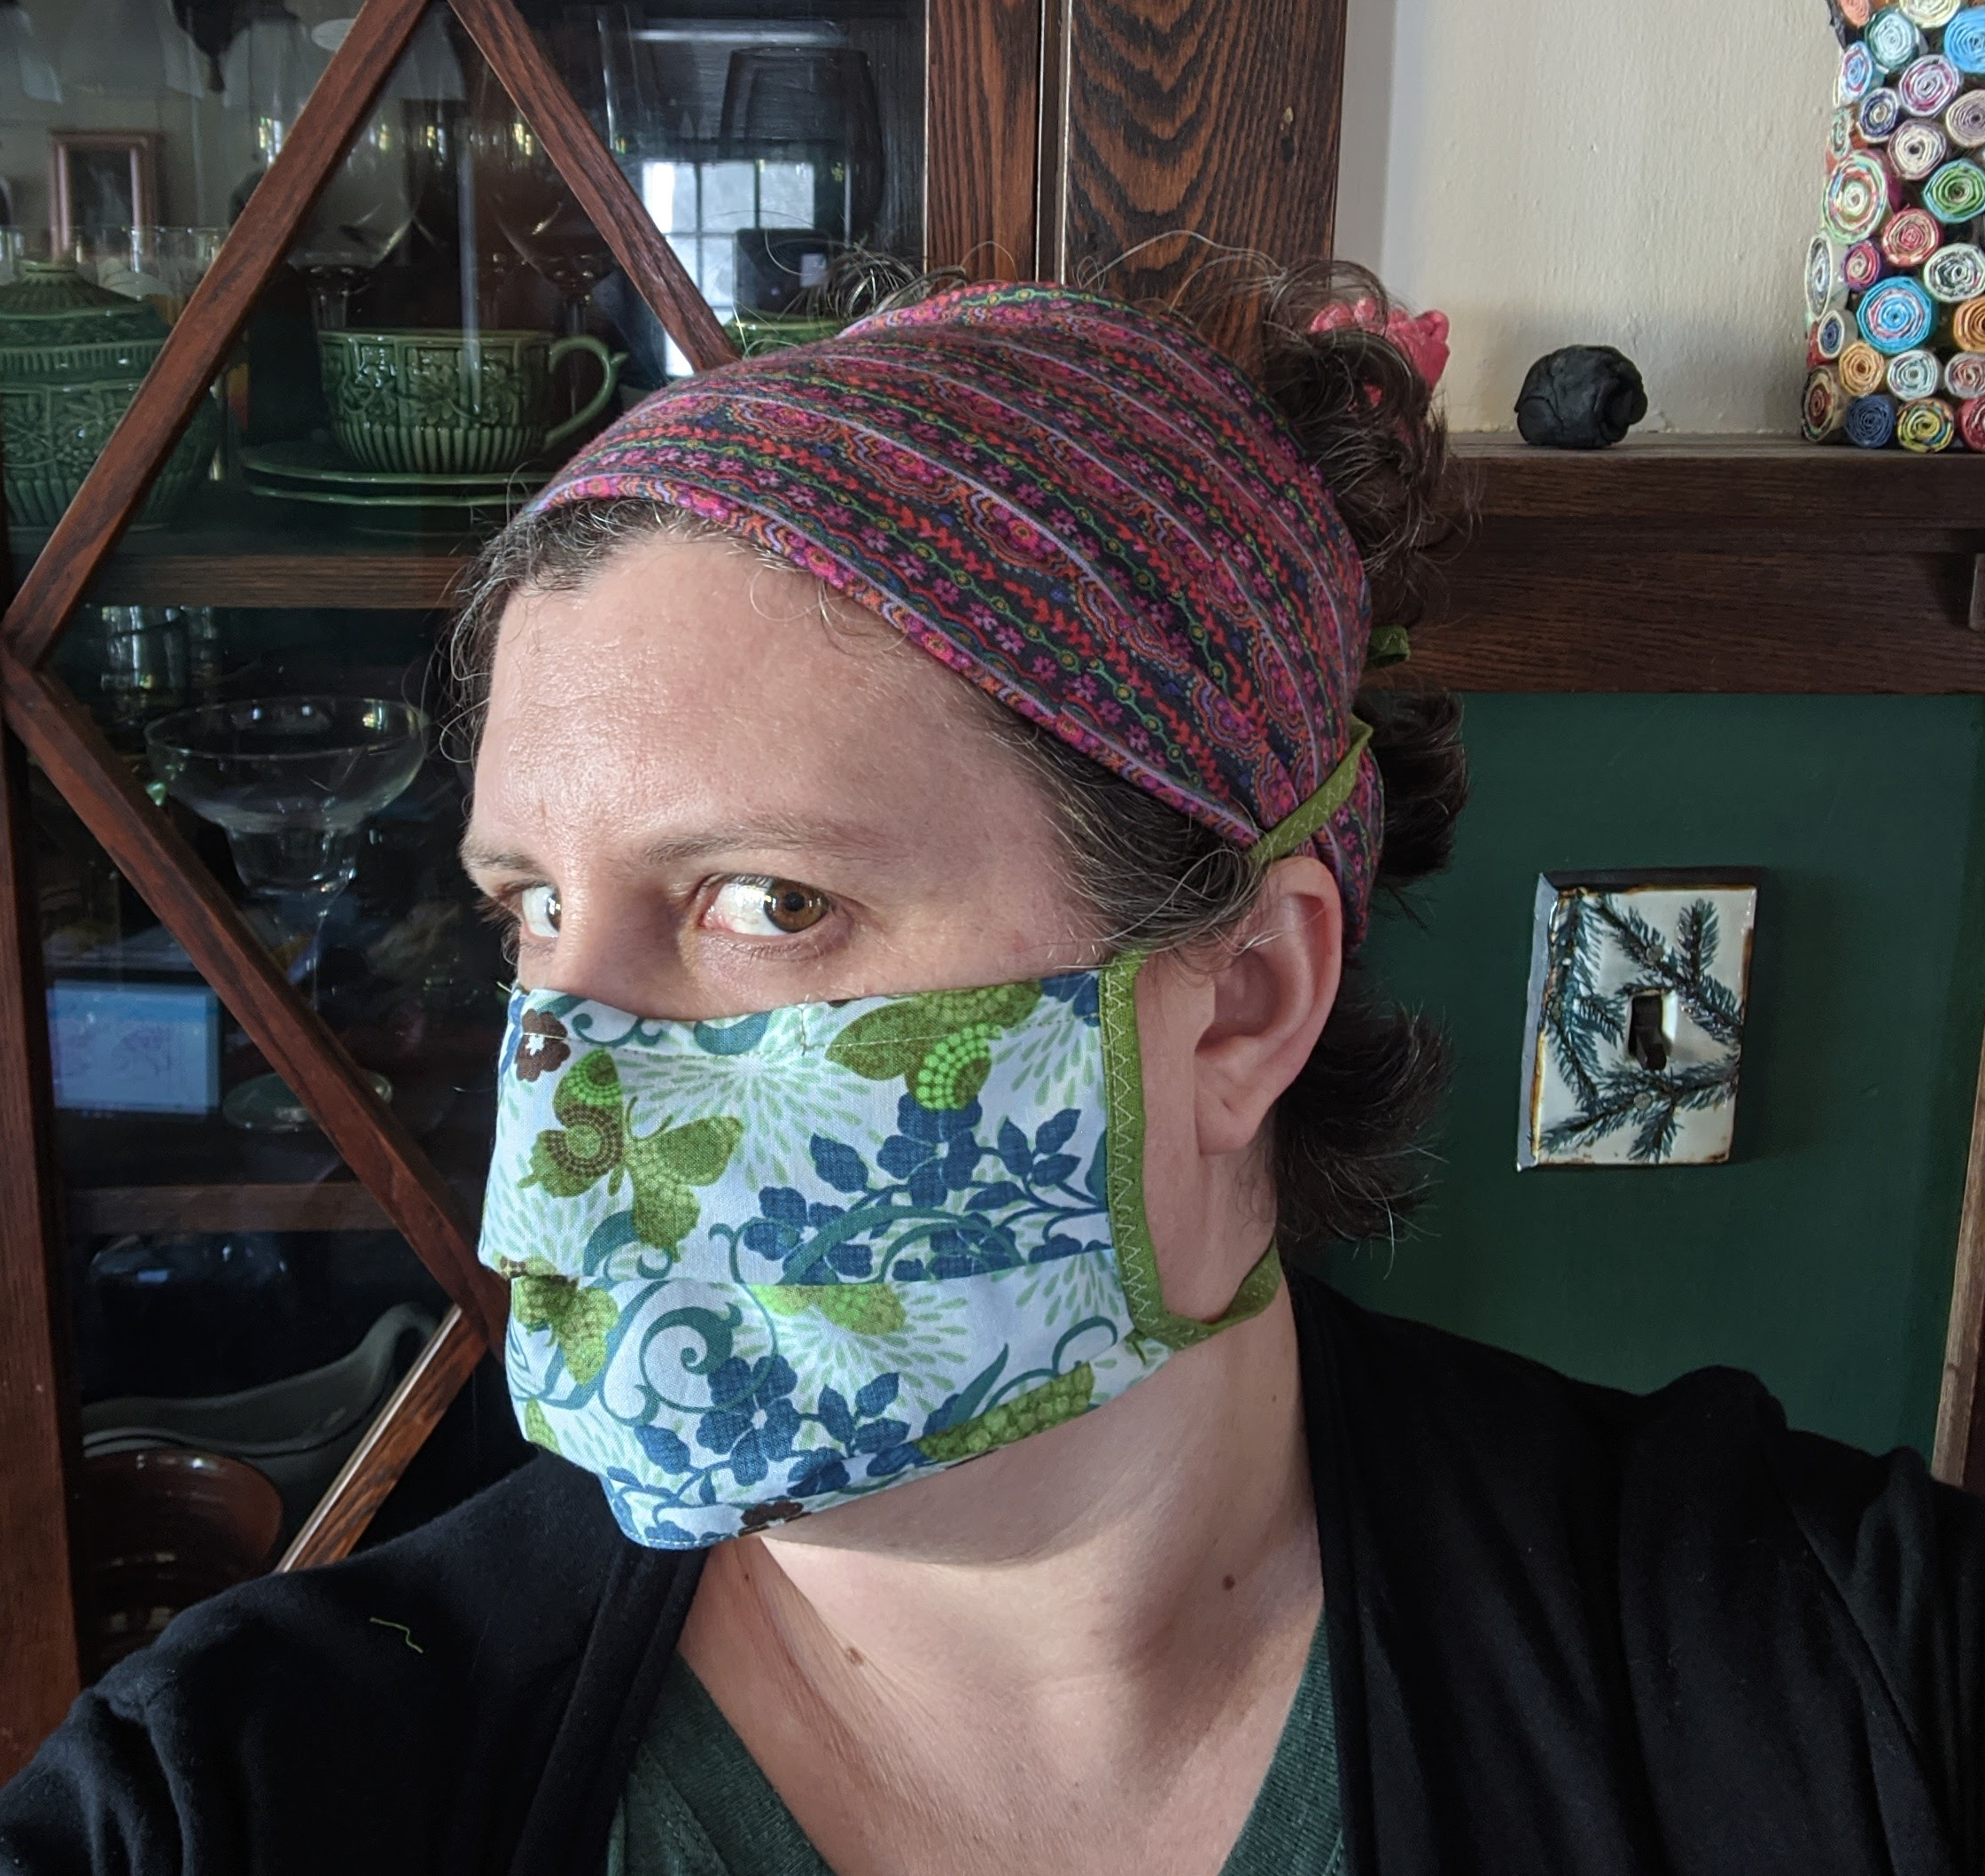
Point is, I’m going to keep stretching my creative muscles. Sometimes it’s with cookies, sometimes it’s trying to find the perfect mask pattern (new post coming on that one.) and now sometimes it’s with nails.  I won’t turn this into a nail blog, I promise! In fact, I have cookie posts to catch up on, with some great background on my Christmas set.  The job of being the breadwinning architect firm owner person is where all my time really goes, so thank you to everyone who tags along on my hobbies, and I look forward to more cookies and someday, seeing you all at Cookie Con or on the street.  Be sure to check out my nails when you see me. 😉

PS: if you made it to the end of this blog post and you are interested in trying some new nails, and you live in the US or Canada, post a comment and I’ll do a drawing in a week to send someone new nails! (EDITED TO ADD that the giveaway is complete, but please to do leave a comment! They make my day/week.)

The “Perfect” Face Mask

Hello All,

Yes, I know, this is a decorated cookie website.  And I know that I owe you cookies!

BUT, in the meantime, I’ve been down the rabbit hole in search of the “perfect” face mask.  I put perfect in quotes because what works for me may need tweaking for you, because most every face is different.  But I’ve been taking daily walks, and so with every mask iteration, I test it out, and the pattern I’ve come up with is the result.

My mom taught me to sew- and she sewed all her own clothes, our stuffed animals, Halloween costumes, etc.  I used to quilt and do more fabric art before I got cookie OBSESSED, which explains all the sewing stuff I had at hand.  And since my mom now does more fancy quilting, I get to sew on her old machine at her old sewing table, which takes me all the way back!

I started my mask quest with a great mask tutorial from The Crafty Quilter, pictured here.  Her Versatile Face Mask pattern is the one that my husband still uses (The tie version). And my youngest as well (A version I made with elastic bands and buttons, don’t ask! ). But I felt a little like a masked villain. And the fit was a little too close for my liking, so that with the nose wire on snugly, the fabric suctions to my nostrils when I breath in hard.

IMG_20200405_201532

Not that this mask doesn’t still have it’s place in my repertoire, I like the hairband elastics, and it’s great for short term use like a trip into a store.  Easy on and off and comfortable in low exertion.  In the photo below I show a few tweaks I made to the pattern.  I left the sides long, instead of folding them over to make a channel for the loop elastic. I also folded up the bottom edge of the sides up at an angle, so that the sides ended up closer to my ear height. Then when I did the hairband ties, they weren’t having to stretch long distances.

IMG_20200405_201528

For all of this style of mask, with removable wire- I used this thicker copper wire for the nose and turned over the ends.  Best to bend a stiff wire into nearly the right shape with your fingers before fitting it to your nose!  But my family liked the stiffer wire because it prevented the air you were breathing from just being straight into your eyes. And it helps hold the mask in place. Also, note a very brief stint in jewelry making, hence the wire and fancy pliers and things.  I feel like I’ve been hoarding preparing for this craft moment all my life. (Note: I’ve also used those aluminum flat nose wires in this pattern with success.)

IMG_20200406_104646

More of that same mask with my customizations.  I finished them nicer so they could be reversible.  And a teeny bandit mask for my new niece, which she should NOT wear, because she is under two.  Well, maybe one quick pic, then take it off?

See, she’s fine.  I mean, just look at this sweet face!


Brief aside into a super easy mask for the ladies. Take a coffee filter. Fold the long edge down over a nose wire (paper clip unwound, pipe cleaner, fancy copper wire if you are ridiculous like me ). Stick into a pretty scarf folded over to the right size (this was four ply).  Baste in place below wire in folded filter with a long stitch or handsewn.  Tie and go.  Nose wire holds in place. You can remove basting after to remove filter and wire to wash, and also to revert back to a scarf.  Same thing can be done with a bandana for a more masculine look.

IMG_20200406_112352

img_20200414_104752

In search of an improved look and breathability, I next tried this pleated mask pattern from Create To Donate  (Shown above). I liked how the ties were vertical, because I knew that being able to adjust how high you tied them was one of the ways to help hold up the mask.  The immediate con to this design was that when I put it on, it cut into my undereye and felt uncomfortable.  I knew that it needed some tweaks!

That’s where my pattern idea comes in! I decided to combine the shaping around the nose  from the first pattern with the roominess and looks of the pleated pattern. It is also a little easier to sew than the first pattern, especially if you already have bias tape. I made my own for these because my bias tape collection only lasted a short while in my mask extravaganza.

Pattern
Find the pattern HERE!

I drew up the pattern in my drafting program because I am an architect in addition to being a CRAFT NERD.  I even made it in three sizes.  Because first I made adult and child, then decided that the child was for small children, and the middle schoolers needed something in the middle.

UPDATE: There is now a Mask Pattern 2.0!!  After wearing my new mask for a week I came up with two relatively minor tweaks (don’t despair if you already made a mask, that one is still good). This one drops away from the eye area a little more, and rearranges the pleats a little, to give a little more room right under the nose.

Find Mask Pattern 2.0 in three sizes here!

AND because I made ANOTHER CHANGE here is a version 3.0.  A little simpler than 2.0, and you can use those manufactured aluminum nose bands with it.  Some people tell me the 2.0 is great if you wear glasses, because you can rest them on top of the nose part, but I like the look of this version if you don’t wear glasses.

Grab the Version 3.0 in all three sized here!


IMG_20200418_135036

Start by cutting out two pieces of the pattern. I used a plain white inside and a print for outside.  Sew them together with a 1/4″ seam allowance along the top and bottom edges, as indicated on the pattern.

IMG_20200418_140448

I found it easier to turn it right side out when I pressed the seam allowance to the side before turning it.  The nose part was a little tricky so I just kind of poked my iron at it.

IMG_20200418_140714

Topstitch the top 1/4″ away from top edge. Top. Toppity top top. (Sorry, that was a lot of tops and I couldn’t stop. )

IMG_20200418_140821

Topstitch the bottom straight edge close to the edge.  If there is a technical sewing term for that I’ve forgotten it! (PS Mom read this and tells me it’s edgestitching.)

For the nose wire, in this pattern I used twisted floral wire. Because I have lots.  And jewelry making pliers. Honestly, if I hadn’t let my children play with/destroy them all, I would have used pipe cleaners, or maybe two pipe cleaners?  Anyway, paperclip unfurled, some other wire, etc. will also work.  I took a nine or ten inch long piece, folded it in half with pliers then twisted the two halves together, and put a loop on the other end with pliers. Because I didn’t want it sliding around much and I didn’t want pointy ends.

IMG_20200418_140938

Slide the wire in the top until it is centered on the nose, shaping it to the curve.

Next use your iron to fold the pleats. I also made a guide on the pattern.  I started at the top, ironed over the top, then folded it back, then did the other pleat kinda freehand.

IMG_20200418_143021

This is the tween size. The adult size is more like 3.5″ tall on the side and 4″ overall when done (Narrower on version 2.0). I used some tiny clothespins I had to hold the pleats in place because I’m not up on the times and didn’t have little Clover clips to use instead of pins (Avoiding poking holes in the mask). I blame cookies for distracting me from the latest in sewing trends. Pretty clear that Clover clips are the tipless piping bags of sewing.

IMG_20200418_144142

You can just baste or topstitch the pleats in place, but I like this finishing stitch because my bias tape was skinny and it made it easier to wrap it around the mask’s edge.

I made my own bias tape with the bias tape maker I had. Which was a very small one. So I kind of ironed it wider and made it work. Full disclosure, it’s not bias tape. It’s on the grain tape. Because it doesn’t need stretch, and I didn’t need to cut a bunch of strips on the diagonal. I did have some half fold bias tape I had made a million years ago to finish a quilt, so I free ironed that into double fold tape.  Ugh, it’s all just exhausting. Buy bias tape like a normal person, if you can, 3/8″ wide. Mine was more like 1/4″ and borderline too skinny. Note that bias tape is hard to find right now. As is thread. Add them to the list.

(Later I found the perfect bias tape in a million colors, really fast shipping, at Laceking.)

IMG_20200418_144946

The bias tape ties should be 32-36 inches long, depending on noggin size and age.  You need two per mask. On this youth one, I’ve got 15″ on the top free, and a little less on the bottom.  IMG_20200418_150606

Similar to the pattern I was adapting from, I clipped the ties in place on the pleated sides of the mask, then starting at one end of the tie, I used a zig zag stitch to hold the ties together, and also to sew them to the mask when I got to that part.  I also went back and topstitched with good returns on the ends to securely hold the ties to the mask. I’m planning on using and washing a bunch so I want them to last a bit.

IMG_20200418_150924

Tie knots in the ends of the ties and all that remains is shaping the wire a bit in place and tying it on!

My youth model now wants one just like it for himself! This one is for a friend of his (after I wash it!).

IMG_20200420_230805

Hope you are all keeping safe and I send you all virtual hugs! Keep in touch, and stay sane, and beautifully cover your beautiful faces while out in public.  I miss them already!

New Cookies!

I’m not good at decent blog posts, but I did decide that I’d update my portfolio more regularly and then let you guys know when I had! I made these monochrome bee cookies for the Cookie Connection Challenge led by the awesome Christine aka Bakerloo Station.  Then of course, you know me. I painted them. Bee AngleBee Detail Angle

Color Bees
In the end, I couldn’t resist a blank canvas!

Website Update!

Helloooooo Everybody! It has been so long since I last posted something here, and even longer since I’ve updated my Cookie Gallery.  The one stop shop for seeing all of my cookie and gingerbread projects was last updated two years ago. Yikes!  Needless to say it took FOREVER to get it all up to speed, and I thought I would post some highlights here to reintroduce myself and my work.

Who knows, maybe 2019 will be the year I actually use this website the way I always hoped!

Nantucket Calendar Piece
August on Nantucket- Cookie Calendar

These cookies were made to be a part of Killer Zebra’s Cookie Calendar for charity in 2018.  The month of August to me means a trip to visit friends and family on Nantucket, so I wanted to make another Nantucket cookie set.  Since I’ve made three previous sets for this special island, I had a lot of inspiration material to work from, and I found a pin of an old beach poster that was the genesis of this cookie construction.

Black Lives Matter
Resist With Love- Black Lives Matter

With the state of America being what it is, ie bad, I’ve delved more and more into cookies that address issues I feel passionate about.  What I enjoyed most about making these cookies (besides sharing them with some of the activists on Pod Save America) was that they really did spark some interesting conversations with people who weren’t supporting or understanding the positions of the Black Lives Matter movement.  Since so much of the work of changing our racial systems will involve white privilege confronting itself and it’s role, I was glad to try and have those conversations with some of my followers and fans!

One Mixed Up Night- All
One Mixed up Night

OneMixed-UpNight Book
One Mixed Up Night Book

These cookies were inspired by my favorite blogger friends book- One Mixed up Night. It’s a heartwarming tale of middle age school kids who conspire to spend the night alone in an Ikea.  I had never been to Ikea, but I’ve since remedied that! What a wonderland of things and stuff!!

Silent Night
Silent Night in a Bottle

I came up with this design for this bottle set at the request of Sherry from the great shop How Sweet is That? They also come with a set of drawings for more traditional designs, shown below.  Use your imagination and you can bottle up any holiday!

Festive Blend

Artic Animals
Christmas at the North Pole- Artic Animals

I decided that I really wanted to make polar bear cookies, which expanded to include designs for North Pole Animal Christmas Cookies.  There was one awkward phase that included discarding any plans I had for penguin cookies. My fourth grader was not impressed, haha!  At any rate, let’s make puffins happen, because they are the coolest!

quatre_edible_flower_mix-2100px
The Seed Pack– Hudson Valley Seed Company

This piece was commissioned by the Hudson Valley Seed Company.  It’s art for a seed pack of edible flowers. All the flowers on the cookies are edible recreations of the real edible flowers. Meta! Get it?  You can buy this great flower mix or a print of this cookie at their website!  It’s even part of their 2019 calendar!


Sugar Artist
Sandie-You Can Call me Sweetie

I owed Sandie from You Can Call Me Sweetie some cookies, and when I saw her new headshots, I knew exactly what I had to do.  It’s always intimidating to send cookies to a really good sugar artist, but I was really happy with how this turned out!

Winter Fairyland
Winter Fairyland Collaboration

This was my third major gingerbread collaboration, and this one was a lot of fun!  Winter Fairyland was a delight to curate, depicting Winter from North to South and above to beyond! Check out my Facebook album to see all of the amazing individual contributions.

llauren duca
Llamas for Lauren Duca

Lauren Duca is a writer for Teen Vogue who is writing really great articles about our current political situation. I also love to follow her on twitter. At any rate, I decided to make her cookies, and incorporated her tagline -Thigh High Politics- and a really sweet quote of hers, along with llamas. Because when in doubt, llamas.

angela nino
Angela Nino- The Painted Box

Angela Nino of The Painted Box is a cookie artist I really admire. So I had to sign up for a cookie class. I flew out to California for some sun and cookies, and while I was there I made a cookie portrait of her! I did not make the sweet wafer paper rose though. I just borrowed on of hers, haha!

katy katy
Katy Metoyer- Sugardayne

Katy Metoyer of Sugardayne is one of my very good cookie friends, and not only did she host the Painted Box cookie class I went to, she hosted me! What a great shop she has made for herself, in a beautiful place with her beautiful family.  I didn’t have time to prep for her portrait, so I put it on one of her own cookie blanks!

snowflakes
Snowflakes? Try Avalanche

I made these cookies for my Senator, Kirsten Gillibrand and her staff. I appreciate that she fought for the ACA, and continues to support women and children in her work!

35295306_1620078001437785_6027307346563170304_o
Moms Demand Action for Gun Sense in America

Last year I hosted a Cookie for Gun Sense Raffle. Myself and a dozen other cookie baker’s donated a dozen cookies EACH to gift to a dozen people who donated.  Check out the other cookie sets here. All proceeds went straight to Moms Demand Action for Gun Sense in America and we raised $3500! It shouldn’t be harder to sell cookies out of your home than to sell guns!

My goal for this cookie event was to use a little sweetness, art, and delight to inspire others to support this cause, and was so rewarded by the results!

detail shot 1
Pysanky in the Round

I just love playing with the folk patterns of Pysanky.  Usually I do variations on the traditional eggs, but this time I went with rounds!

43491475_1784569181655332_6513756643883220992_o
Boobs.

Embroidery Hoop cookies. The hilarious Boobs design is by Ellucy Stitches and the Grl Pwr design is from Valeria Molinari . ERA NOW is from an old Equal Rights Amendment sticker/logo, and I made up the other two by my lonesome!

laying flat
Halloween Cookie Construction- Laid Flat

This Haunted House cookie project was what we made in my Cookie Construction class before Cookie Con. Fully constructed, it stood up on it’s own- a 3D cookie array! Love the ribbon tying it together- from one of my class sponsors- Ribbon by Design– she’s got you covered for every season!

42153709_1760743367371247_159967409854218240_o_1760743357371248
Cookie Con Portrait- This Photo made it all Worth It!-

During open decorating at Cookie Con 2018, I decided to do a portrait. After polling attendees, it was agreed that the only “person” to cookie were the founders and organizers of Cookie Con- Mike and Karen Summers.  Mike’s mom sent me this picture and I knew I had to cookie it.  Scroll down and you will see when Mike and Karen discovered that I wasn’t kidding about my cookie plans!

thanksgiving gb house
Thanksgiving Gingerbread House

This house was made at my son’s insistence. His birthday was Thanksgiving day in 2019, and he wanted the occasion suitable marked. He even designed the back side.  The cutter set for this house was designed by me and is available in three sizes at How Sweet is That? The roof was inspired by a gingerbread house my son saw and loved- sunflowers and lace held together with some perfect ribbon from Ribbon by Design. The boys had fun picking out the ribbon design and there were so many to choose from!


snowflakes fall
Snowflakes Fall- Sandy Hook Memorial Cookies

And “when the flowers bloom, the children remember the snowflakes. And we remember the children -no two the same- all beautiful. ” -Patricia MacLachlan, author of ” Snowflakes Fall, ” illustrated by Steven Kellogg, and dedicated to the school victims of the Sandy Hook shooting in 2012. How many more children need to die? Someone said “It must have taken so long to make all of these.” It’s nothing. It shouldn’t have taken me any time at all.

Happy New Year
Sayonara 2018! Hellloooo 2019!

For a lot of reasons, 2018 was a rough year.  2019 isn’t looking up either.  Luckily, we still have each other! And cookies. We’ll always have cookies.

Cookie Con Classes!!!

Cookie Con Registration starts TONIGHT at 9:00 pm Eastern time!

When the magic clock strikes the time, a big registration button should appear at the Cookie Con website: Here.

The Cookie Con is such a great event! I’ve been to the last three and had a blast each time!  The key is to just give big hugs to everyone- at least, that’s my theory.  At any rate, last year I was a presenter, which meant that I taught a class during the main event line up on Friday.  But there are also cookie classes available before the Con officially starts, on Wednesday and Thursday. I’ll be teaching classes in this capacity this year.  I hope that I’ll fill them up and we can all have a blast together!  See the class descriptions below, and also see all the other great options at the Cookie Con website.

Offered in the am session both Wednesday and Thursday-

Cookie Construction: We will be learning how to put cookies together so they fit perfectly. Whether it is fitting together a  cookie puzzle or array, or building a three dimensional centerpiece or gingerbread house, we will be filling our tool belts with the tricks and tools needed to construct with cookies!  Recipes, baking tips, and assembly will all be covered, and there will be a challenging three dimensional cookie project to decorate and put together during the class! Materials will be provided.

Offered in the pm session Weds. and Thursday-

Advanced Cookie Design: Ready to take your skills to over the top?  I’ll share with you my techniques and a few different ways to plan out a very complicated or art type set. Whether it’s a set for a big gift, or a set to challenge yourself, I’ll build up your skills AND your confidence so that you too can stay up late, I mean, soar to the next level! Be prepared to do a little on the fly designing, and projects and problems are welcome, we’ll discuss. Note that this is a design seminar, and we will not be decorating cookies during the session. This class will include some pre-Cookie Con teaching via the internet, for those so inclined, and will be tailored to the needs and questions of those that register.

Cookies for Sanity


Hi all! I’ve been really busy with cookies lately, but you wouldn’t be able to tell, because they are all for projects I won’t be able to share with you until later!  And of course, I am far behind in my blogging/sharing duties, so soon I will update this page with those cookies that I can share but haven’t posted here. There is always my Instagram for staying abreast too!  In the meantime, I wanted to share with you an opportunity to win some of my cookies for your very own, in a theme of your choosing!!

Harry Potter

Ever since I started decorating cookies, I’ve been in love with this community of bakers who so often will do so much to support causes and people in need with their cookies!

And since I am just a hobby baker, but I love a challenge, I love opportunities to work with others on cookie themes I wouldn’t otherwise consider.   All the cookie sets pictured above were for winners of various giveaways and benefits who gave me a direction and asked me to run with it!

Thinking about wanting to offer up cookies for a good cause, I was a bit overwhelmed with the number of causes and people in need right now. But it occurred to me that one thing these crisis all have in common is that they are so stressful: physically, emotionally and mentally. It is of course super stressful and painful for each person involved in the devastation in Puerto Rico, Houston, Florida, California, all the way to Somalia and Myanmar. And for me here in my rural area, running my business and decorating cookies, it’s hard to know what to do and where to turn to help.

The whole world feels under stress, and I know it has had its toll on my mental health, because I struggle with depression and anxiety. And many cookiers and friends of mine do as well. Do you struggle with mental illness or know someone who does? It touches so many, and I hope that by supporting NAMI, the National Alliance on Mental Illness, I am supporting those who feel like they are starting to crumble, in areas of devastation and beyond.

If you care to support this campaign, I’ve got a great incentives for you!

For every $5 donation you make to this page, I will enter you in a chance to win cookies in a theme of your choice, delivered by Jan 30th, 2018.

For every $20 you donate, I will enter you for a chance to win an hour Skype cookie chat with me, covering whatever lesson or topic you choose! (Though I’m best suited to speak about creativity, cookie design and style, gingerbread, painting cookies or cookie puzzles and arrays!)

I look forward to cookie-ing with you in support of mental health for all (especially me LOL!)

Thank you so much for your support. Again, the link to donate is here.

Gallery Update!

Hi Everyone!

My cookie design webinar was a success I think- thank you to all who participated!  I am definitely open to suggestions for additional webinar/online cookie class ideas, leave them in the comments for me! (Click on this post, and then you can leave comments at the bottom.)

I also have recently updated my gallery– did you know that its a great resource for seeing and sharing my work?

Here are a few samples from the new pictures posted.  Thank you to all who follow along- I love you guys!


New! Cookie Design Webinar!!

Cookie Architecture: Building up your cookie inspiration, design and style.

A webinar about creativity & design, how to get and stay inspired, principles of design, the design process, and building and applying your own style.  All taught through the medium of sugar cookie decoration.

Succulents Framed | The Cookie Architect

Sometimes it feels like creativity is not for the weak!  How many of you sometimes get stuck while designing? Feel like you are not creative?  Like you don’t have your own style and wouldn’t know how to find it? Like inspiration is something that happens to other people?

Well, I know that as an architect, I struggled to be creative, while juggling so many other business and engineering concerns.  That is, until I discovered cookie decorating, and the tools I learned and used there taught me how to bring my creative A-game to everything I was doing.

My cookie projects are often over the top, but trust me, these tools can be used for all your cookie design needs, even if it is just hobby baking for your kid’s parties, or busting out corporate orders in bulk.

If any of this resonates with you, I think you would enjoy this webinar!

Succulent Detail two | The Cookie Architect

What it is:

A fifty minute online video talk by me about all of the above, with a follow up question and answer session on live video.  Included is membership in a secret Facebook group where you can re-watch the video, or watch later on your own time, and continue to ask questions for the next few months.  I’m happy to talk with participants about developing their own style further, and to give detailed pointers on any of the design topics that come up in the lecture.

The live video presentation will May 6th at 4:00PM EST. Replay will be available if you are unable to watch live.

Cost for the webinar and membership is $30. If you would like to sign up, send me an email at rnlarch@usa.net with your name and I will send you the Paypal link. I will also need your email address so that I can invite you to the Facebook Group, so please email me from your preferred email address for that. If you do not want to be on Facebook, I can invite you to the video separately, but the chat will be available in the Facebook group only.

NOTE: This talk is the talk I gave at Cookie Con 2017, so if you were an attendee, I am happy to give you this webinar at the discounted rate of $15, so that you can take advantage of the question and chat features, as well as re-listening to the video if you want! I am happy to extend this offer to vendors and those who worked the Con and thus weren’t able to attend my presentation during the event.   For this option, please email me at rnlarch@usa.net with some sort of proof of attendance, whether your ticket, or some sort of photographic proof. Thank for your understanding.

Succulent Angle | The Cookie Architect

Save

Save